Table of contents
- Create Project
- Defining the Card Categories, or Backlog Buckets
- Adding Cards to Backlog
- Moving the Cards around in the Backlog
- Sprints (Scrum based projects)
- Sprints and Boards
- SCRUM Sprint Board
- SCRUMBAN Sprint Board
- KANBAN Board
- Card is Blocked (Impediments)
- Labels
- The Dashboard
A Sample Project
We are going to use Flying Donut to track our house move on May 19th.
There are things that need to be taken care of regarding the old house and the new house. There are also some Kid’s related tasks, so these are the categories we will use. In Flying Donut, the categories can be represented with backlog buckets or labels.
In terms of deadlines, there are things to do before the move, the day of the move, and after the move, so these will be our phases, or sprints.
We are now ready to start entering all this information into Flying Donut:
Create Project
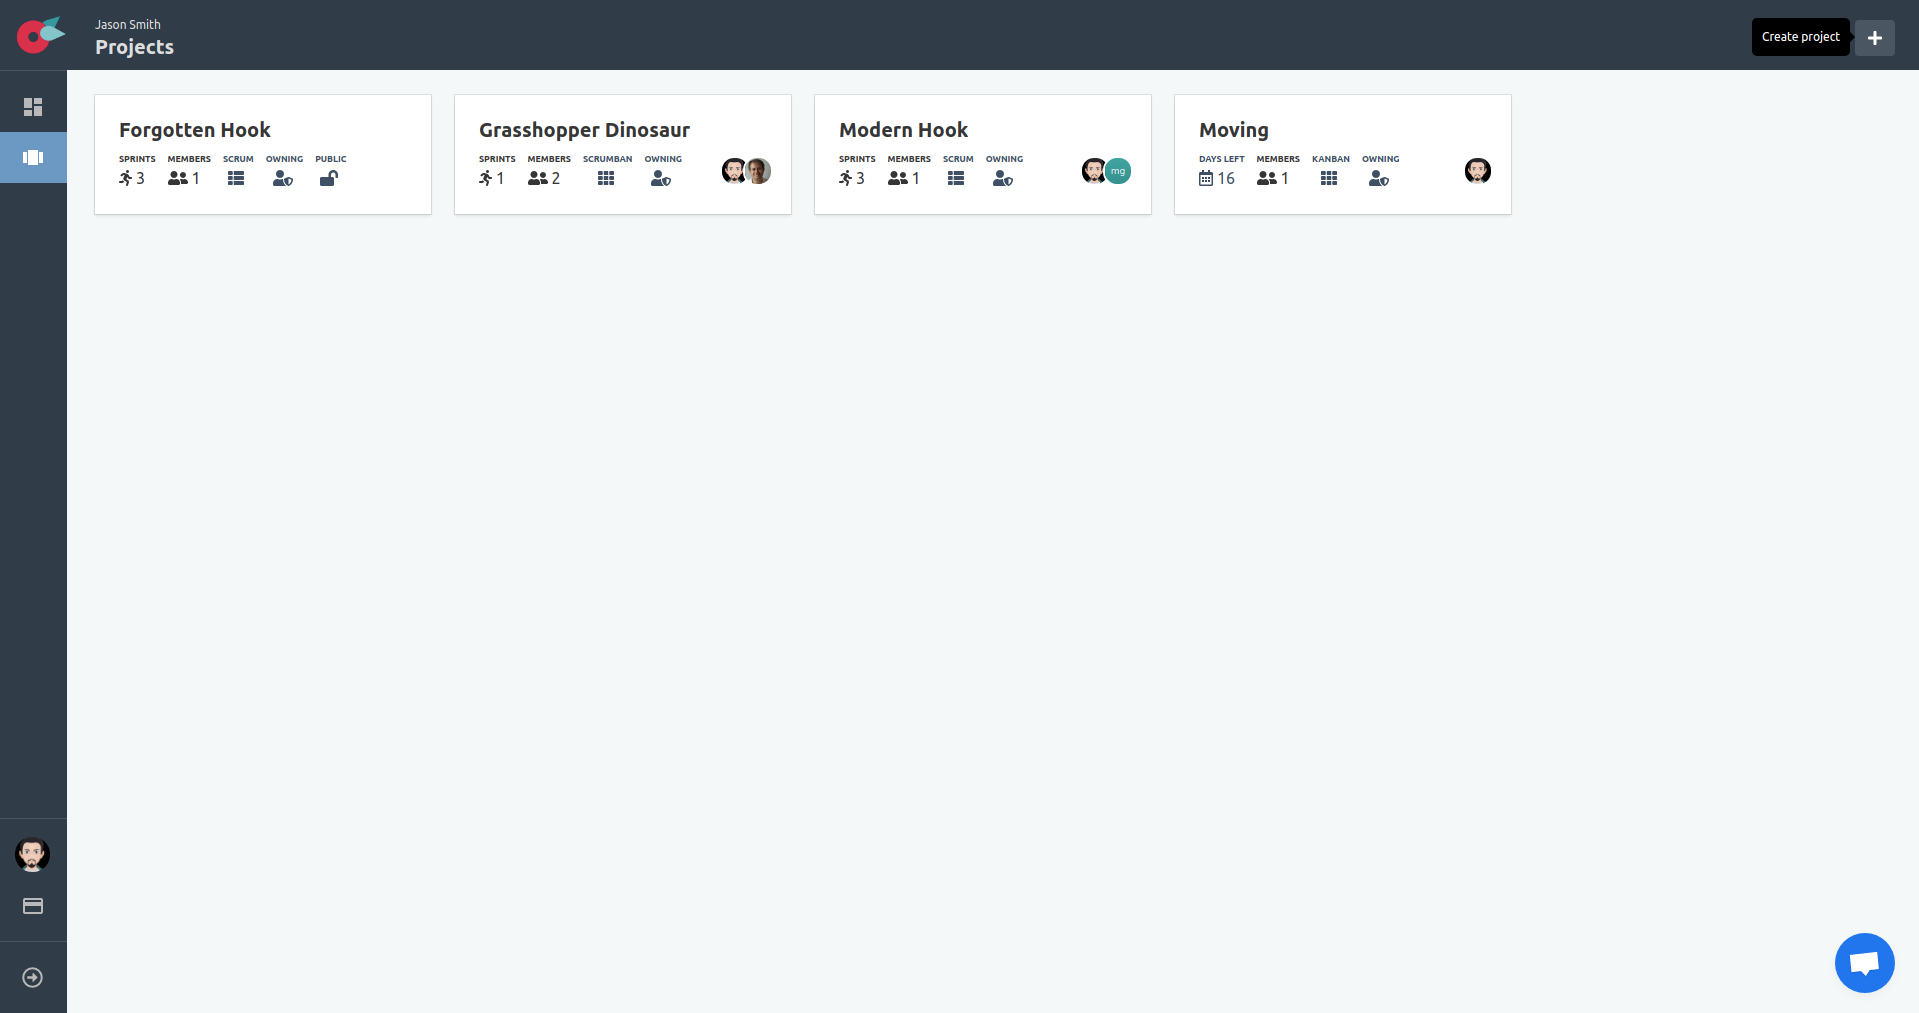
Log in to your account to create a project. Locate the + button in the upper right corner, in the projects, or dashboard page:
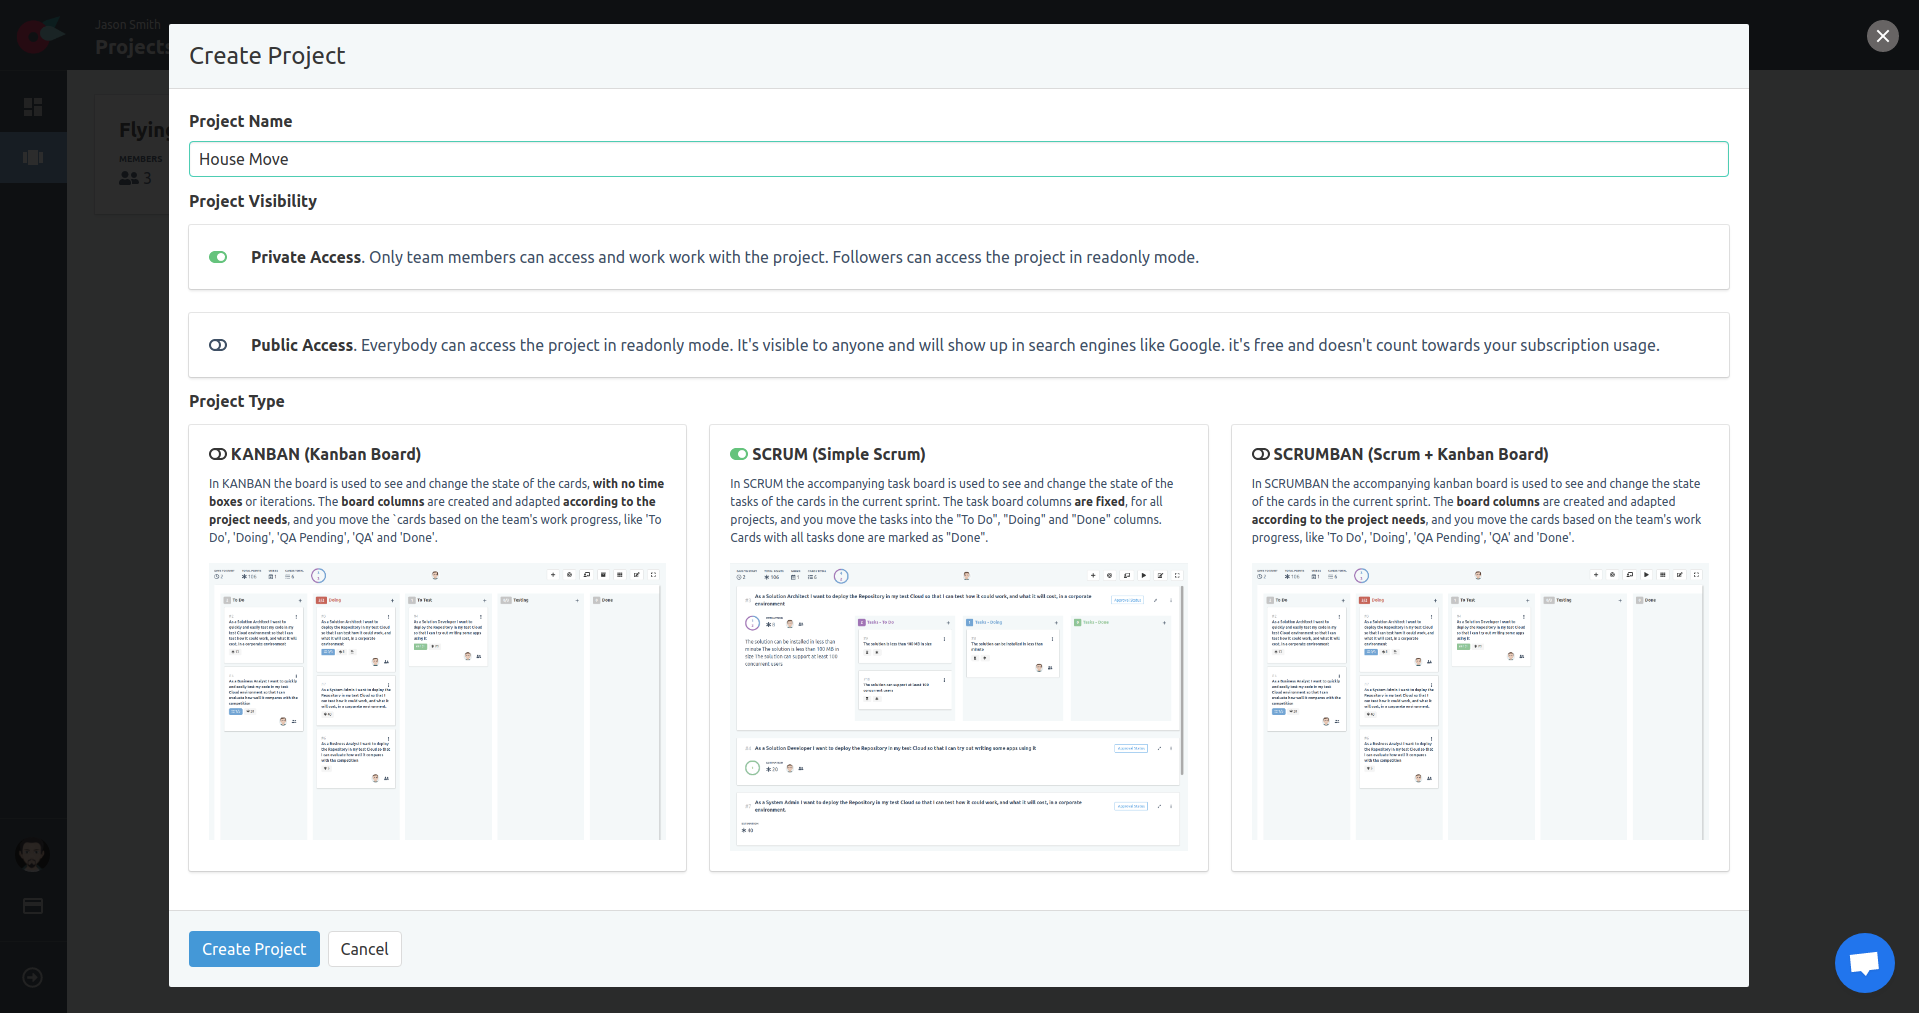
Specify the project name, its visibility, and the project type. By default, the project will be created as a private project. You can change the visibility to public to make it visible to everybody including search engines.
The supported project types are:
- Kanban: In
KANBANyou don’t have time boxes or sprints. The board is used to see and change the state of the cards, in user defined columns. - Simple Scrum: In plain old
SCRUMthe accompanying task board is used to see and change the state of the tasks of the cards in the current sprint. The columns of the tasks are fixed toTo Do,DoingandDonestates. Cards with all their tasksdoneare considered as done. - Scrumban: In
SCRUMBANthe accompanying kanban board is used on top of the scrum framework, supporting all functionality of scrum and kanban. Nowadays, it is considered as the modern way of doing scrum.
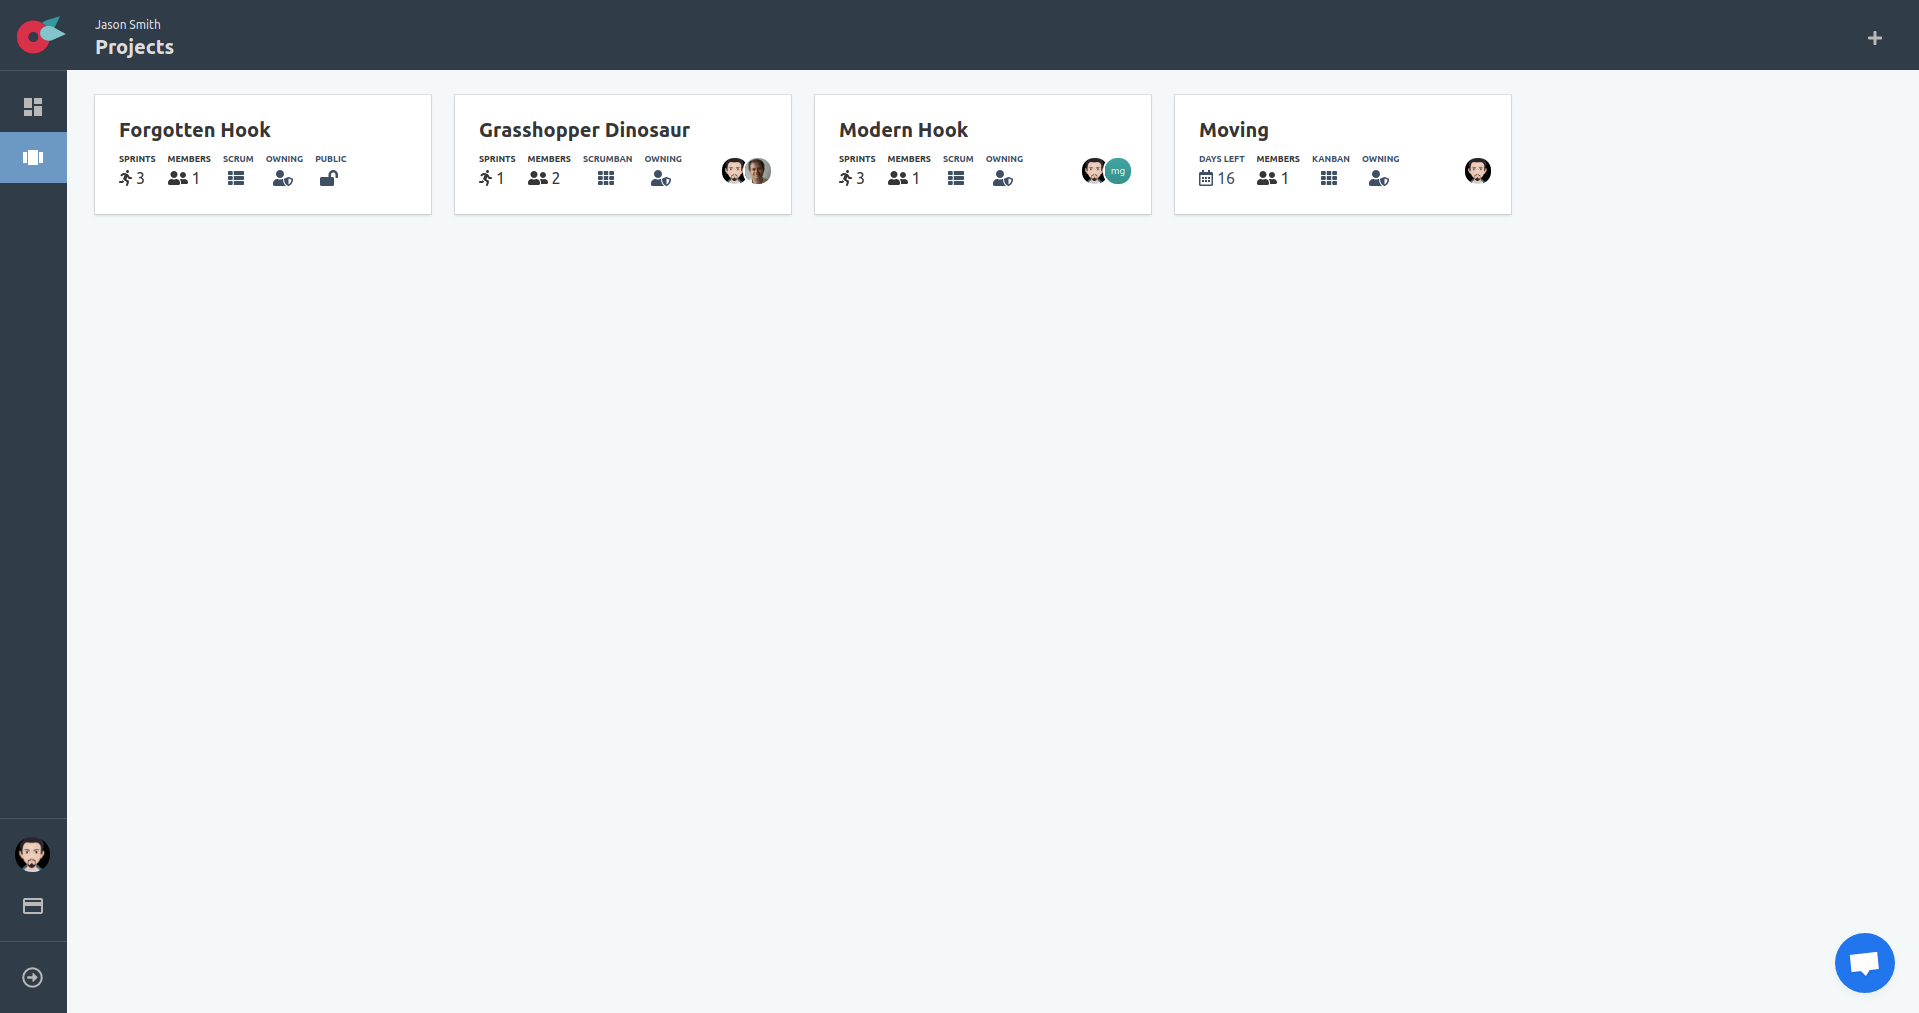
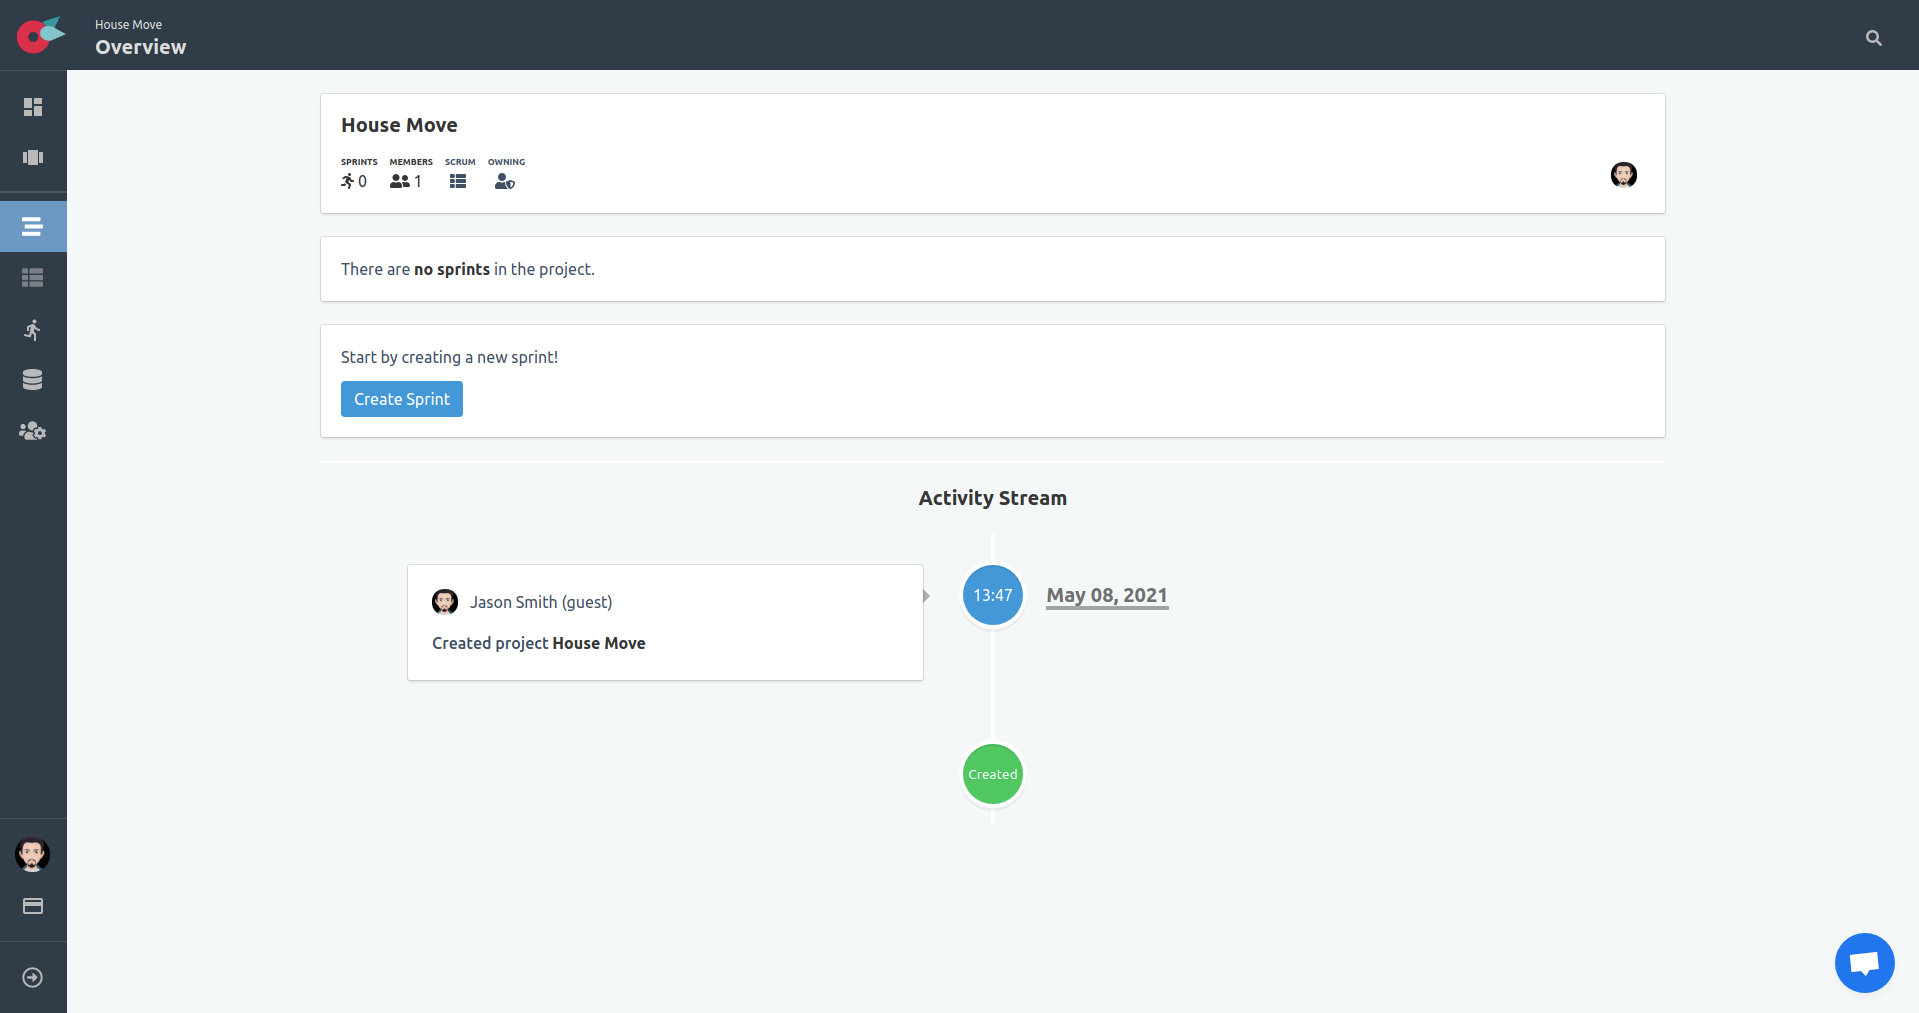
Locate the project from the projects list, and click on the project name to navigate to the project’s page.
At this point there is very limited information in the project page, but you see that you have more options in the left-hand side menu. This part of the menu is enabled when you are in a project context:
Defining the Card Categories, or Backlog Buckets
Select Backlog from the left-side menu. When a project is created, a Default backlog bucket is created:
Select the Default bucket and click on the edit button located on the top right-hand side.
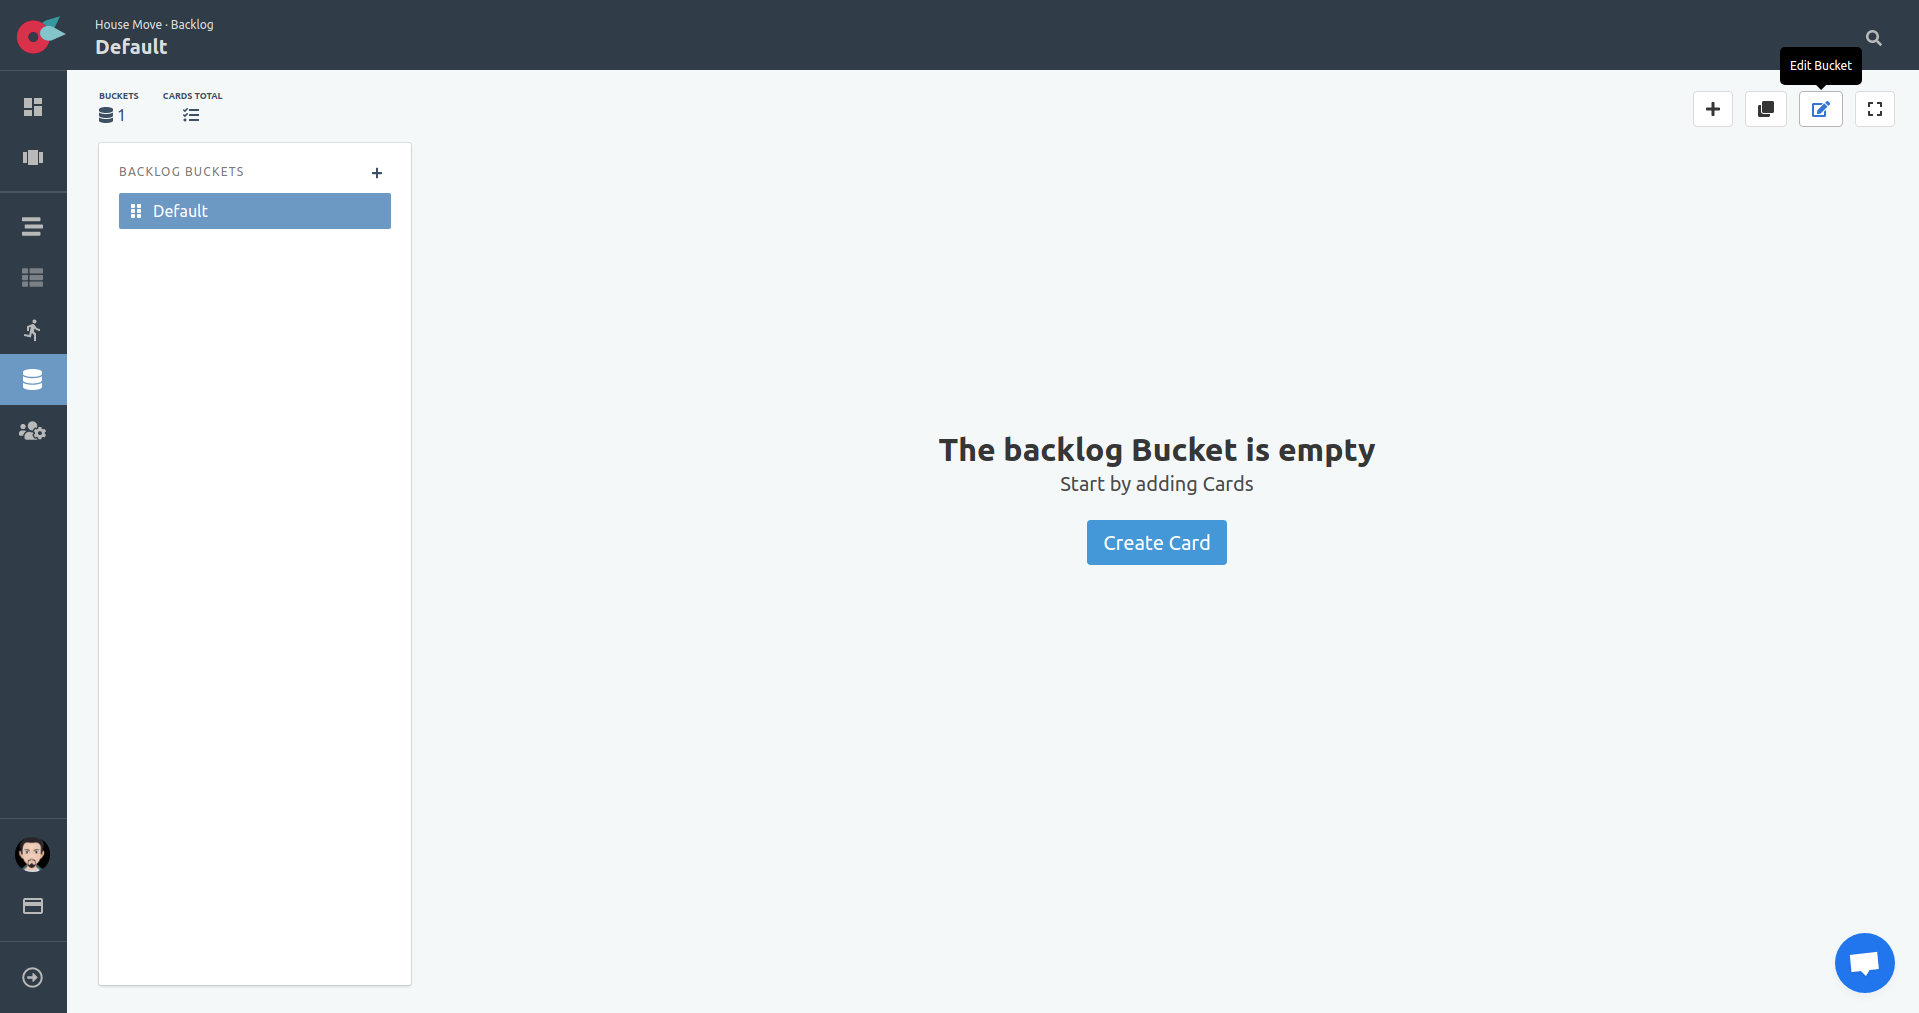
Rename it to Old House.
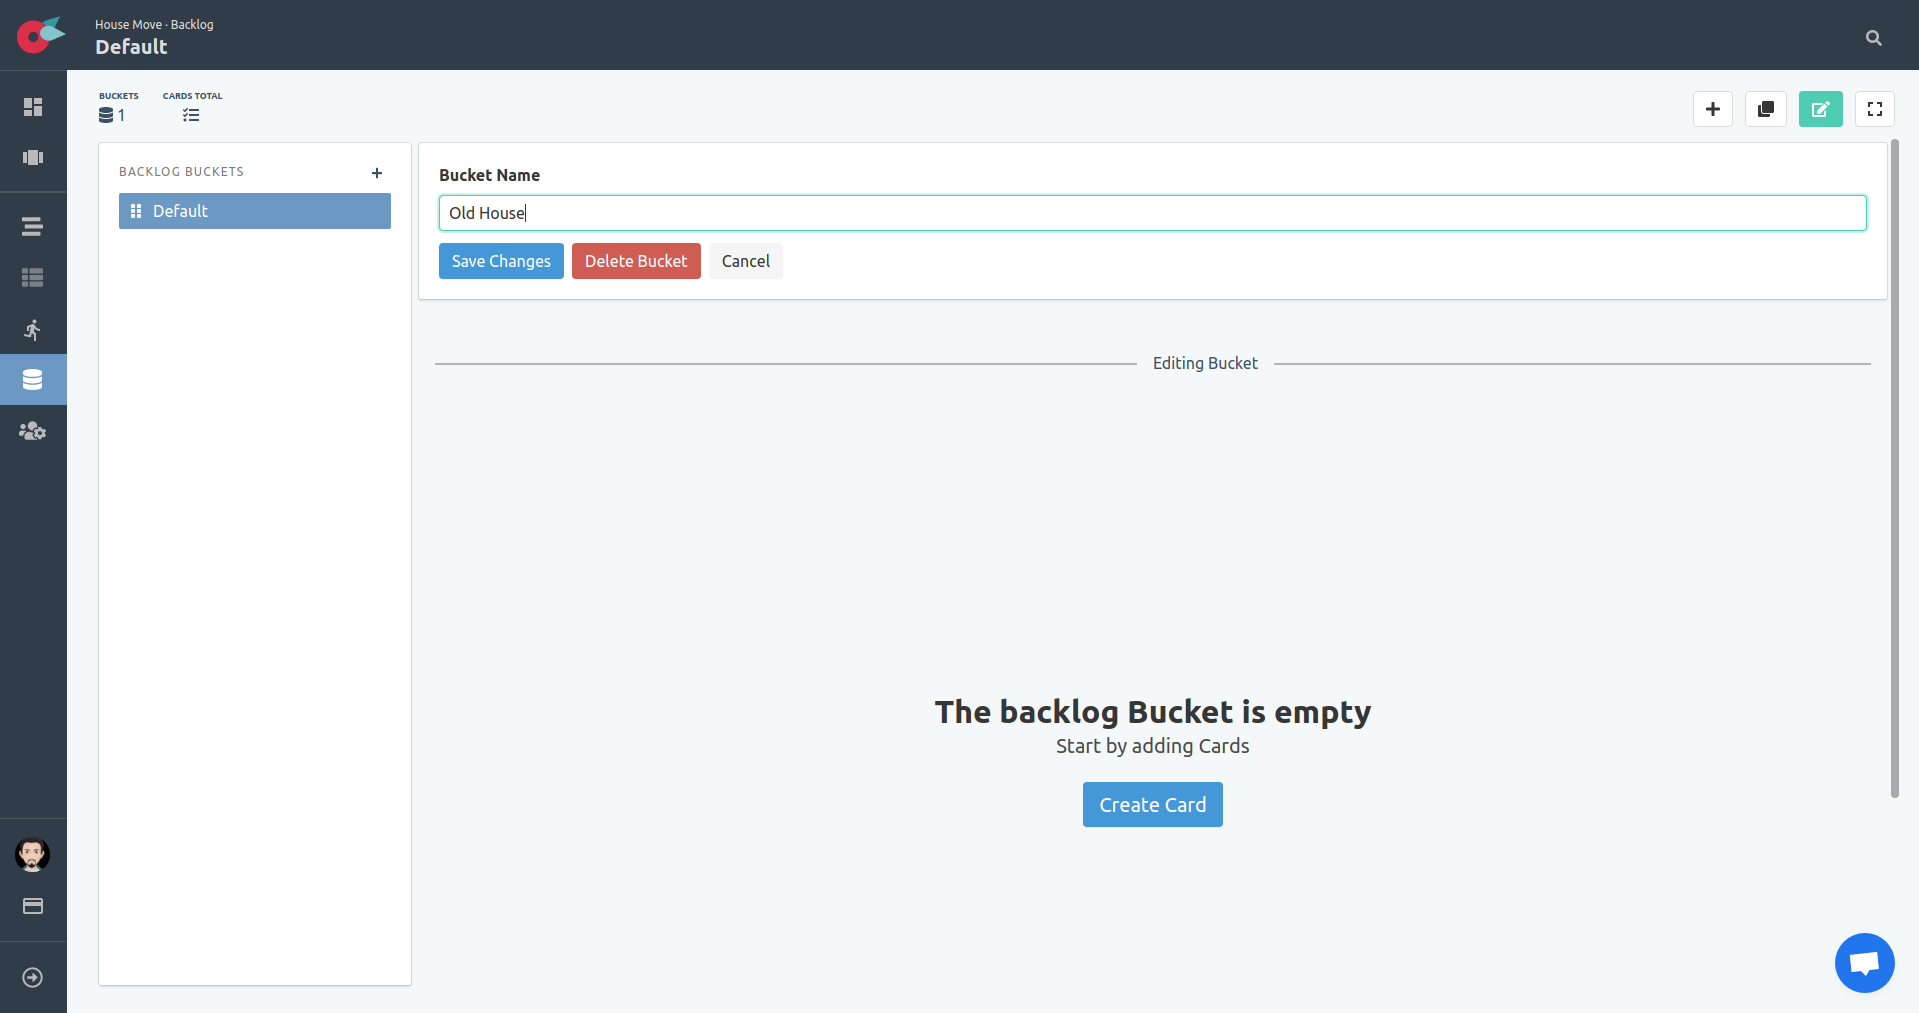
Locate the + button in the backlog bucket navigation list to add a new bucket.
An input text field appears. Specify a name for the new bucket, New House:
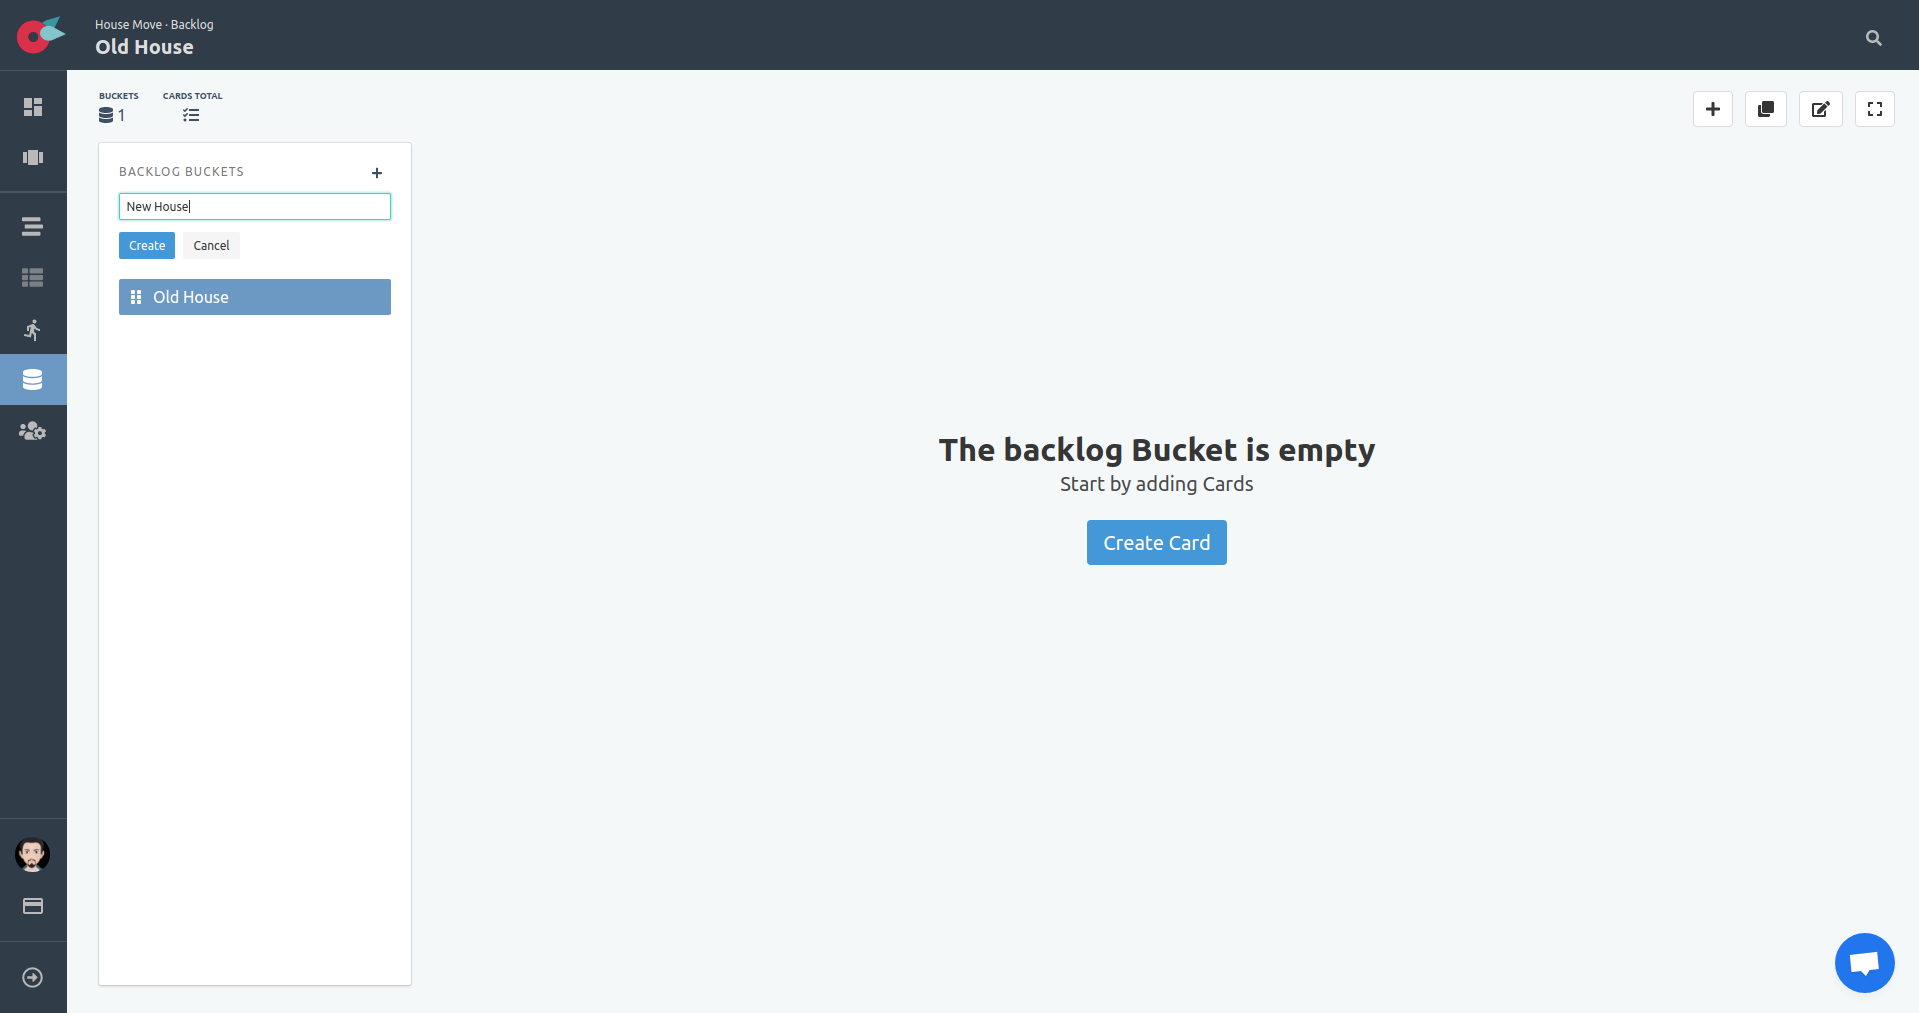
Similarly create the Kid’s Stuff bucket:
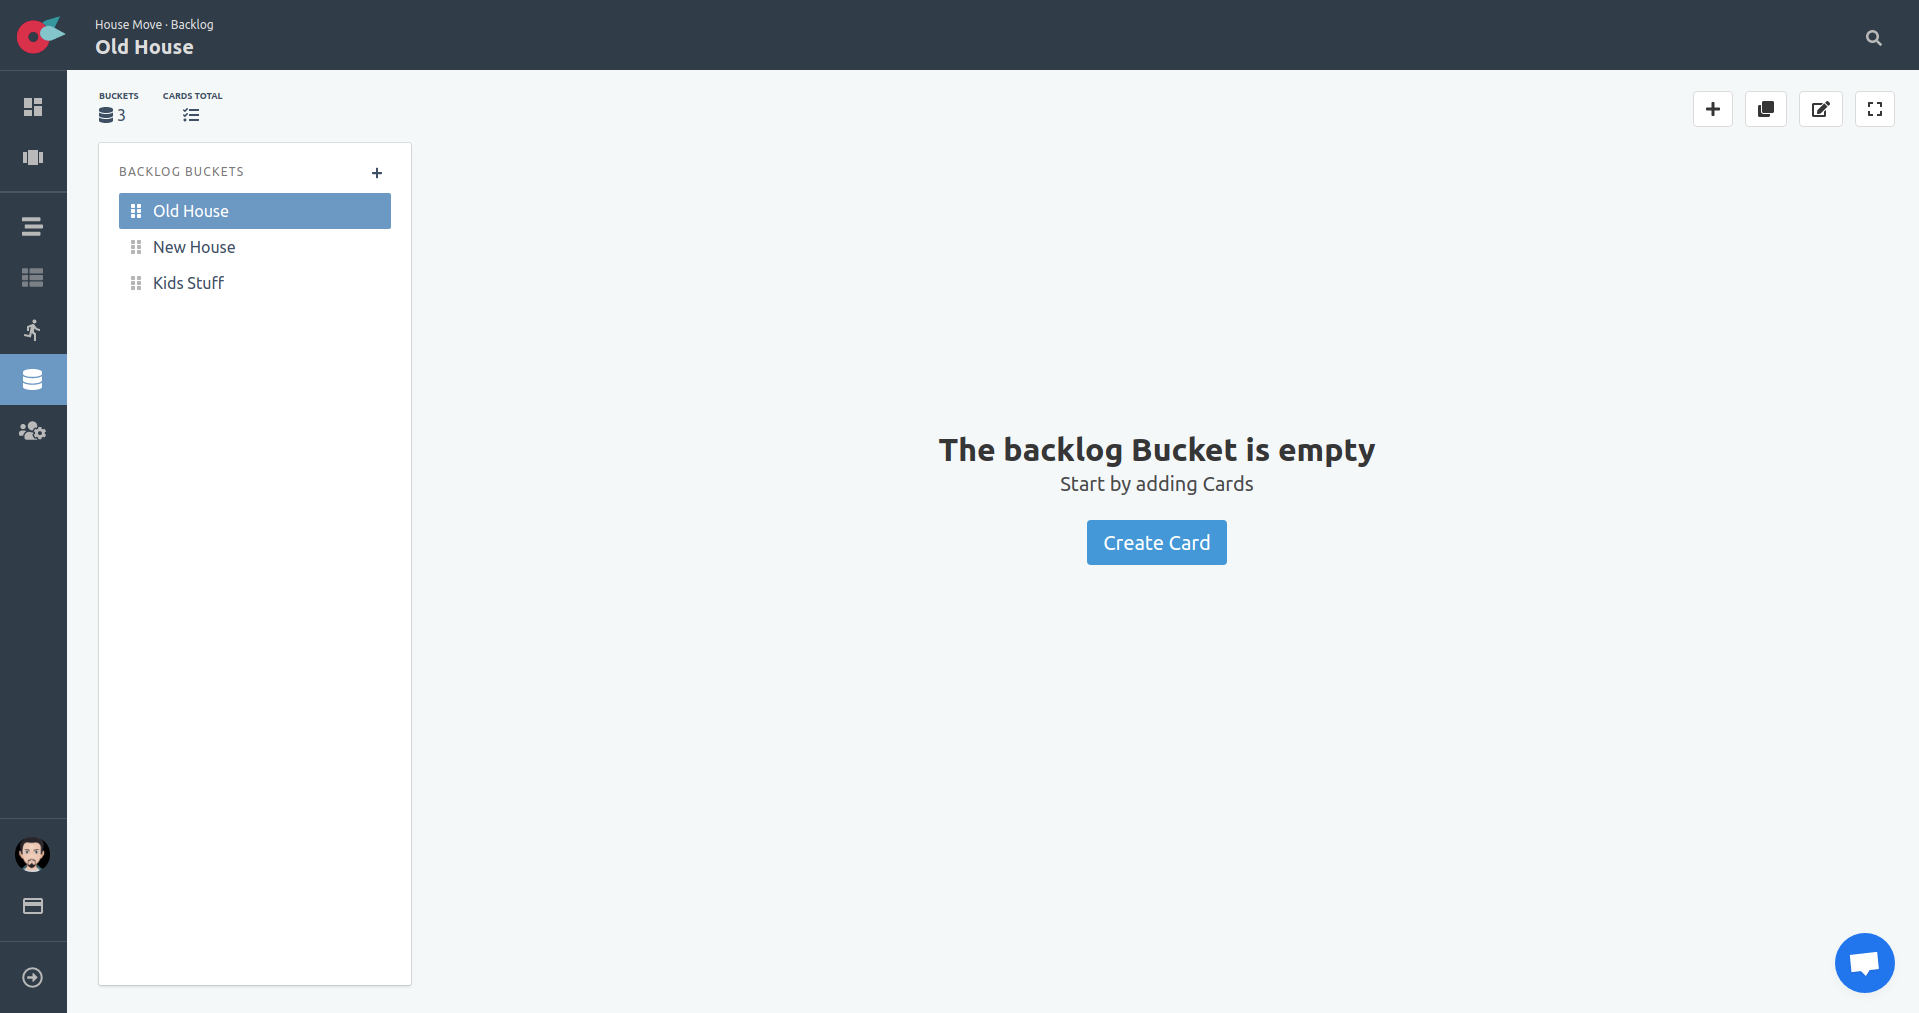
Adding Cards to Backlog
Each backlog bucket has an + button at the toolbar.
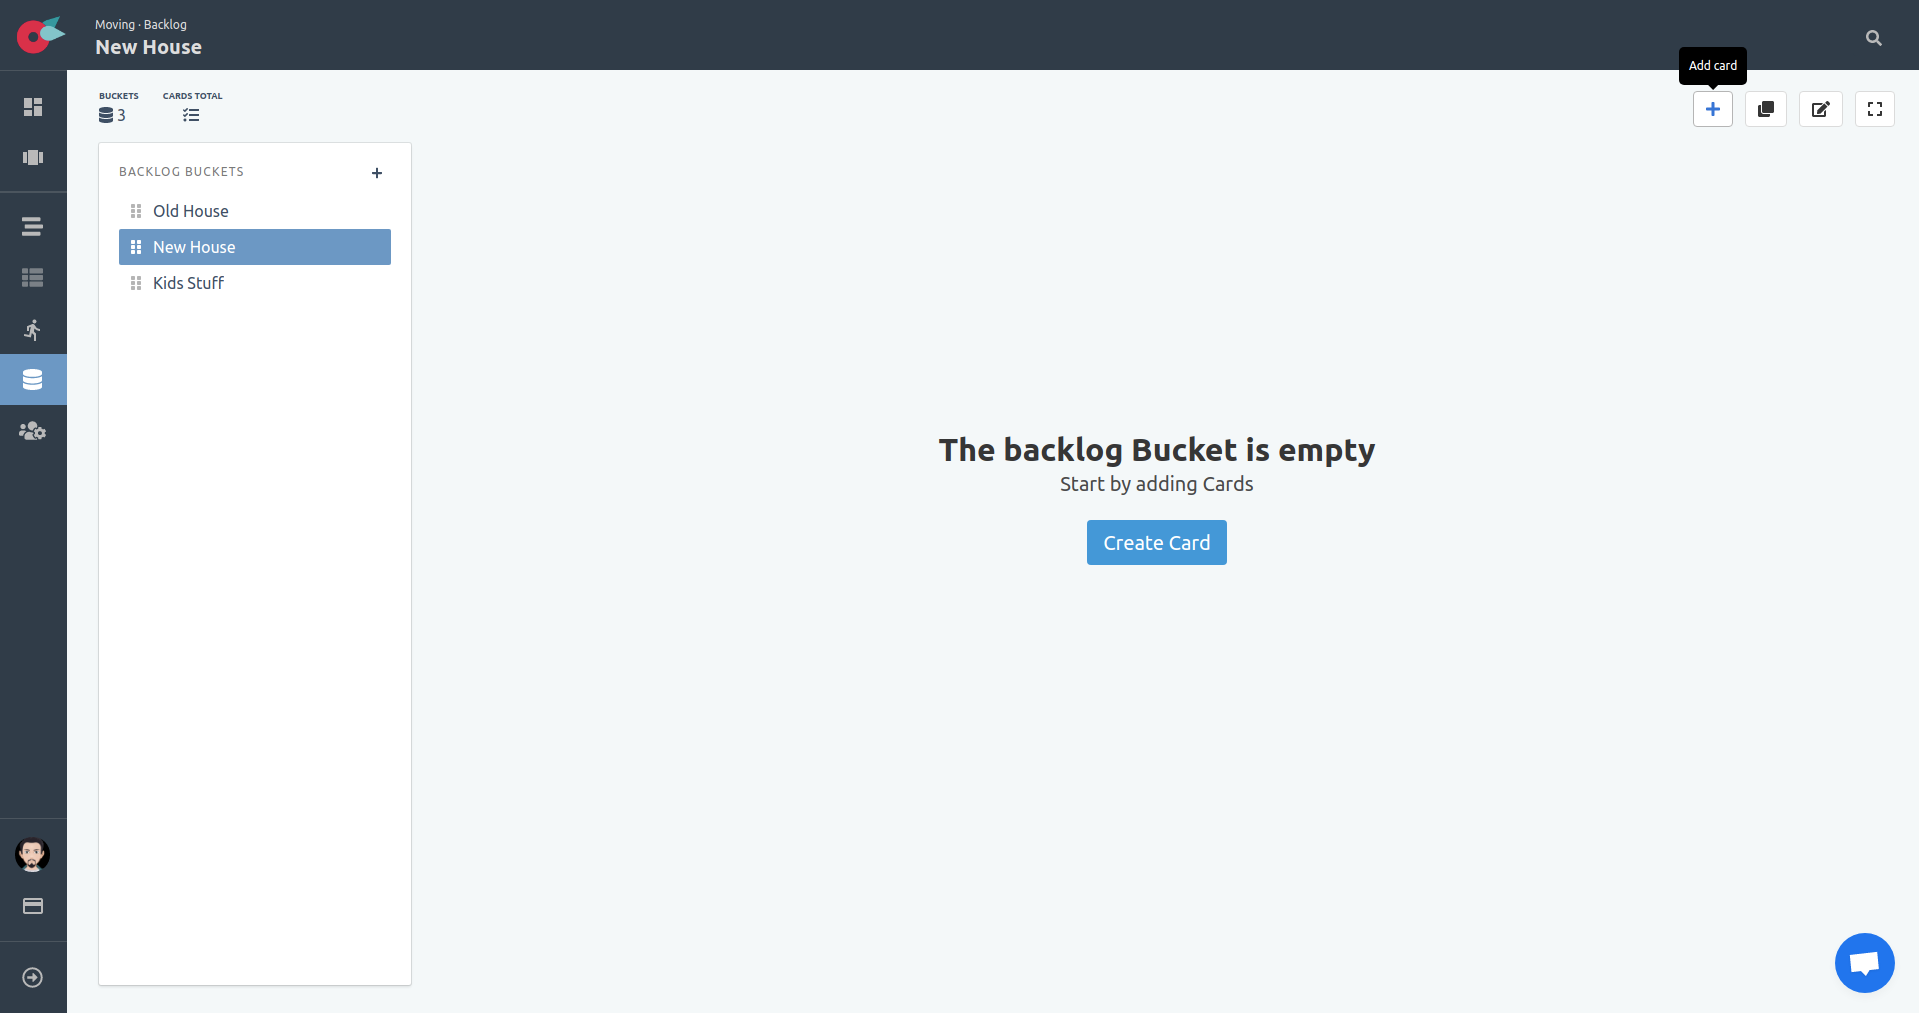
When you click on the button, an input field appears. Simply type the name of the card in the input text box, and hit Enter or click on the Add Card button.
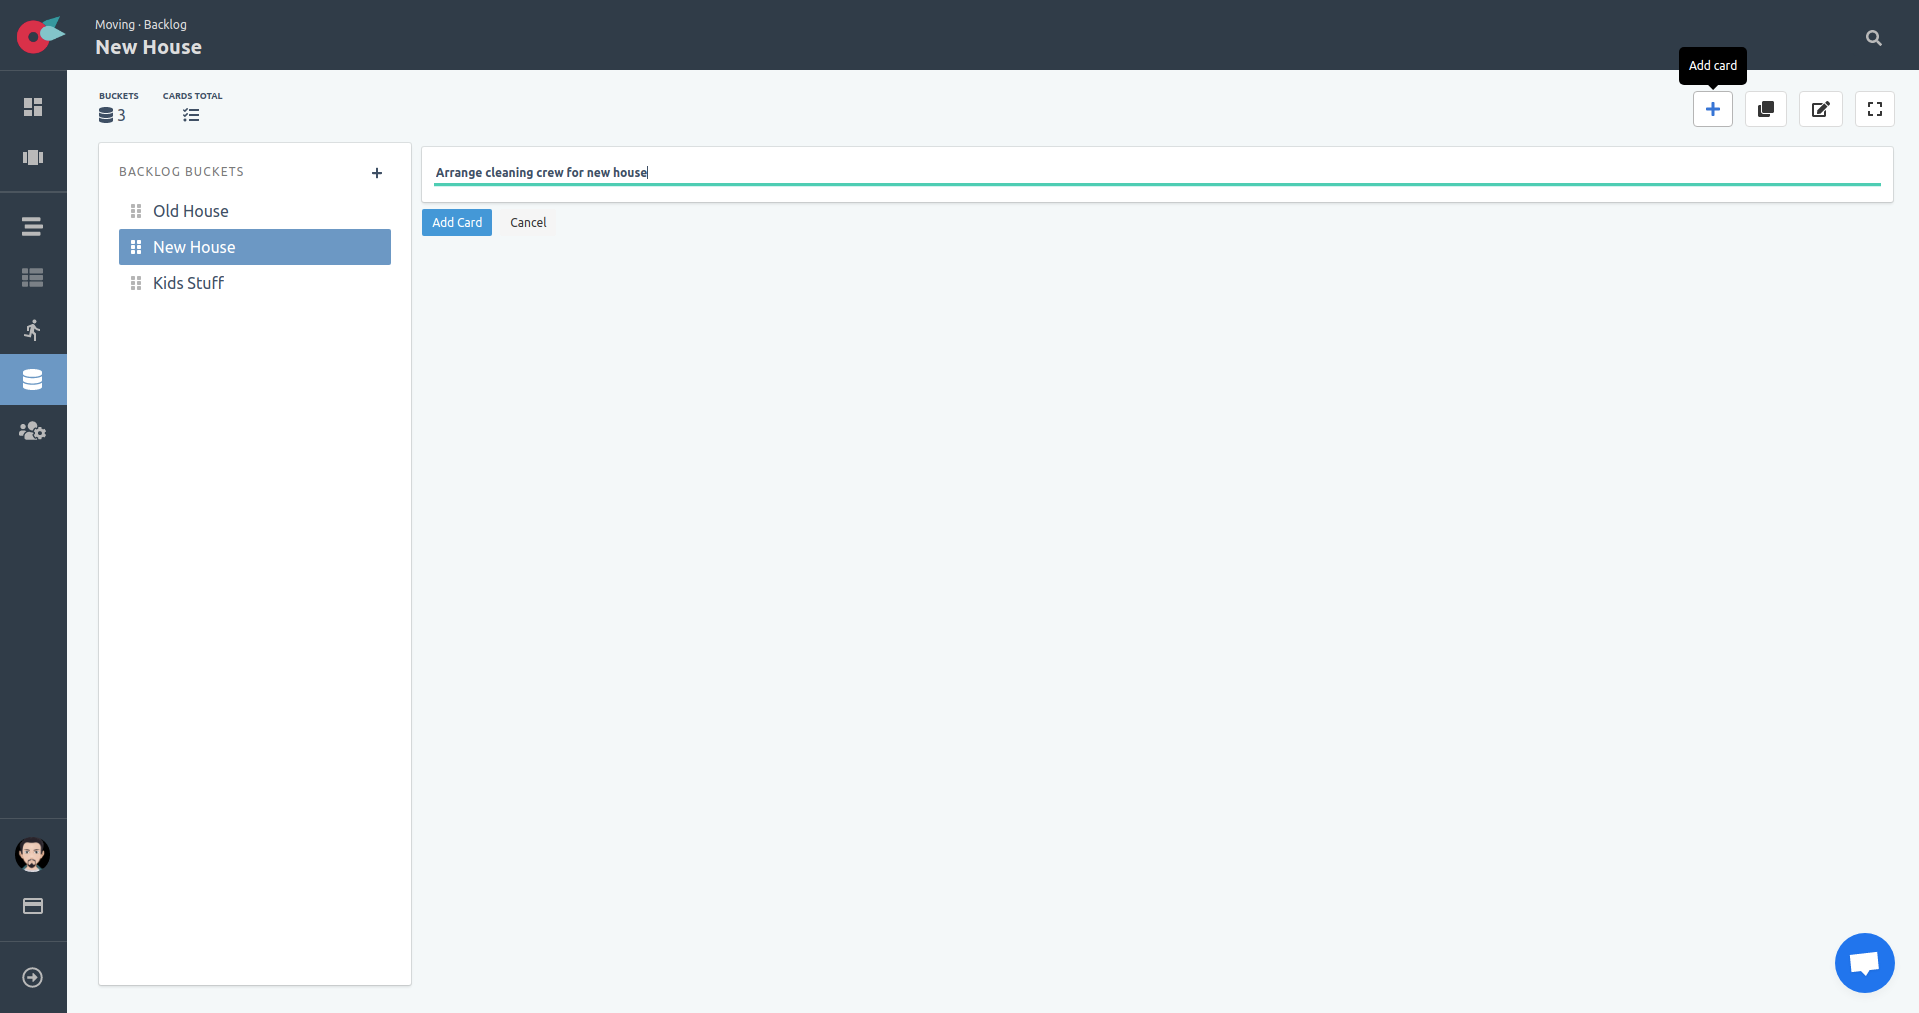
You can add as many items as you can think of. Remember that these are higher level work items, that we can break down into smaller tasks later.
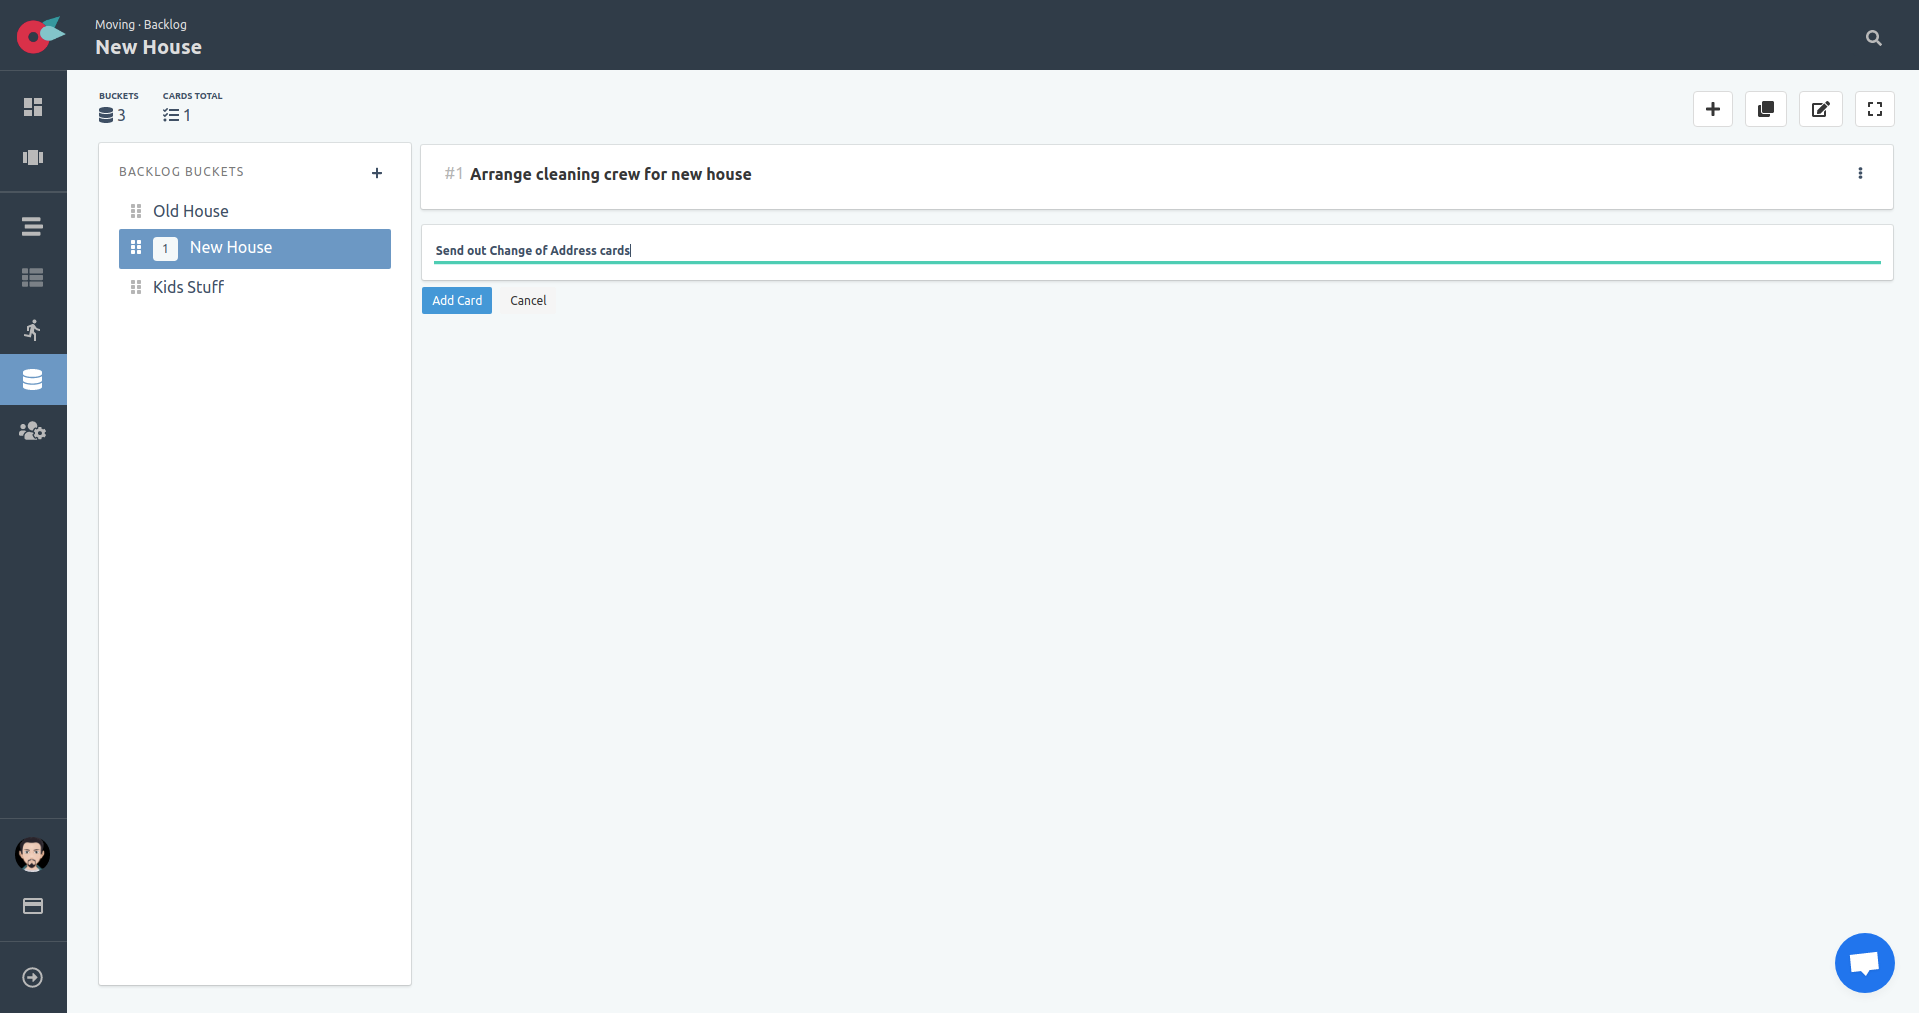
Do not worry about thinking of everything up front. You can come back and add more items to your list at any point.
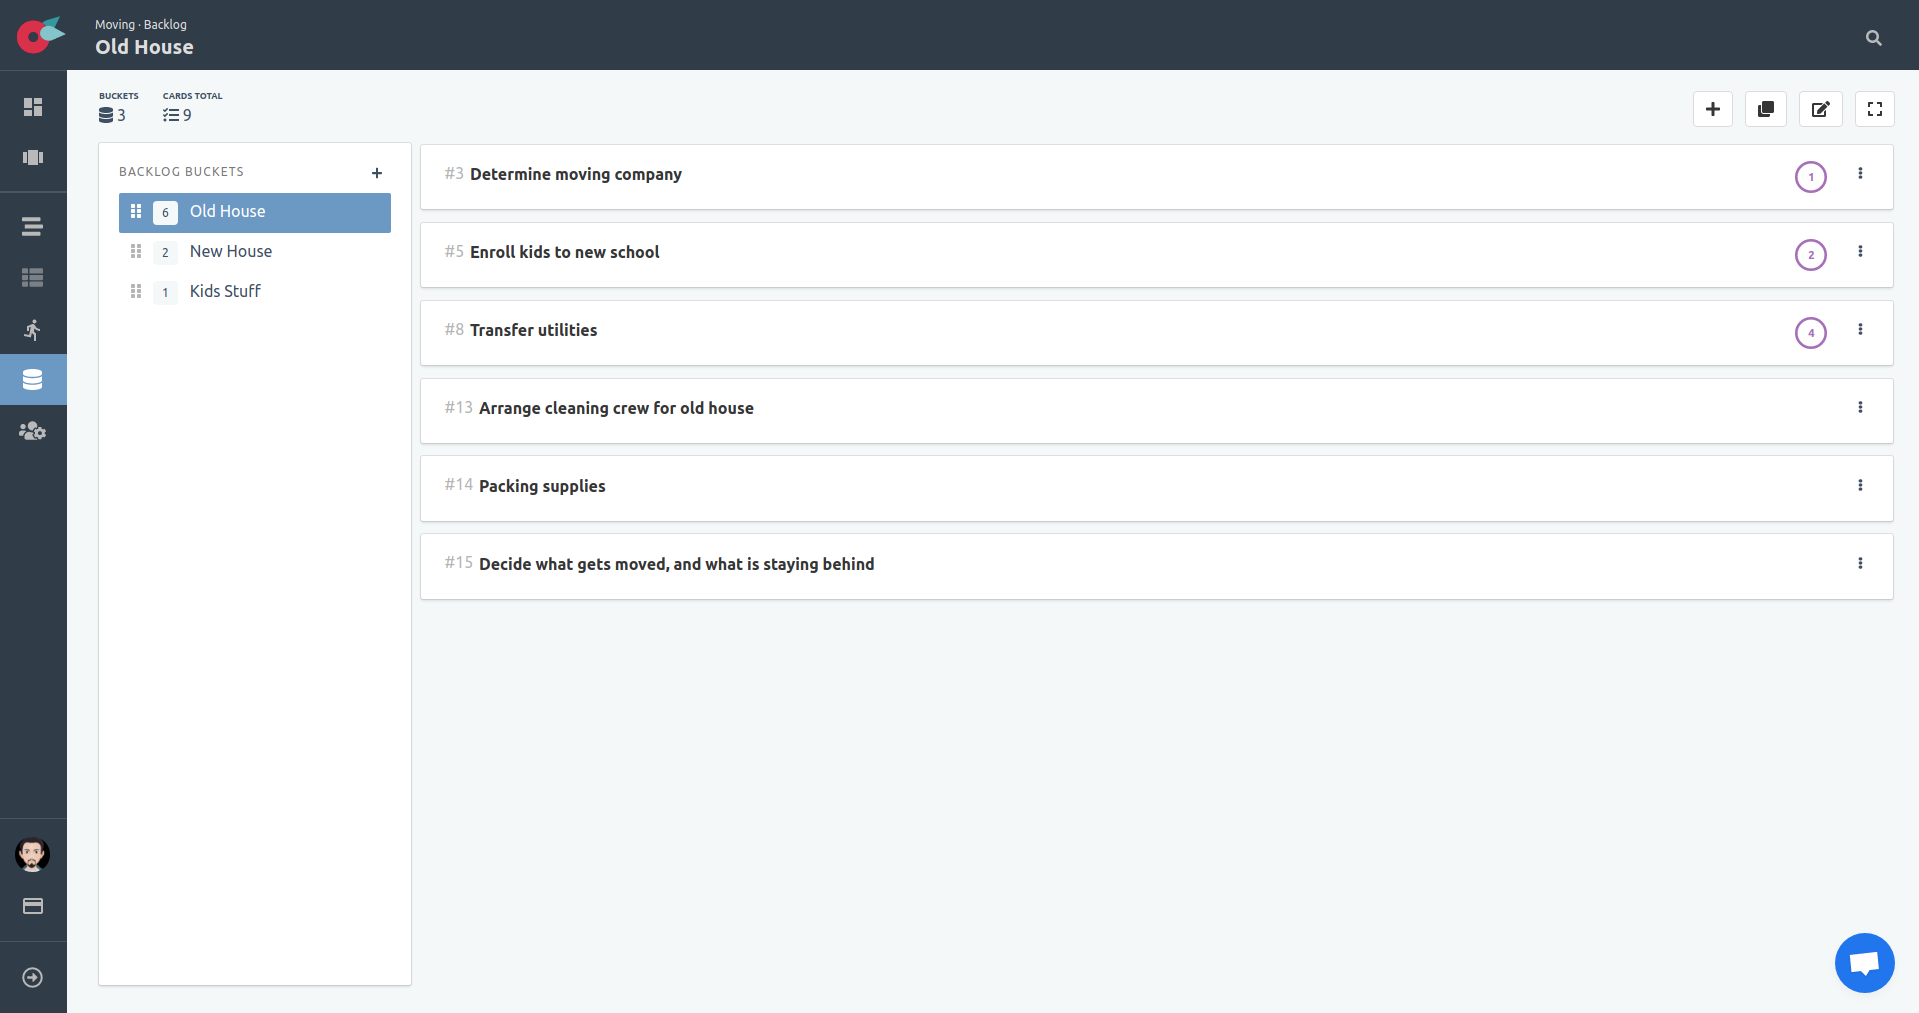
Edit Card details
You can edit the card details by clicking on the name of the card, or via the card menu that is located in the top right corner of each card. Once you click on the name, a modal with the card details will be visible. Start editing the card with the details and tasks you want.
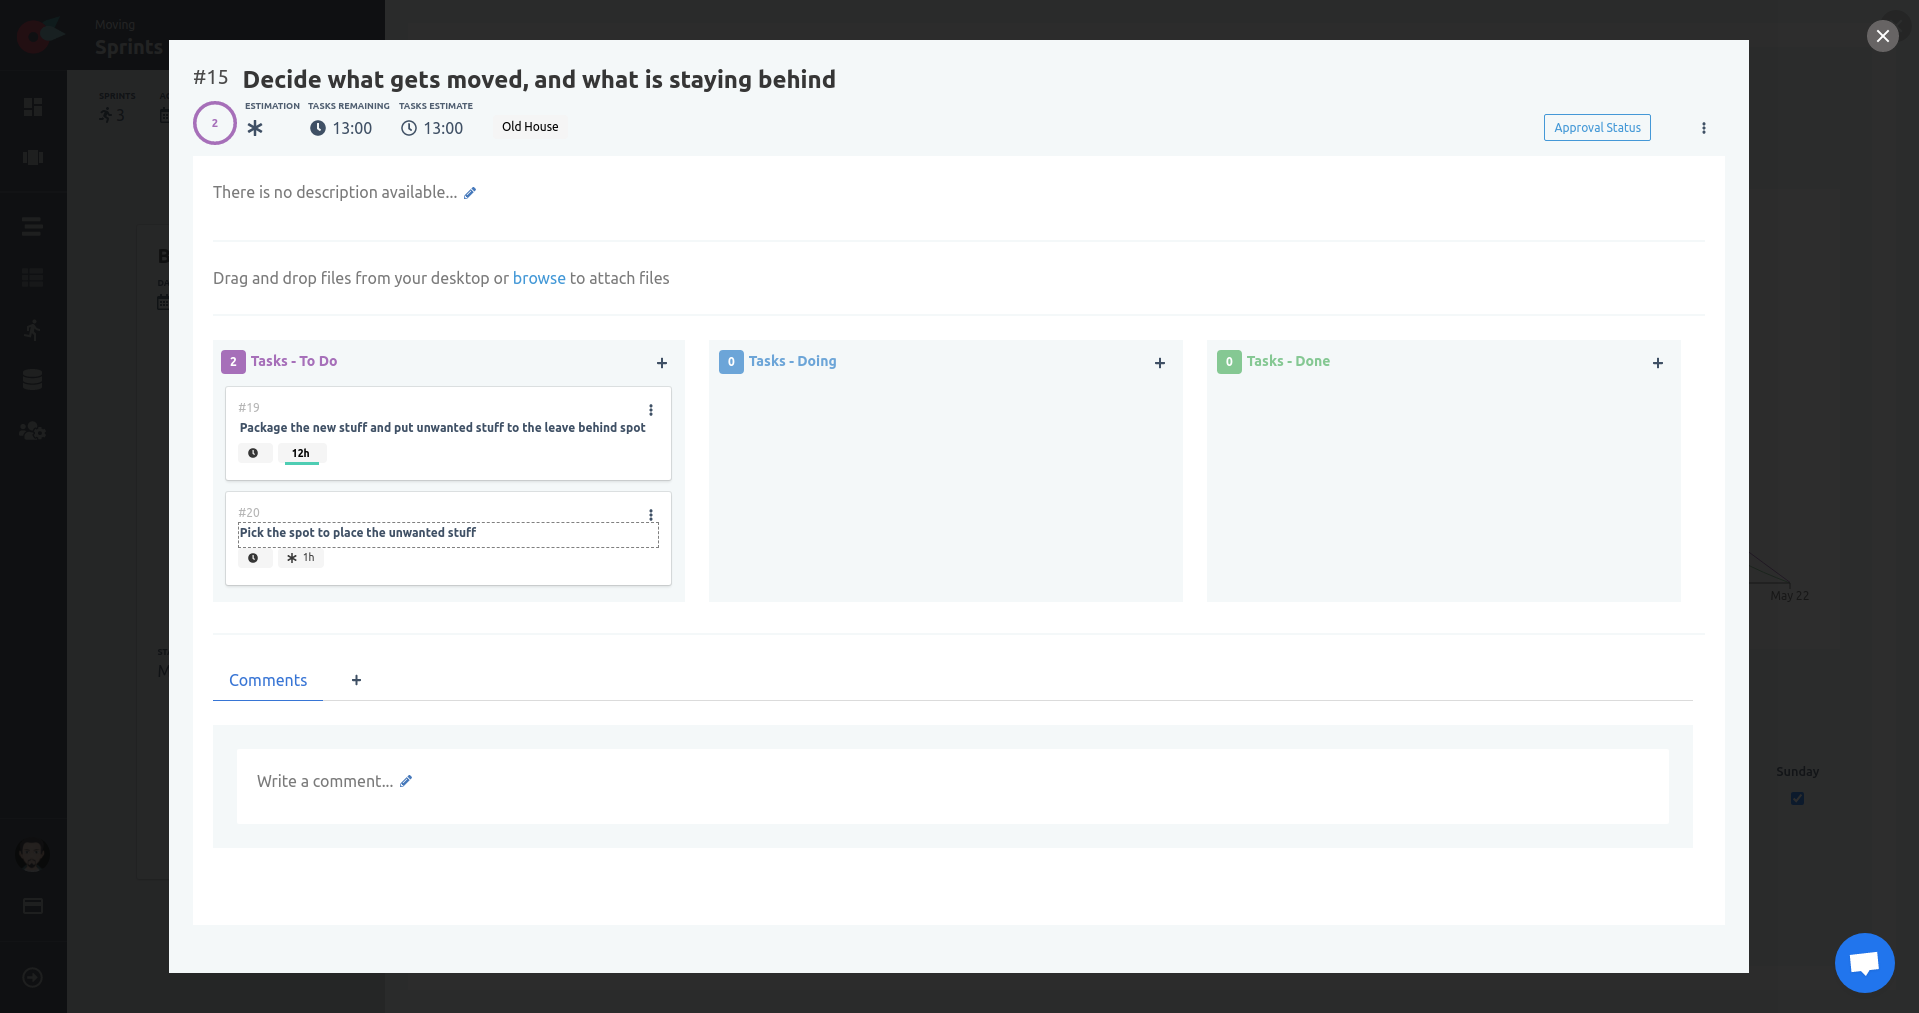
Add more details for each item, in the item’s details. By clicking on the name of the card, the card details modal will appear, where you can add description, attachments, tasks, comments, and topics.
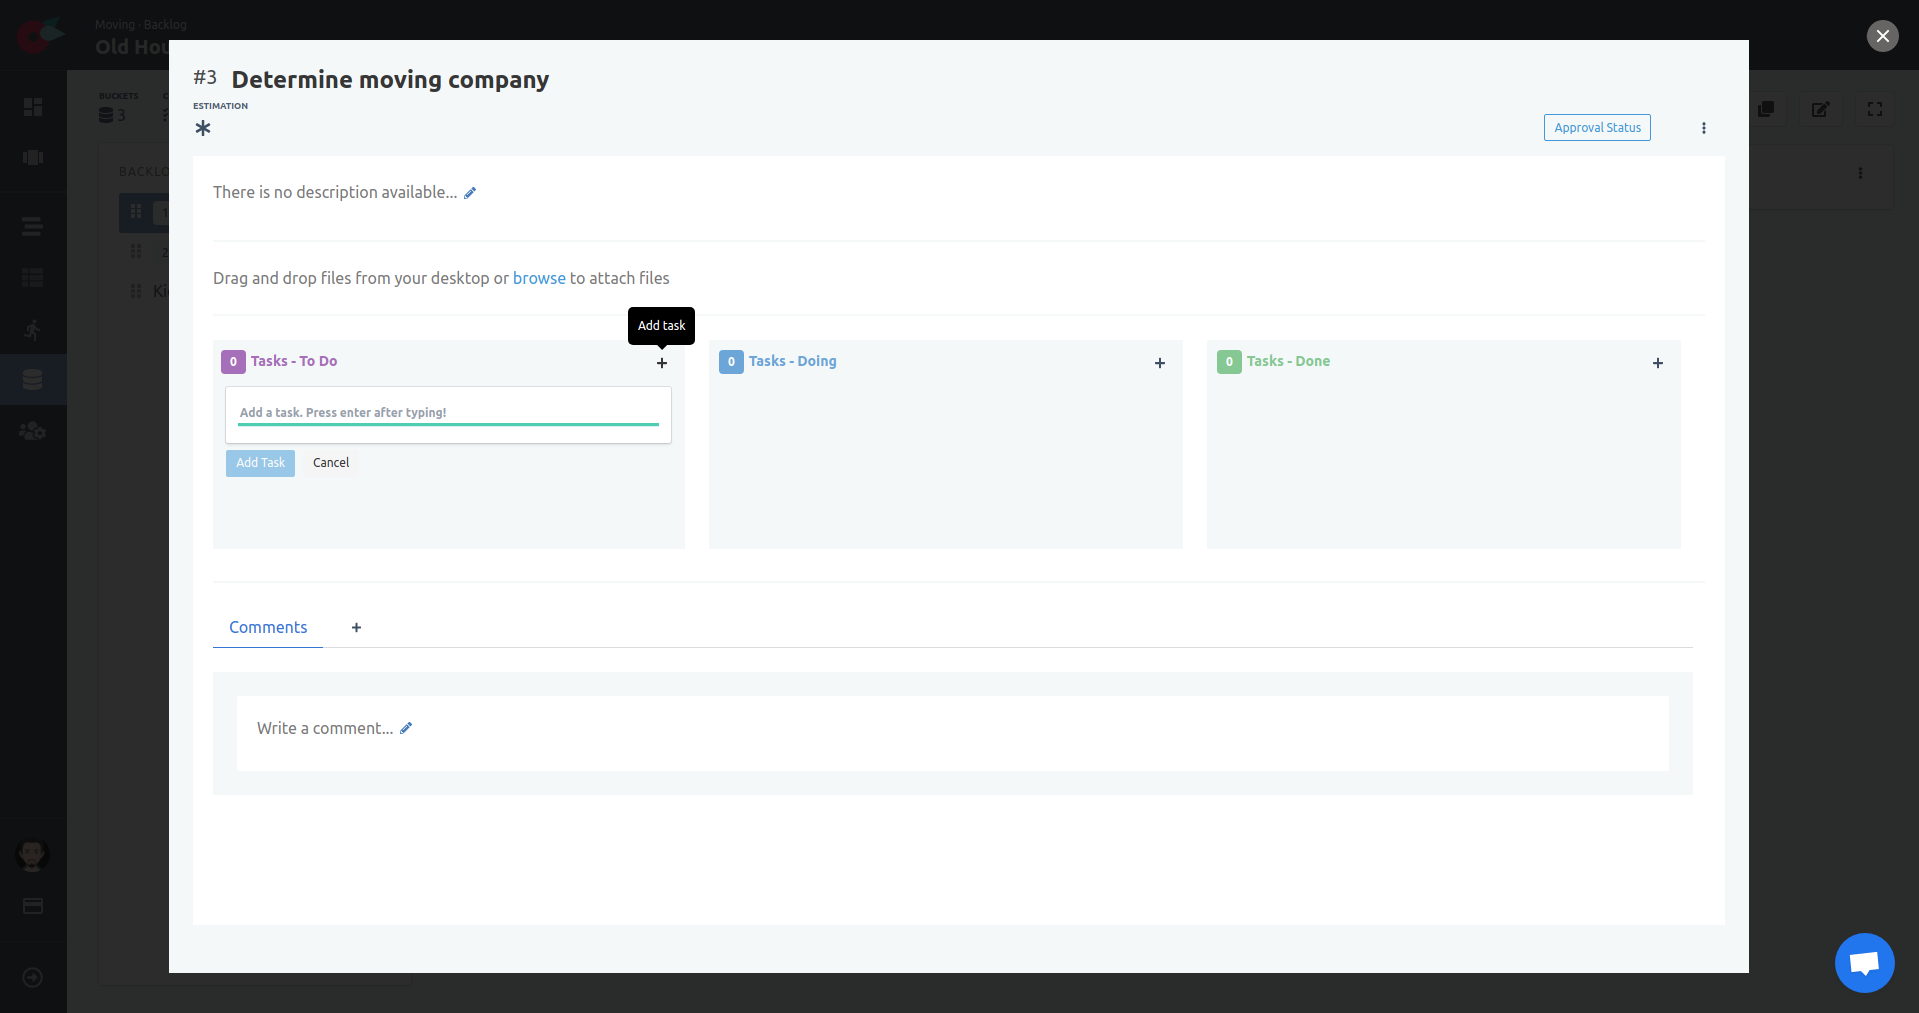
Let’s add tasks on another card that we already know what we will do. We will estimate the tasks as well.
Moving the Cards around in the Backlog
The cards can be moved around in backlog via drag ‘n drop. The order from top to bottom is used to order the priority of each card. There are times that you need to move a card from one bucket to another one, though.
Locate the Move Cards to Buckets button and click on it.
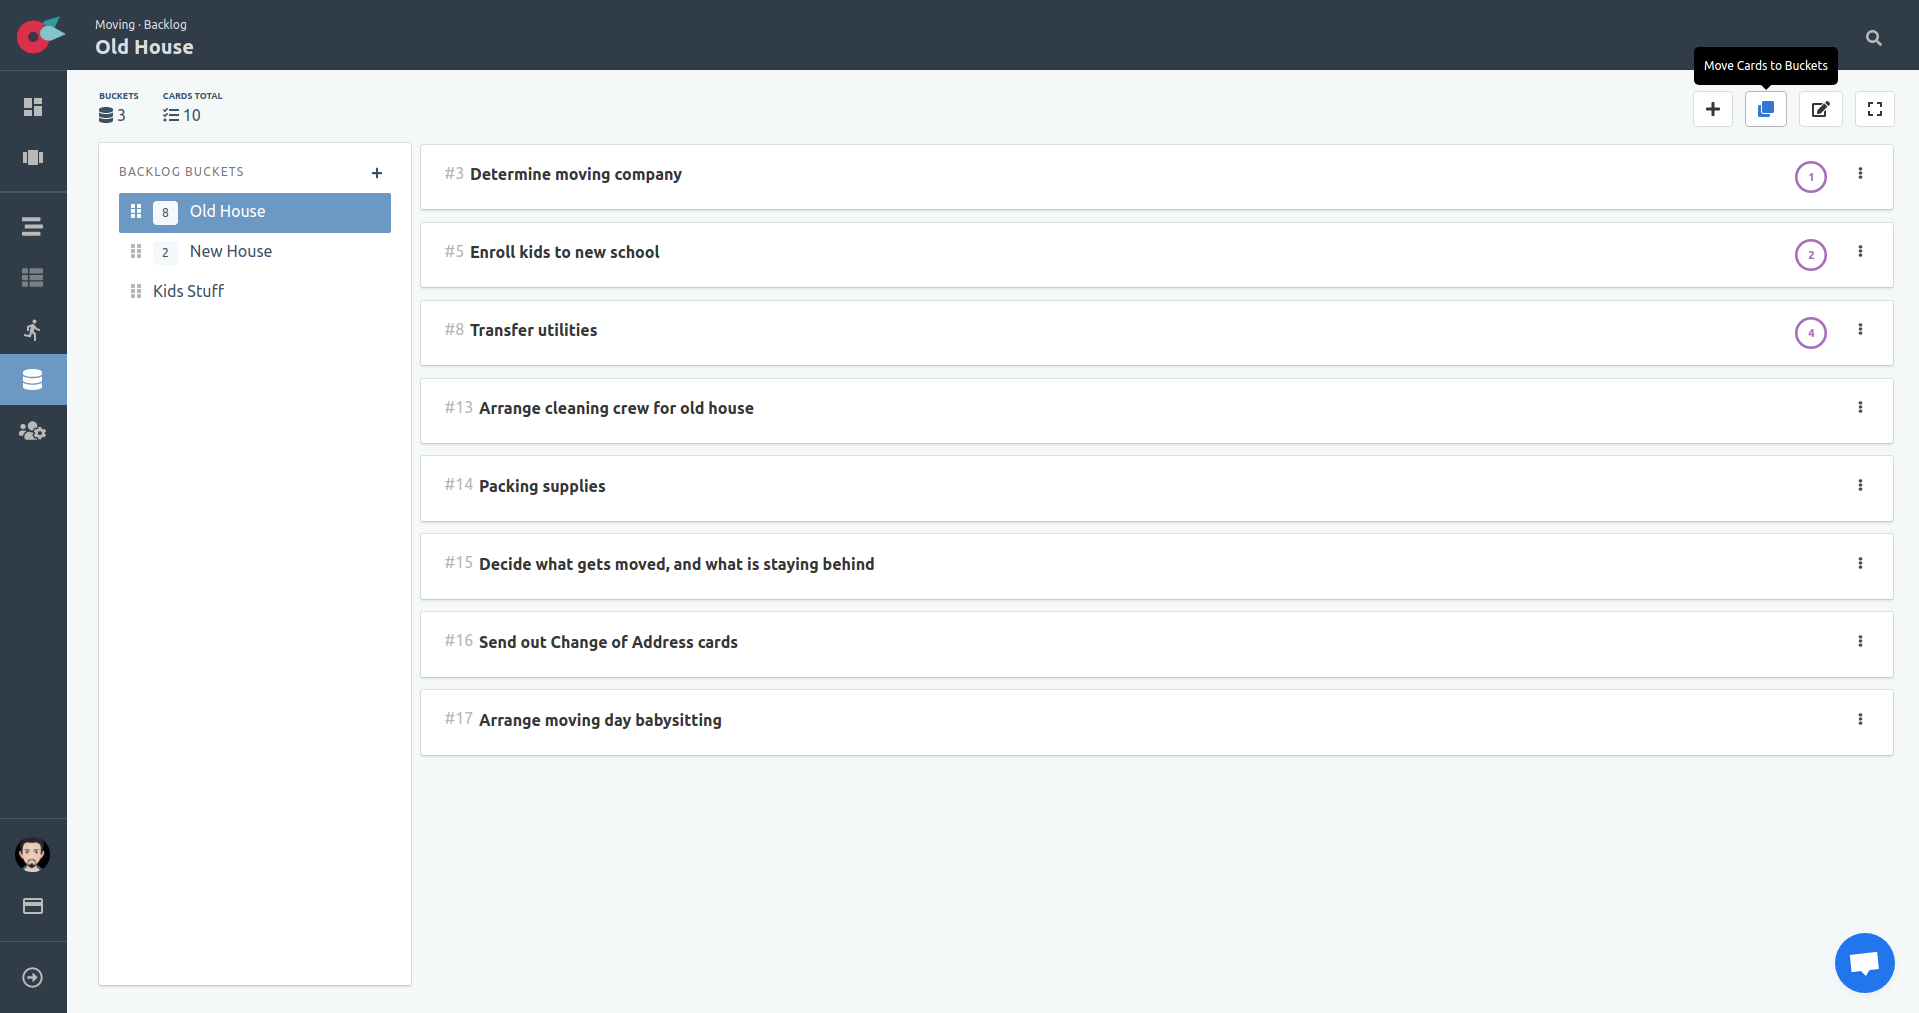
Once you click on the button, you will see a slightly different view that makes it easier to move the cards to another backlog bucket.
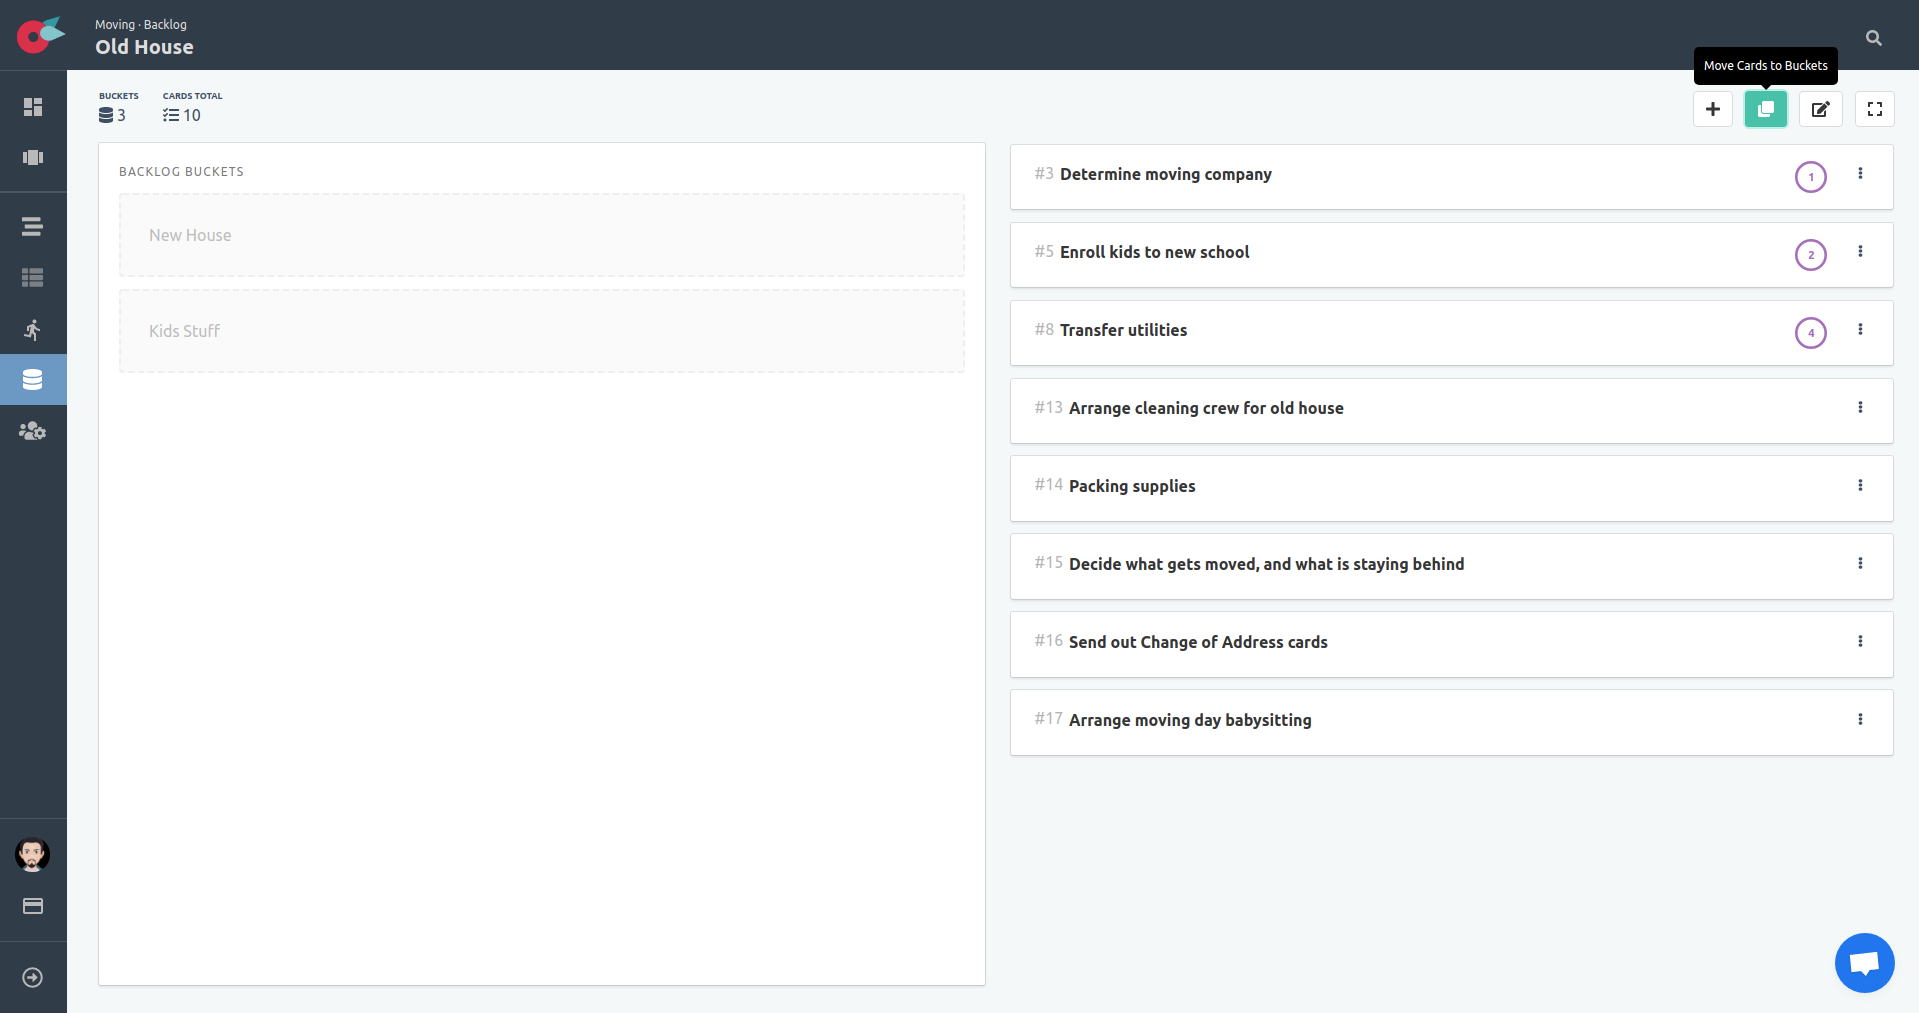
Just drag ‘n drop the card you want to the bucket you want. We will move the cards to the proper bucket after a some extra thoughts in our project.
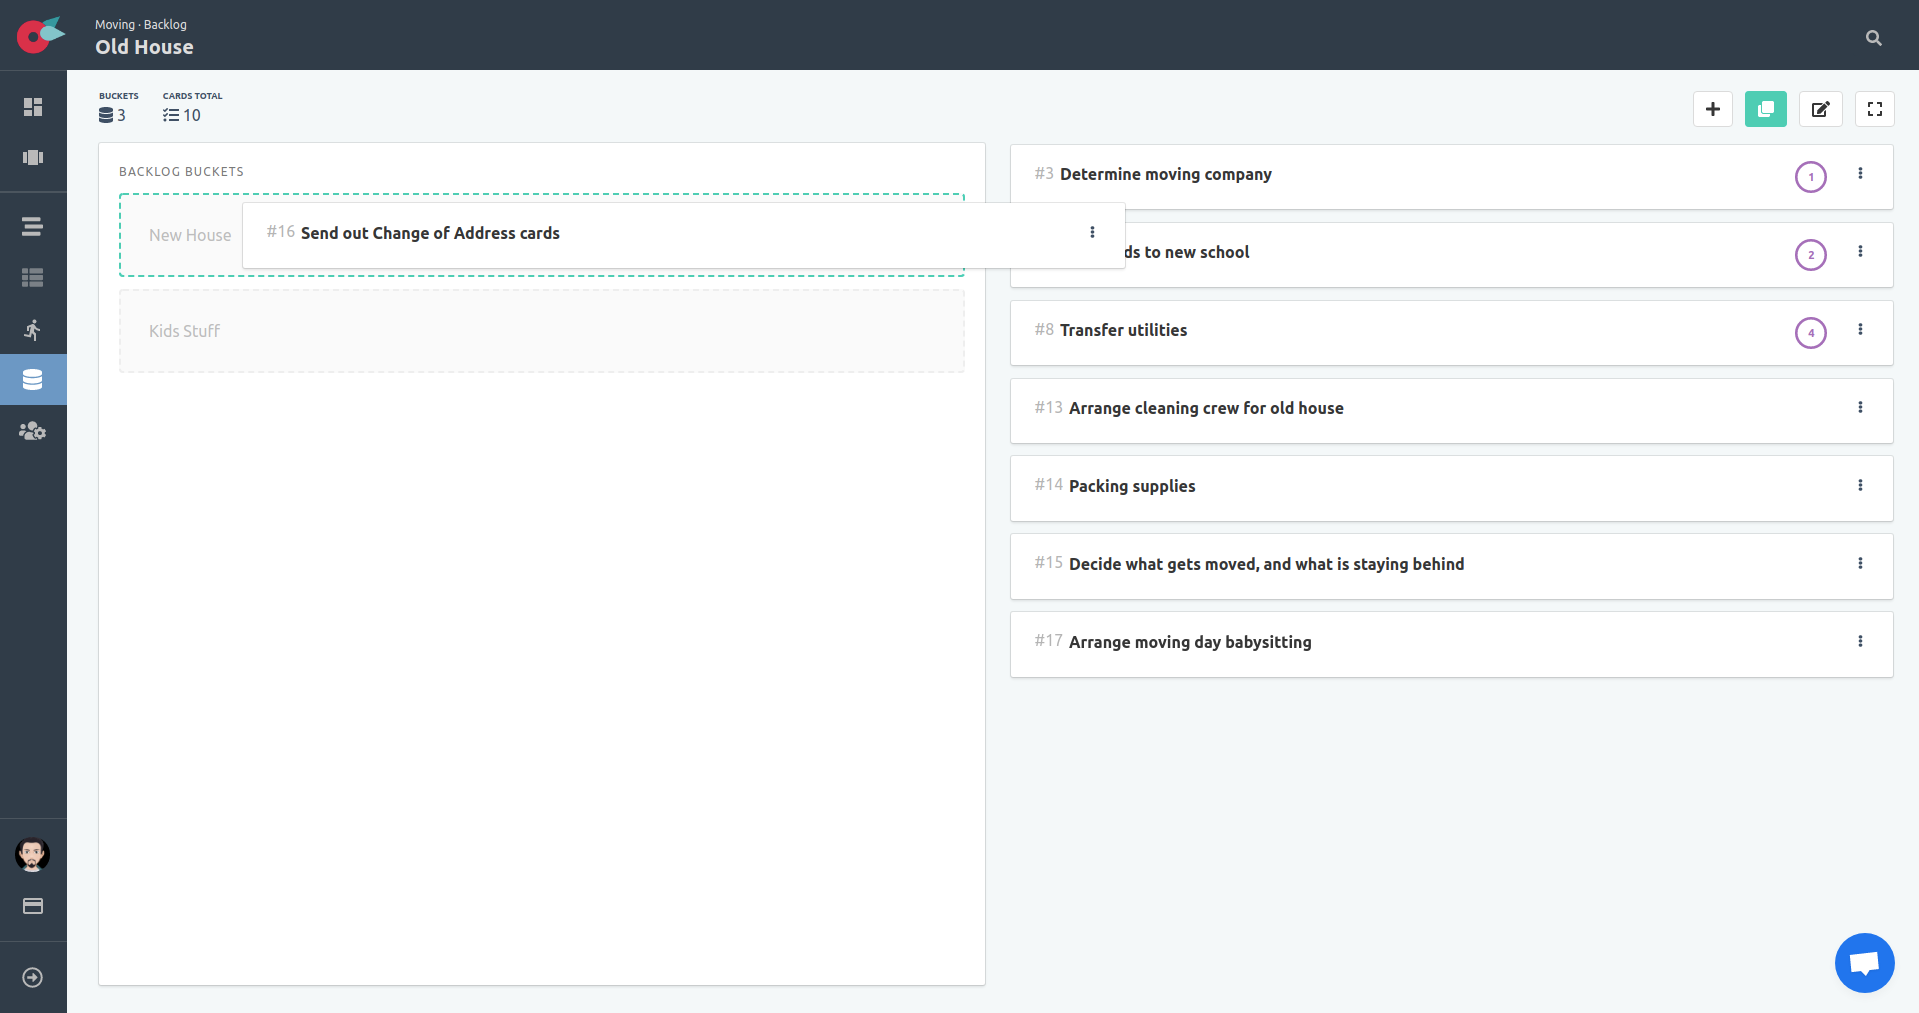
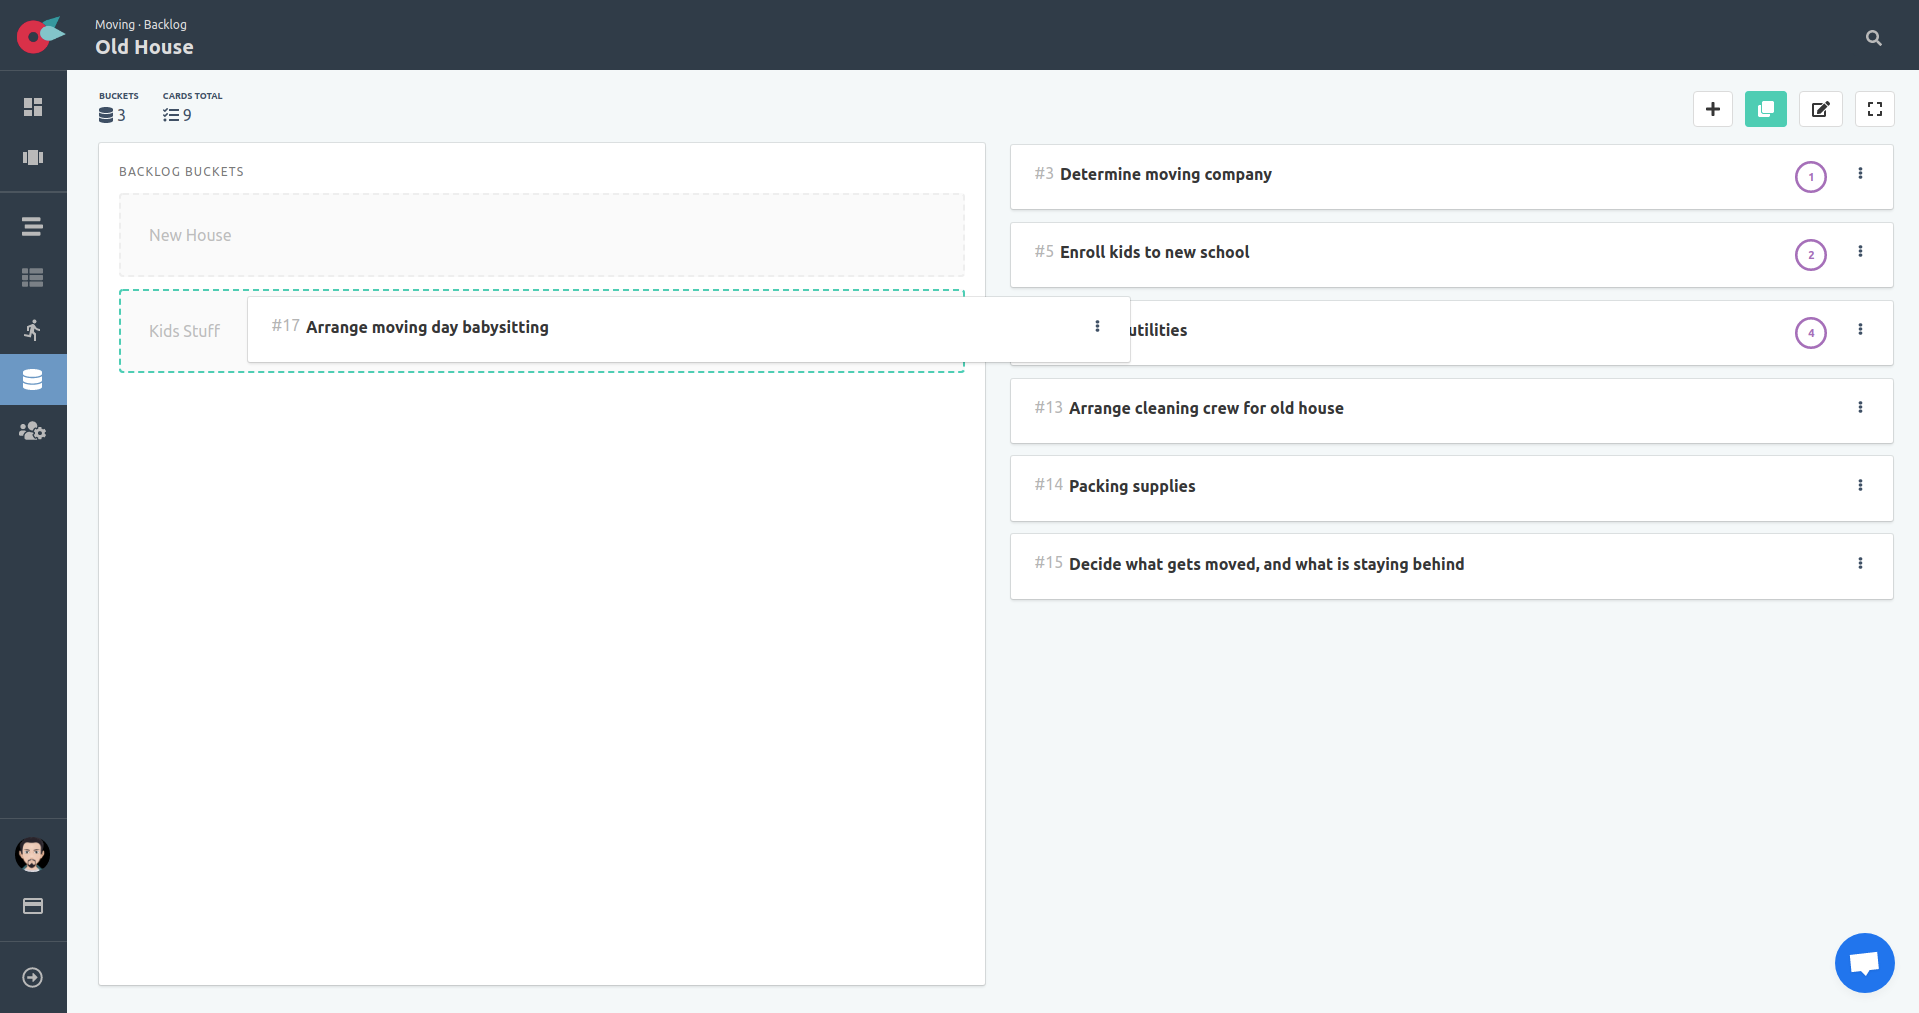
Click on the Move Cards to Buckets button again to return to normal view to continue working as usual.

Sprints (Scrum based projects)
As described in the Scrum Guide, Sprints are the heartbeat of Scrum, where ideas are turned into value. Sprints are time-boxed iterations, no longer than one month and most commonly two weeks.
A sprint in Flying Donut has the following states:
- Pending: A sprint is not started, thus is in pending state, even if the start date is past.
- Started: A sprint has been started, thus is active. Active sprints show up in the dashboard.
- Completed: A sprint has been completed, thus is done.
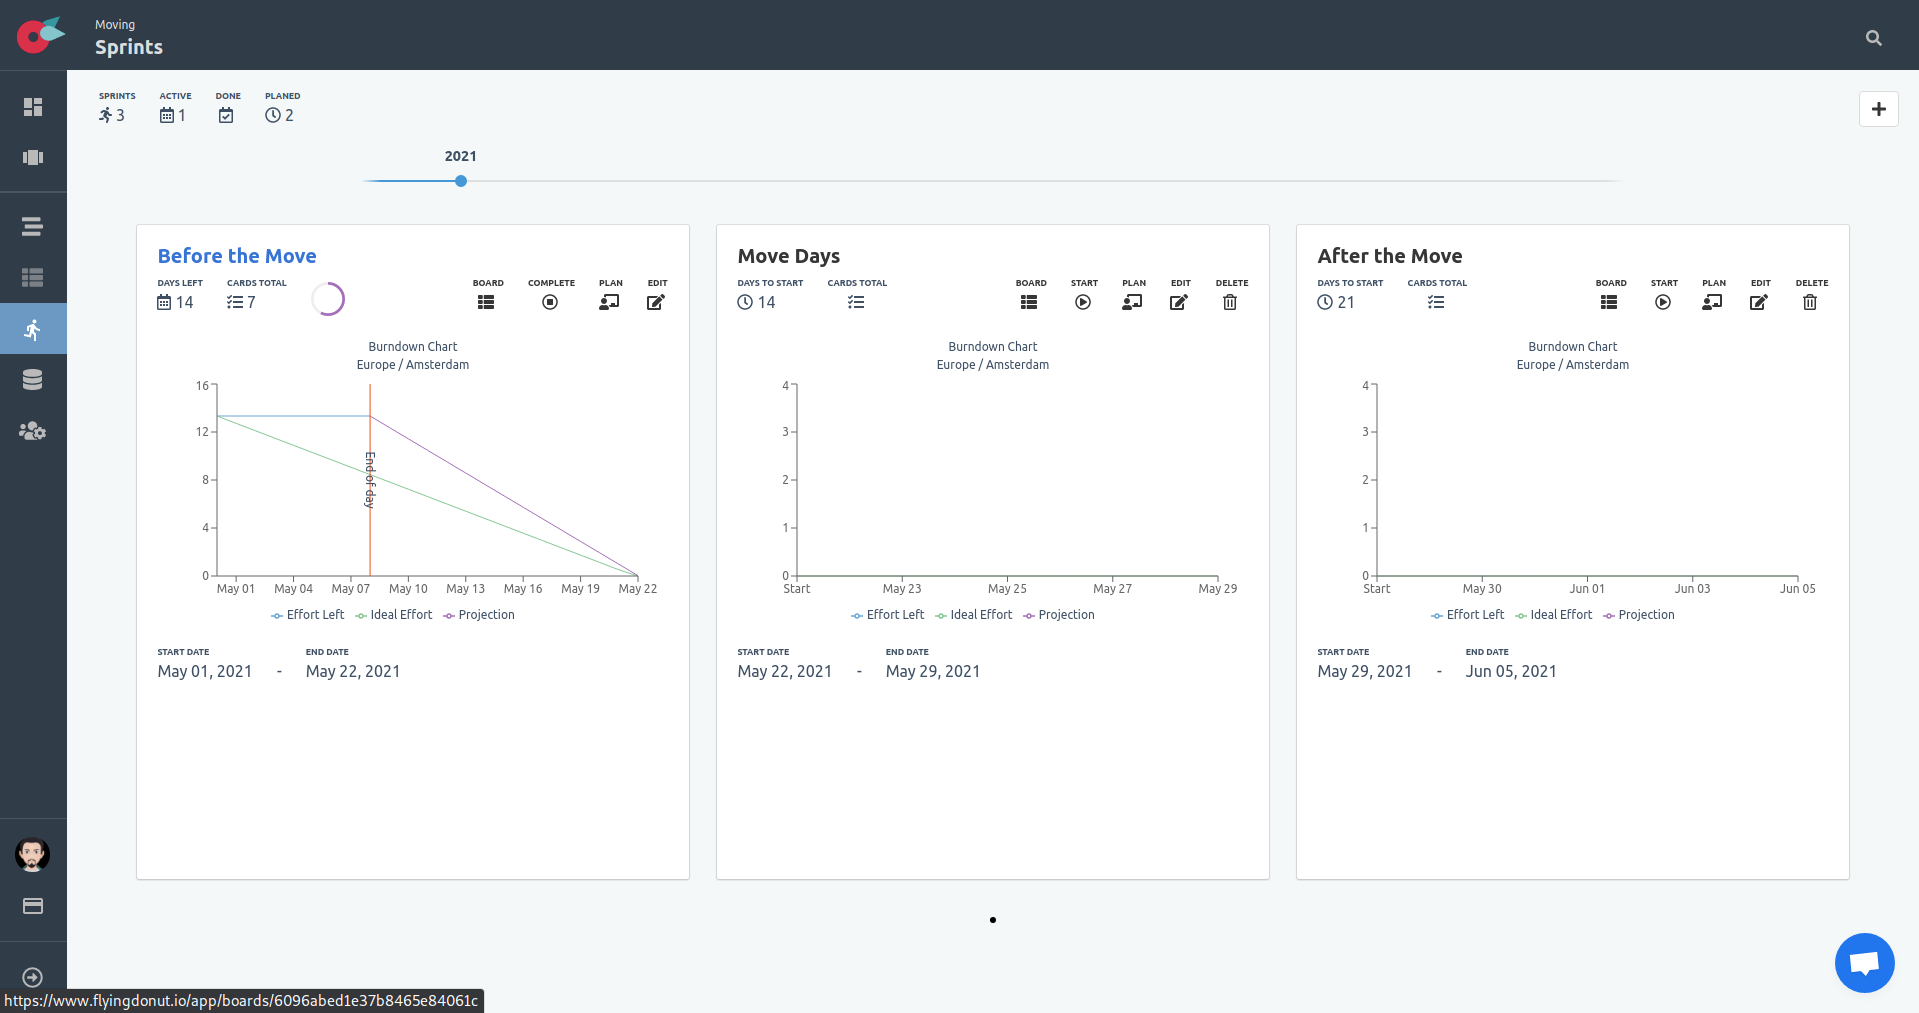
Creating a Sprint
In our case, we will create a sprint for each of the project’s phases:
- Before the move
- Move days
- After the move
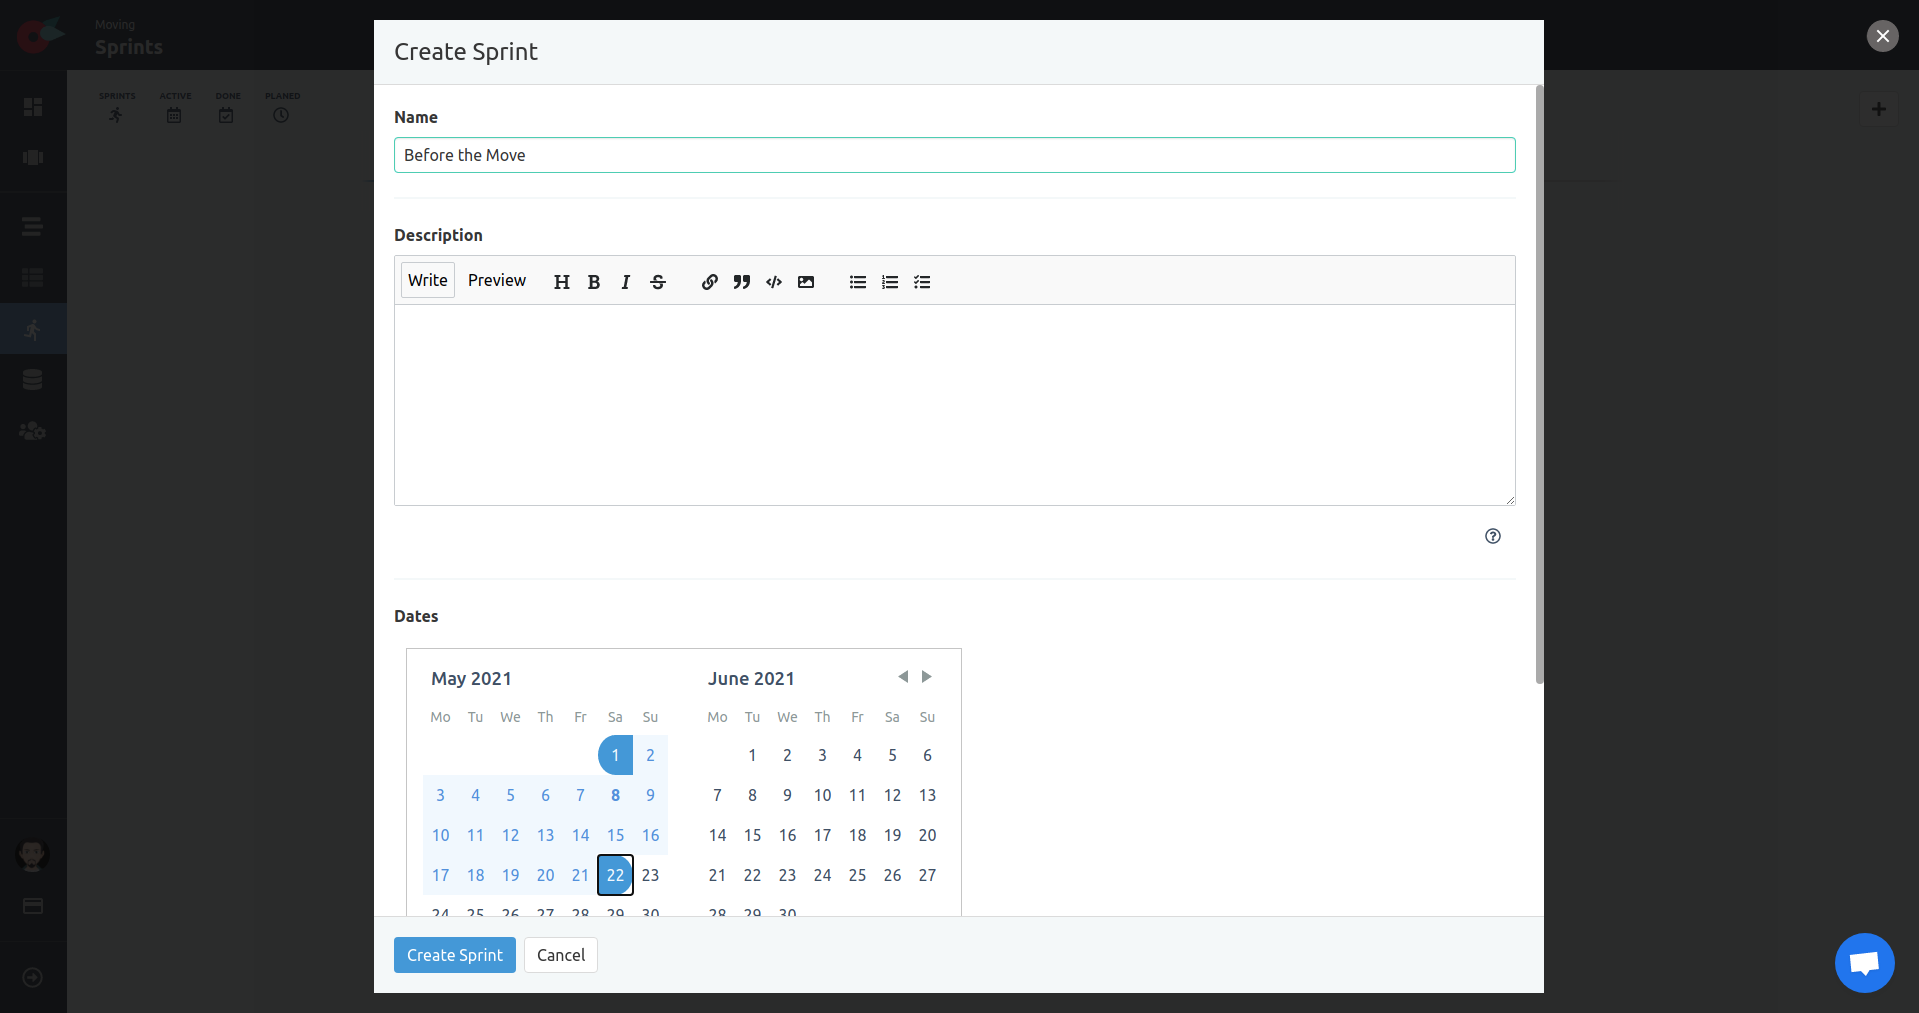
Locate the + button in the upper right corner, in the sprints page. Add a name, a description (with your sprint goal), and start and end dates. Don’t worry if you don’t know the dates yet. You can change them later on.
Once we are done creating the sprints, we see a timeline with our sprints, according to the start and end dates.
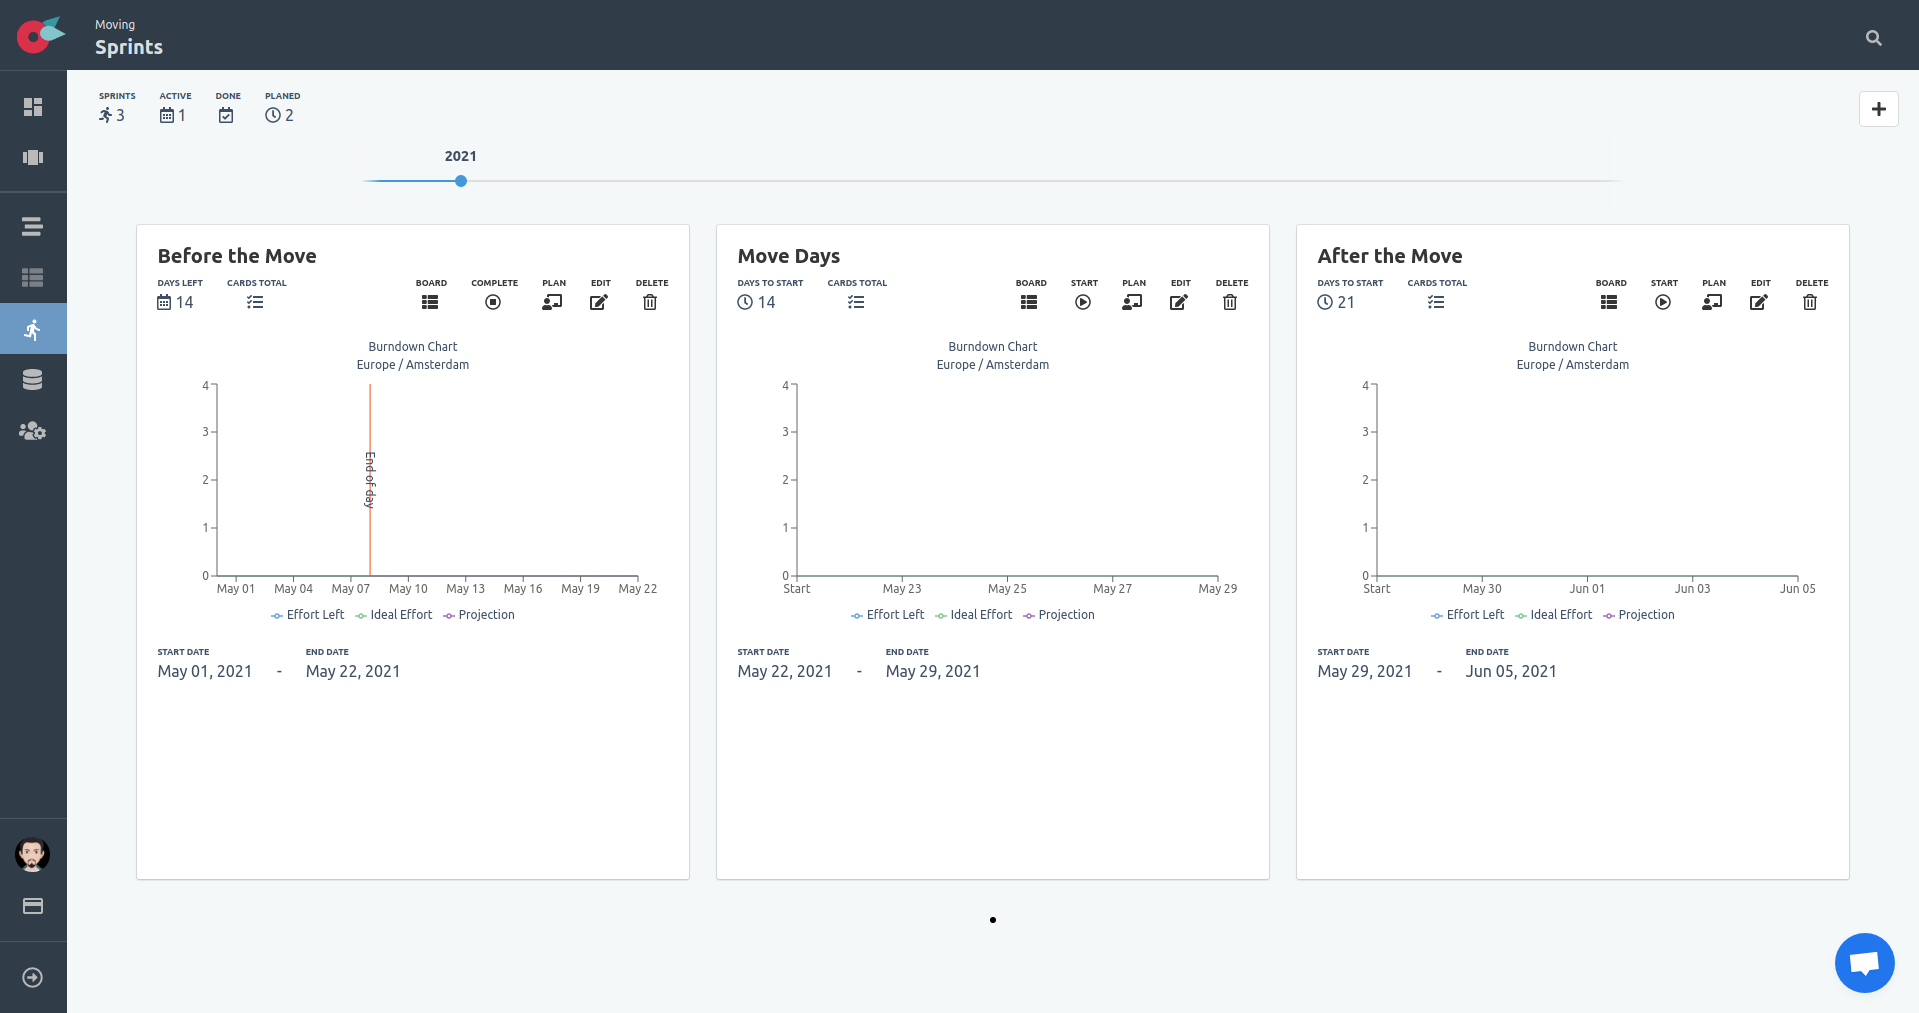
We used May 22nd to 29th as the move dates, so the sprints before and after the move are marked accordingly. Notice that when you are setting up your own project, you do not have to specify the dates if you are not sure of them. Dates are used to order the sprints in the sprints page. They are also used in the project summary pages and charts, to provide information whether the project is on track or behind schedule.
In the Sprint List, you will see among other things, depending on the start and end dates, and if the sprint has started, is completed or not:
- The sprint has started and have a number of days left.
- The sprint is overdue.
- The sprint is done.
- The sprint will start in number of days.
Adding Cards to the Sprint
Now that we have a list of cards (work items), we can add them to our sprints. What needs to be done before the move? What should we remember to do during the moving day? What can wait until after the move?
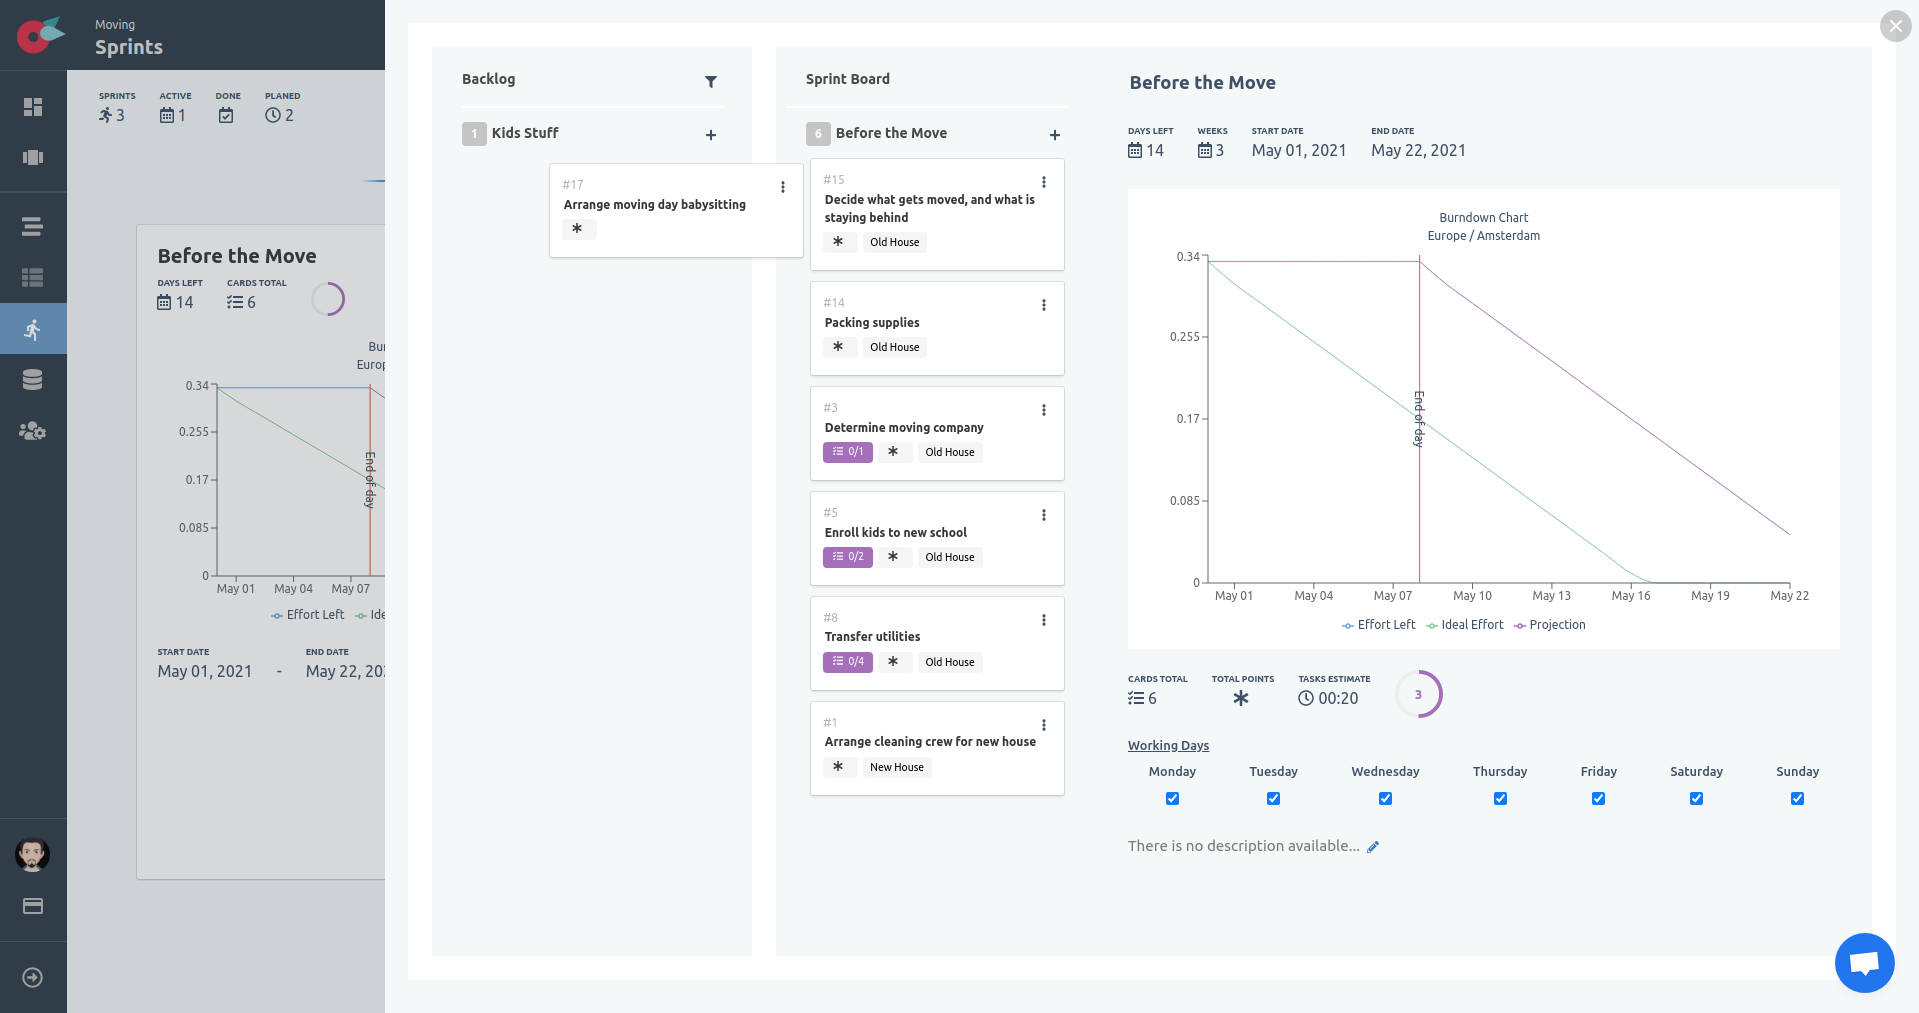
Click on the Plan button in the “Before the Move” sprint, to see this sprint’s planning view.
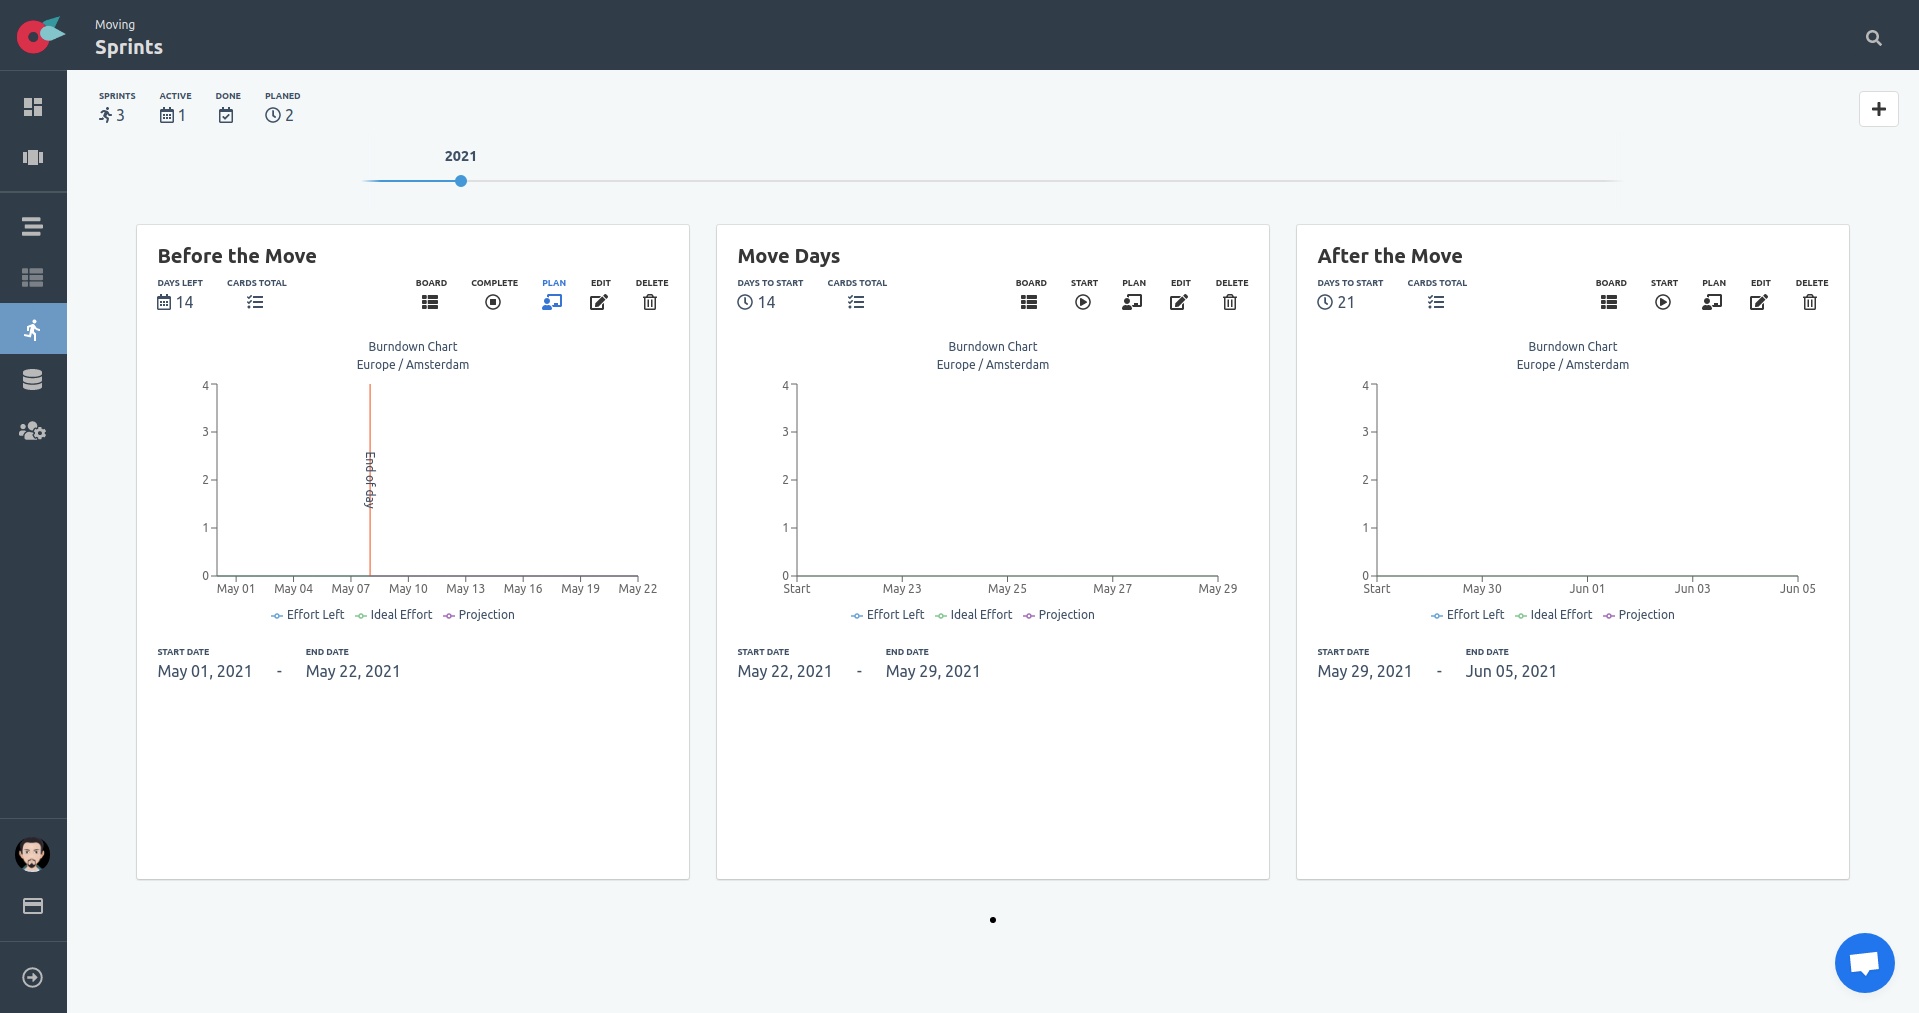
In the sprint planning view, you see two distinct areas:
- Backlog
- Sprint Board
Drag ‘n drop the cards from the selected backlog bucket into the sprint.
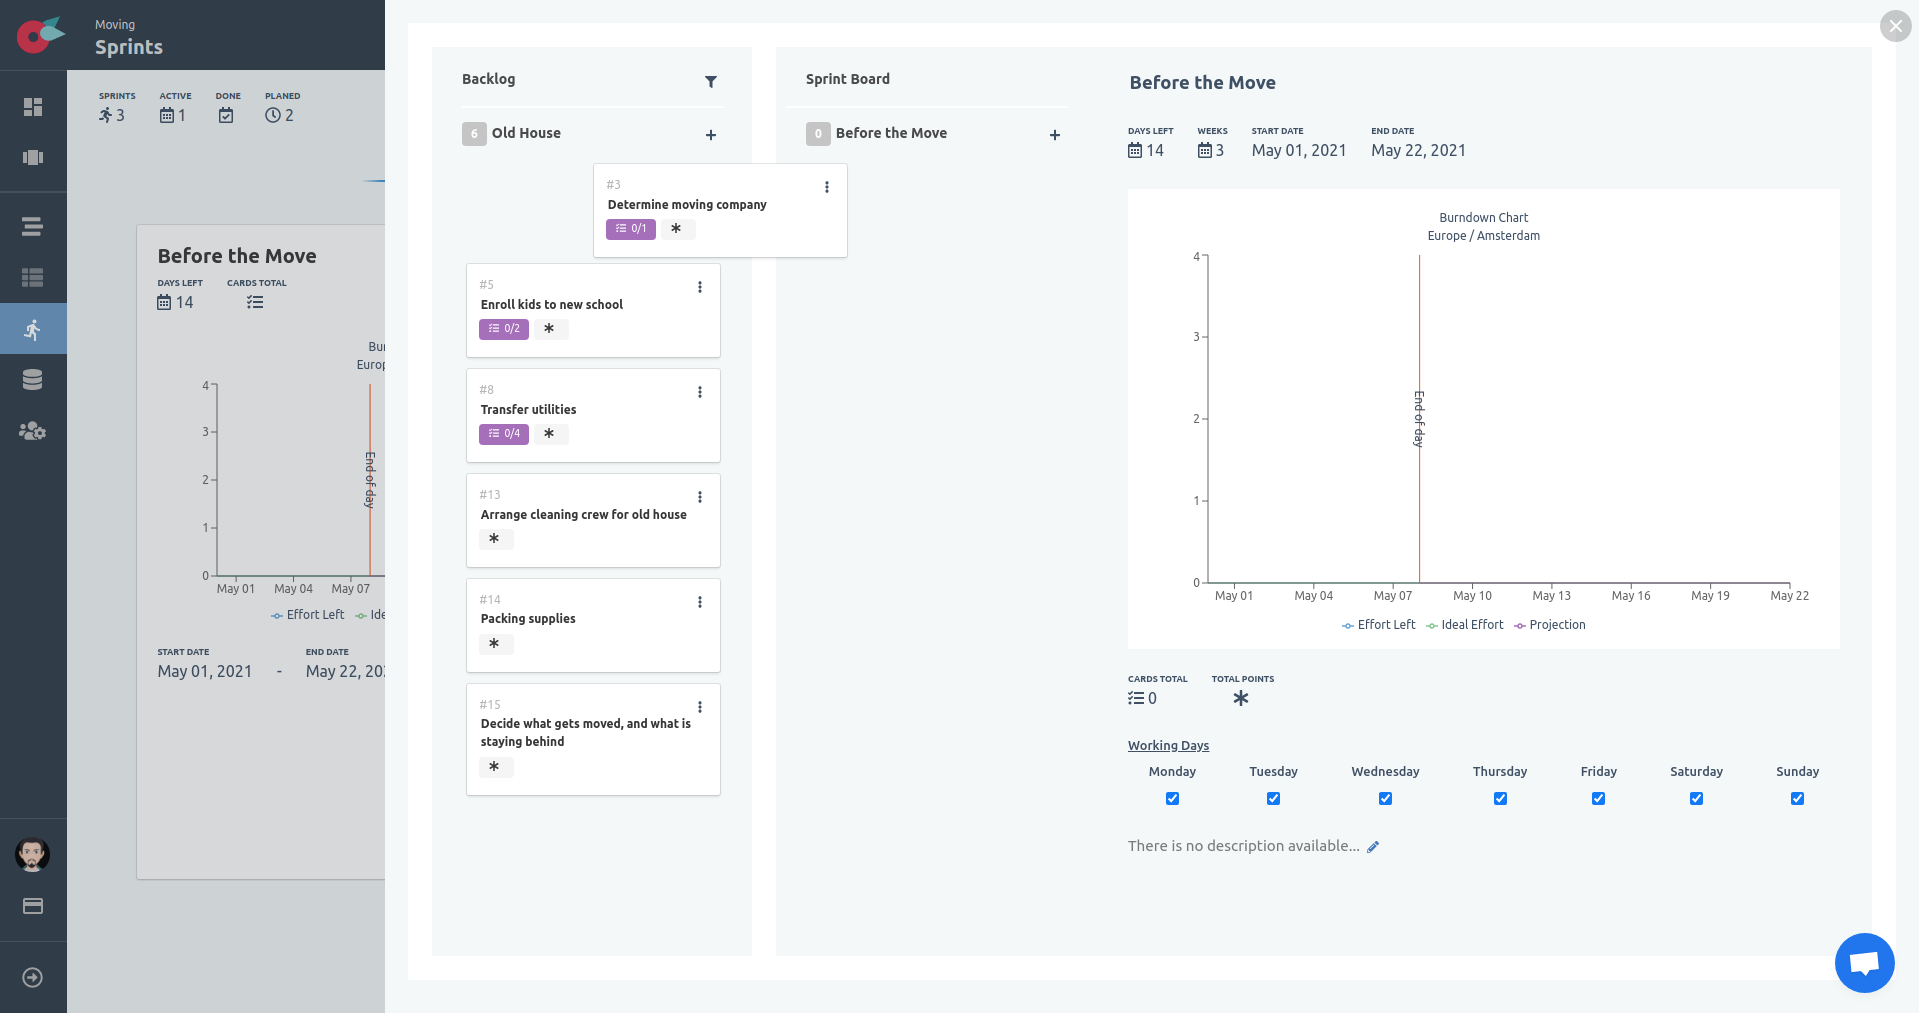
Once you drop the card, the view will be updated with the counters.
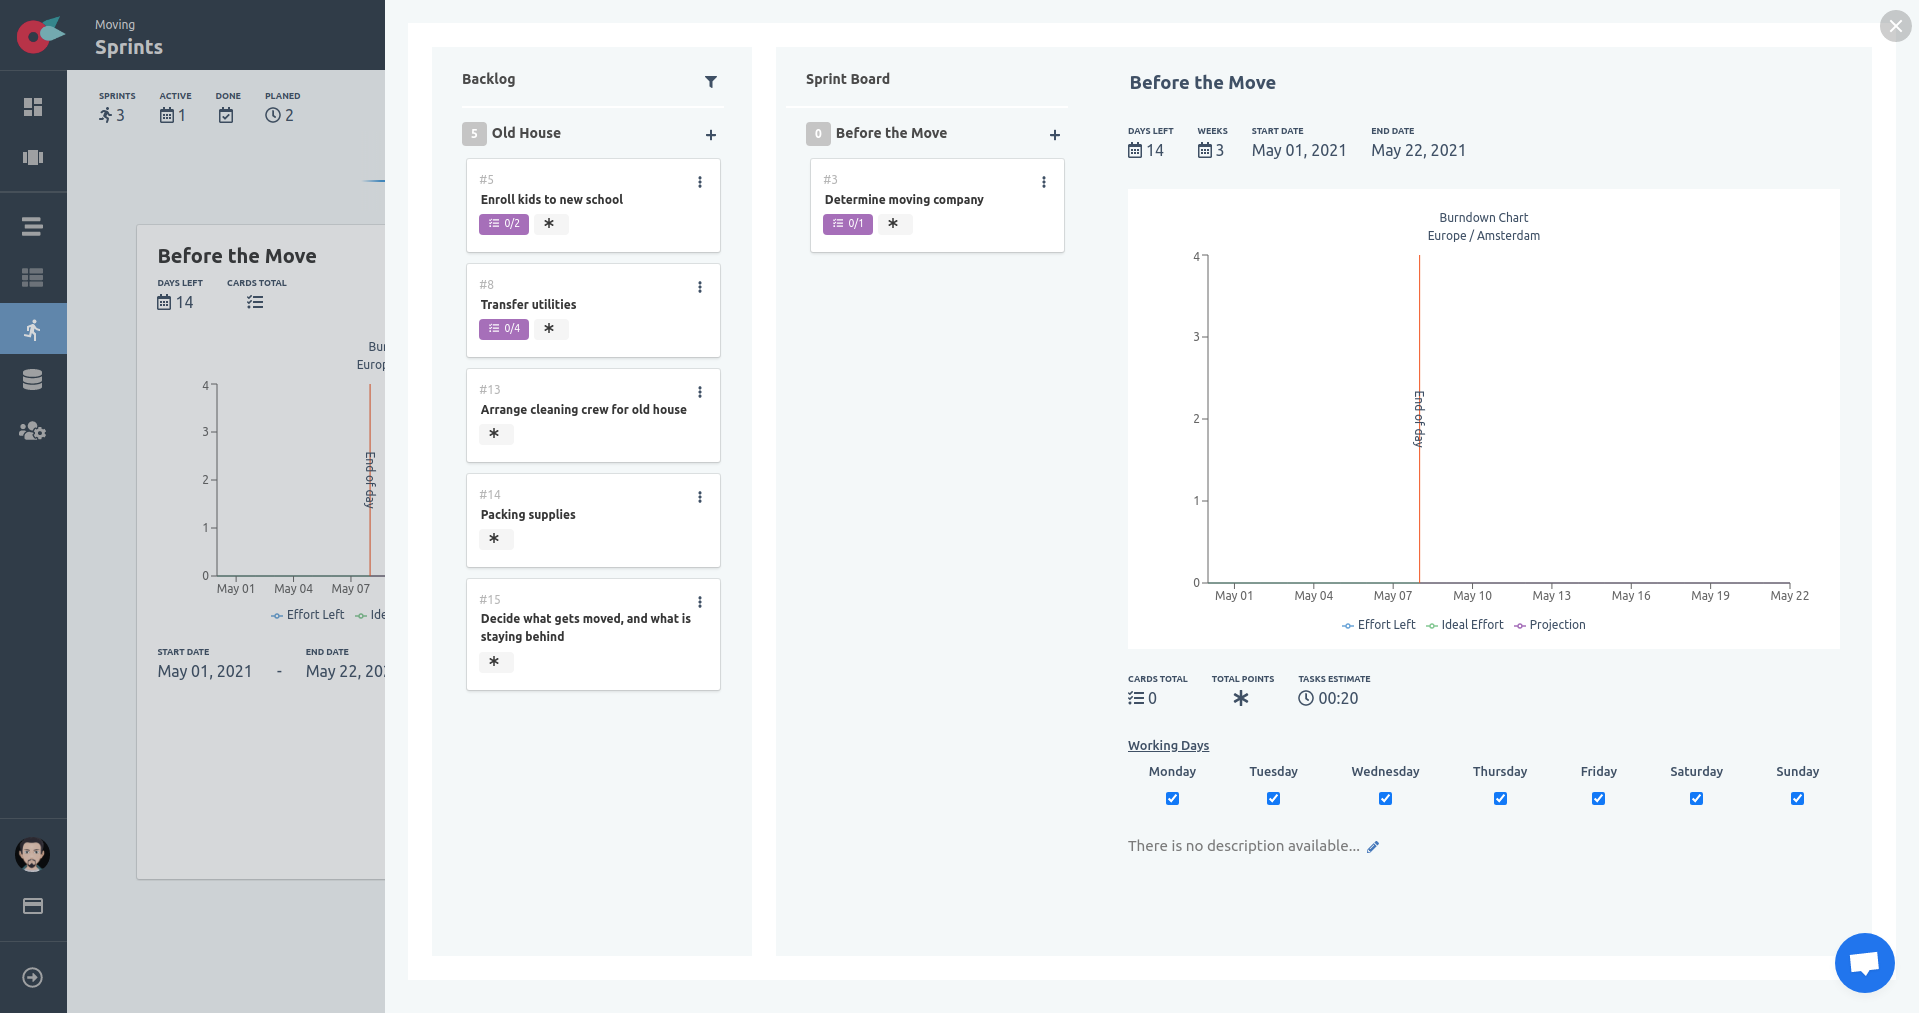
Of course the burndown chart will also be updated after a few seconds, when you add cards with estimated tasks. When you add tasks and estimate them in the cards, the burndown chart will also be updated in real-time.
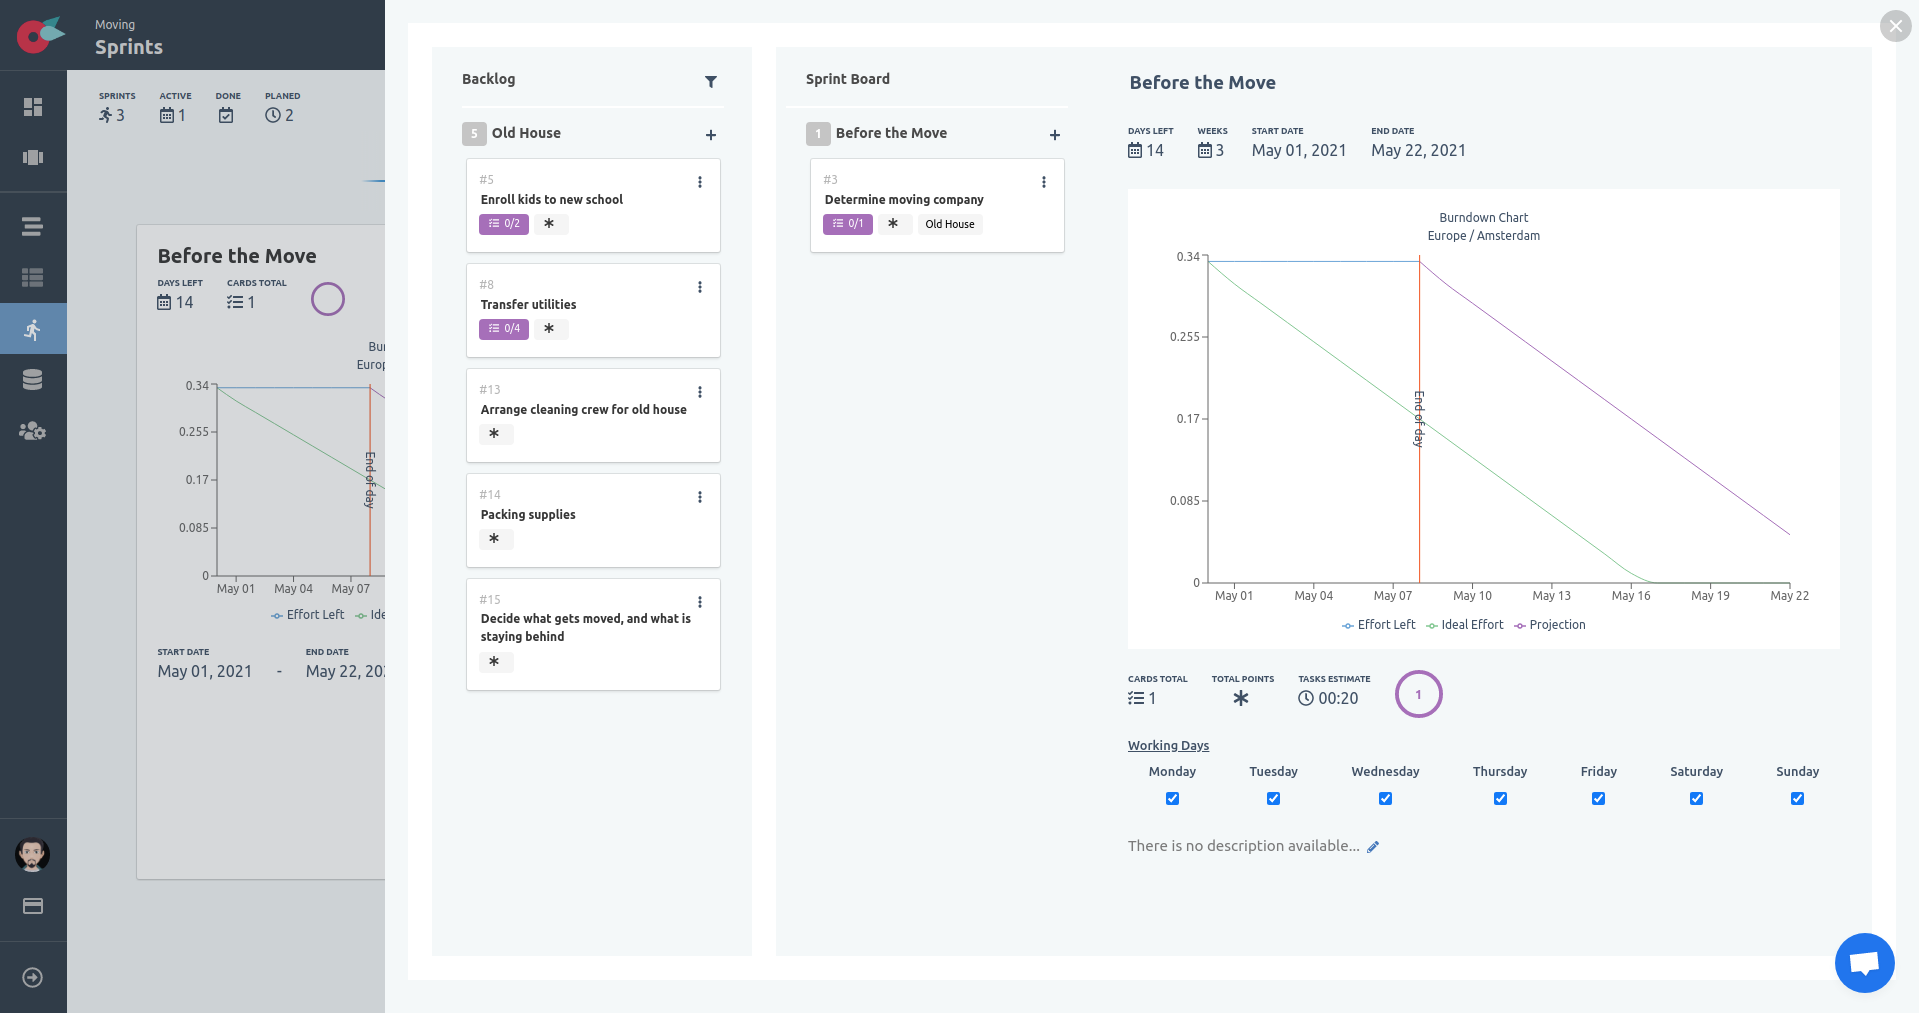
Let’s add the rest of the cards that we need in this sprint.
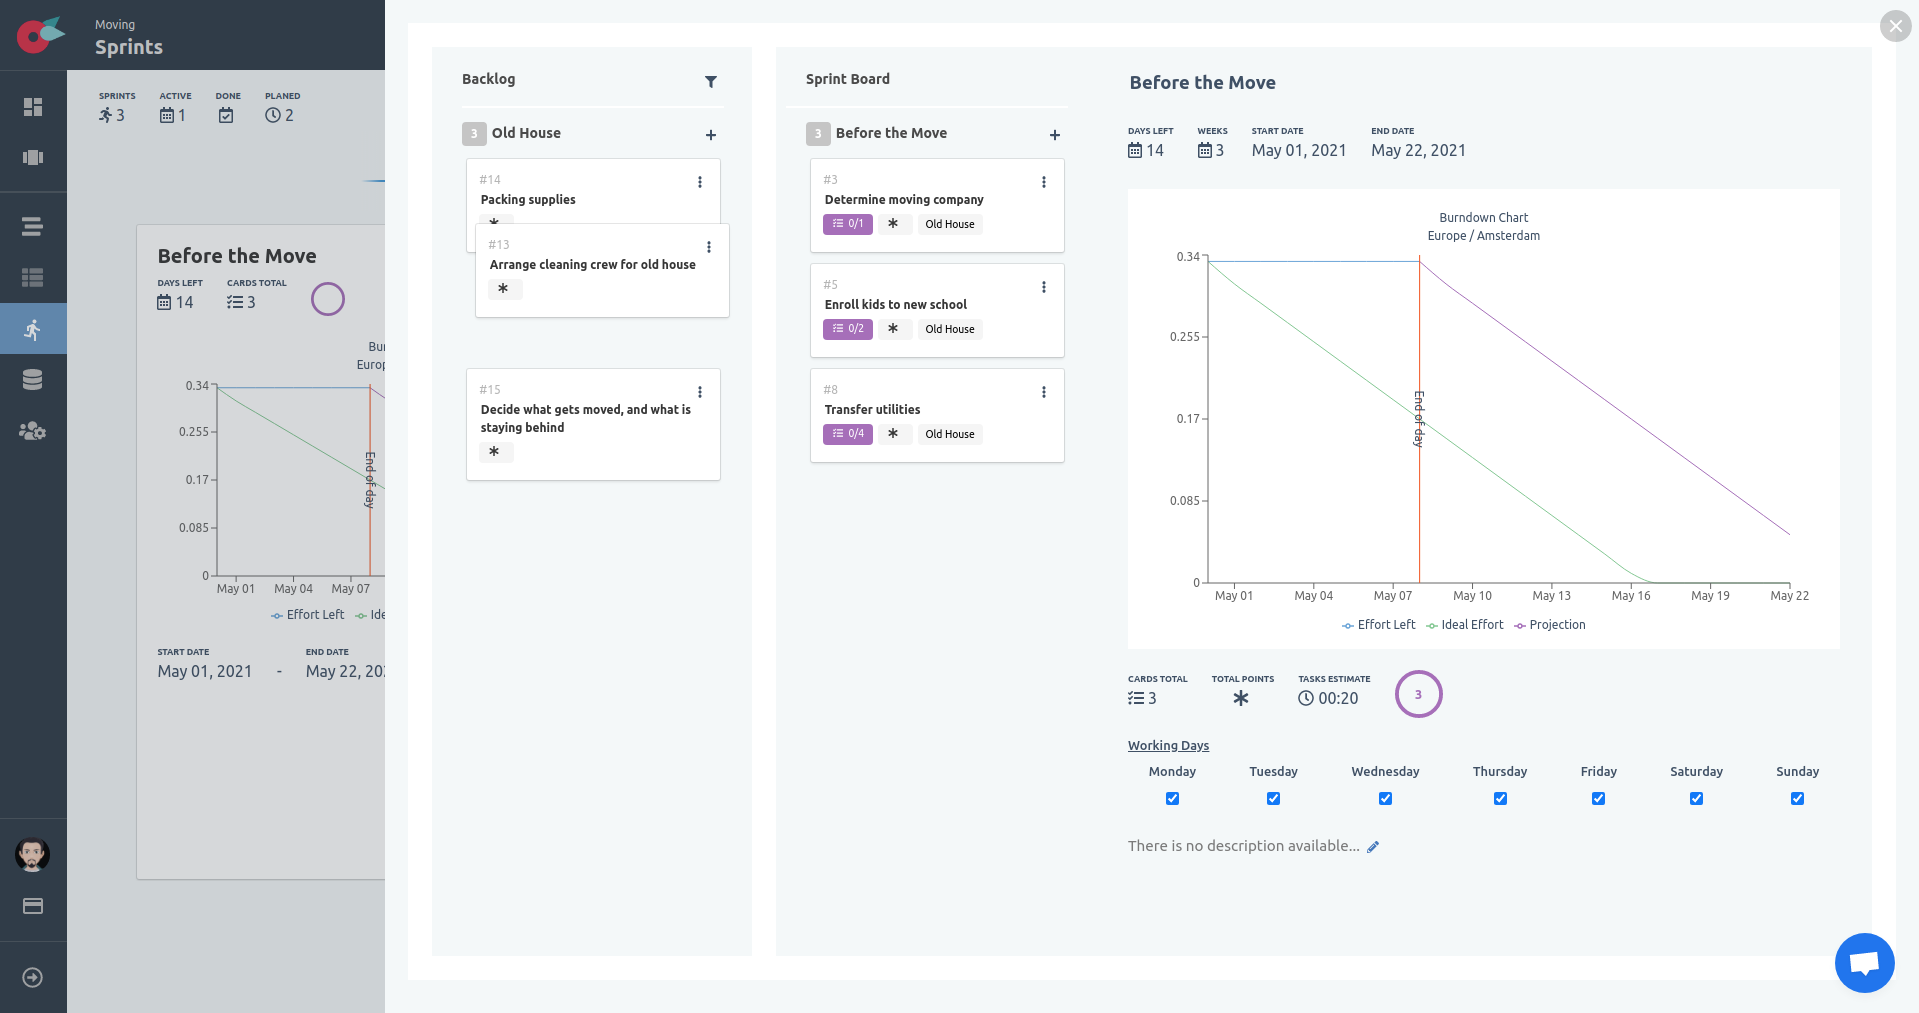
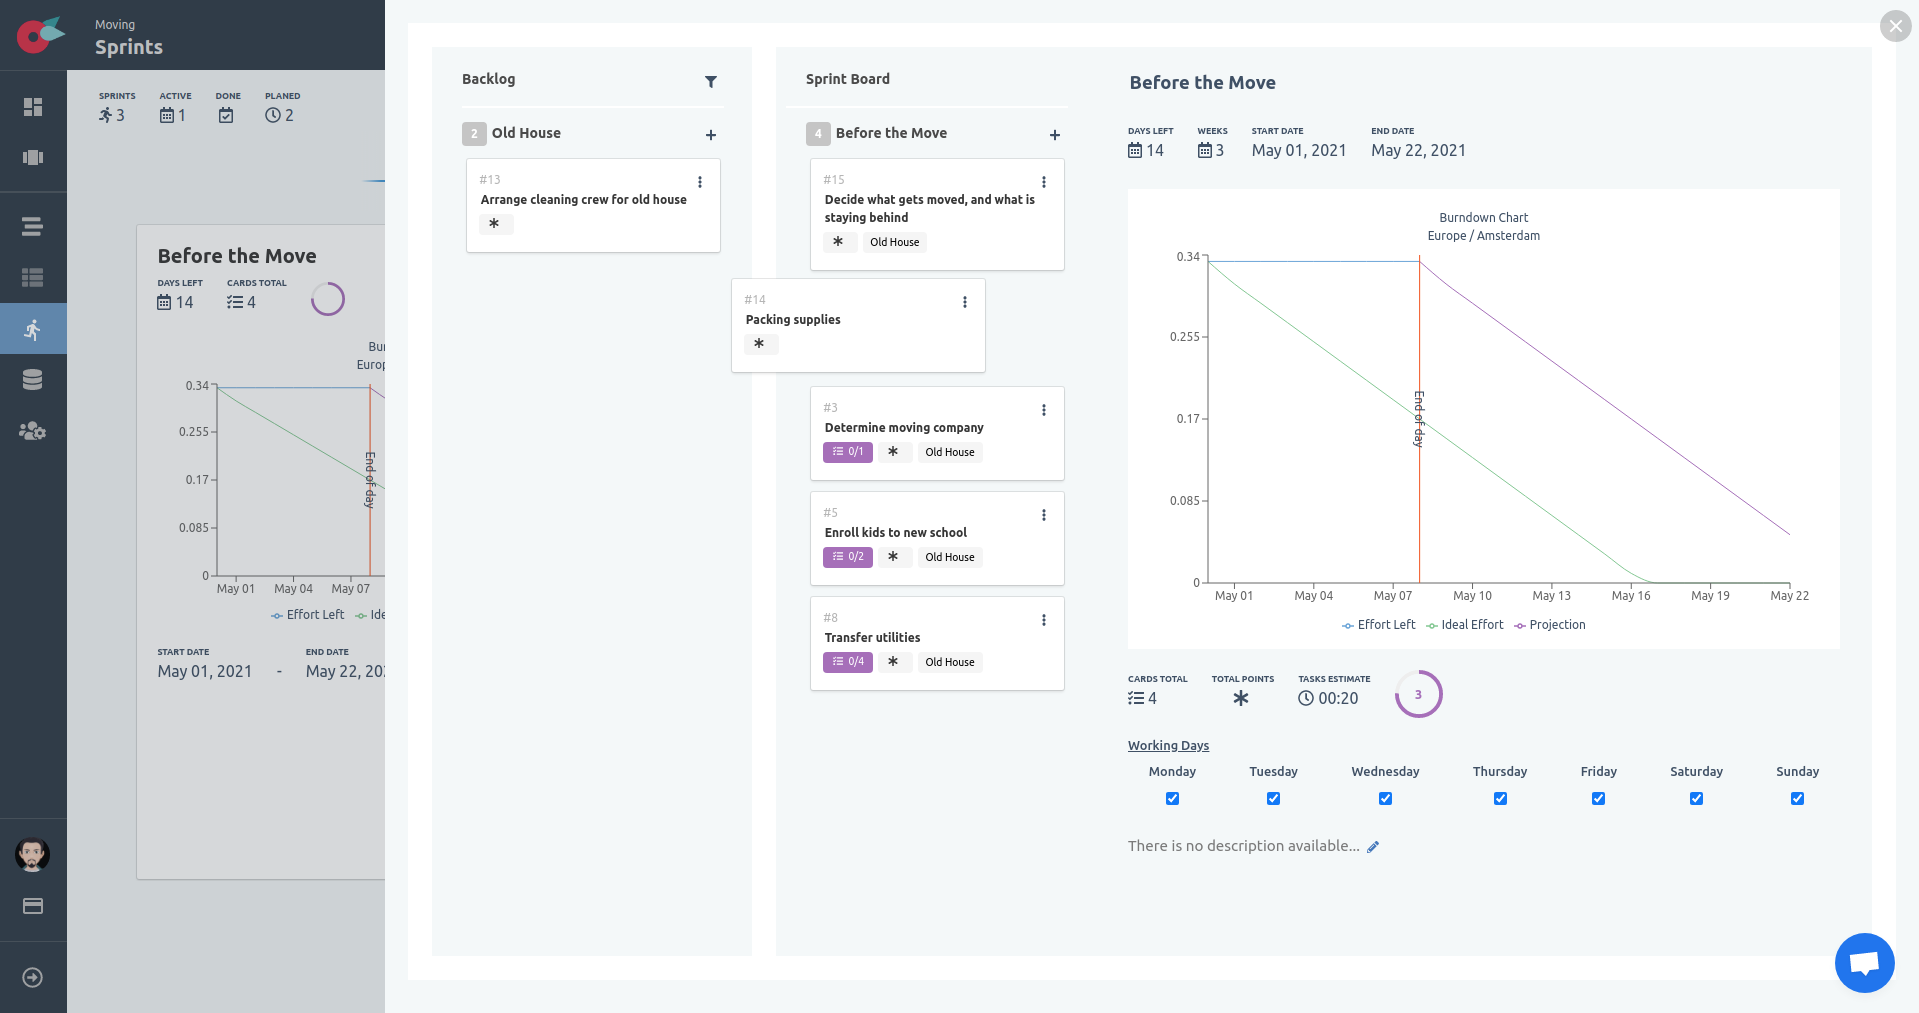
We have cards on multiple backlog buckets, therefore to add cards from a different backlog bucket we need to click on the Select Bucket button, to pick the bucket we want. Let’s select the “New House” bucket to pick the cards that we will work on in this sprint.
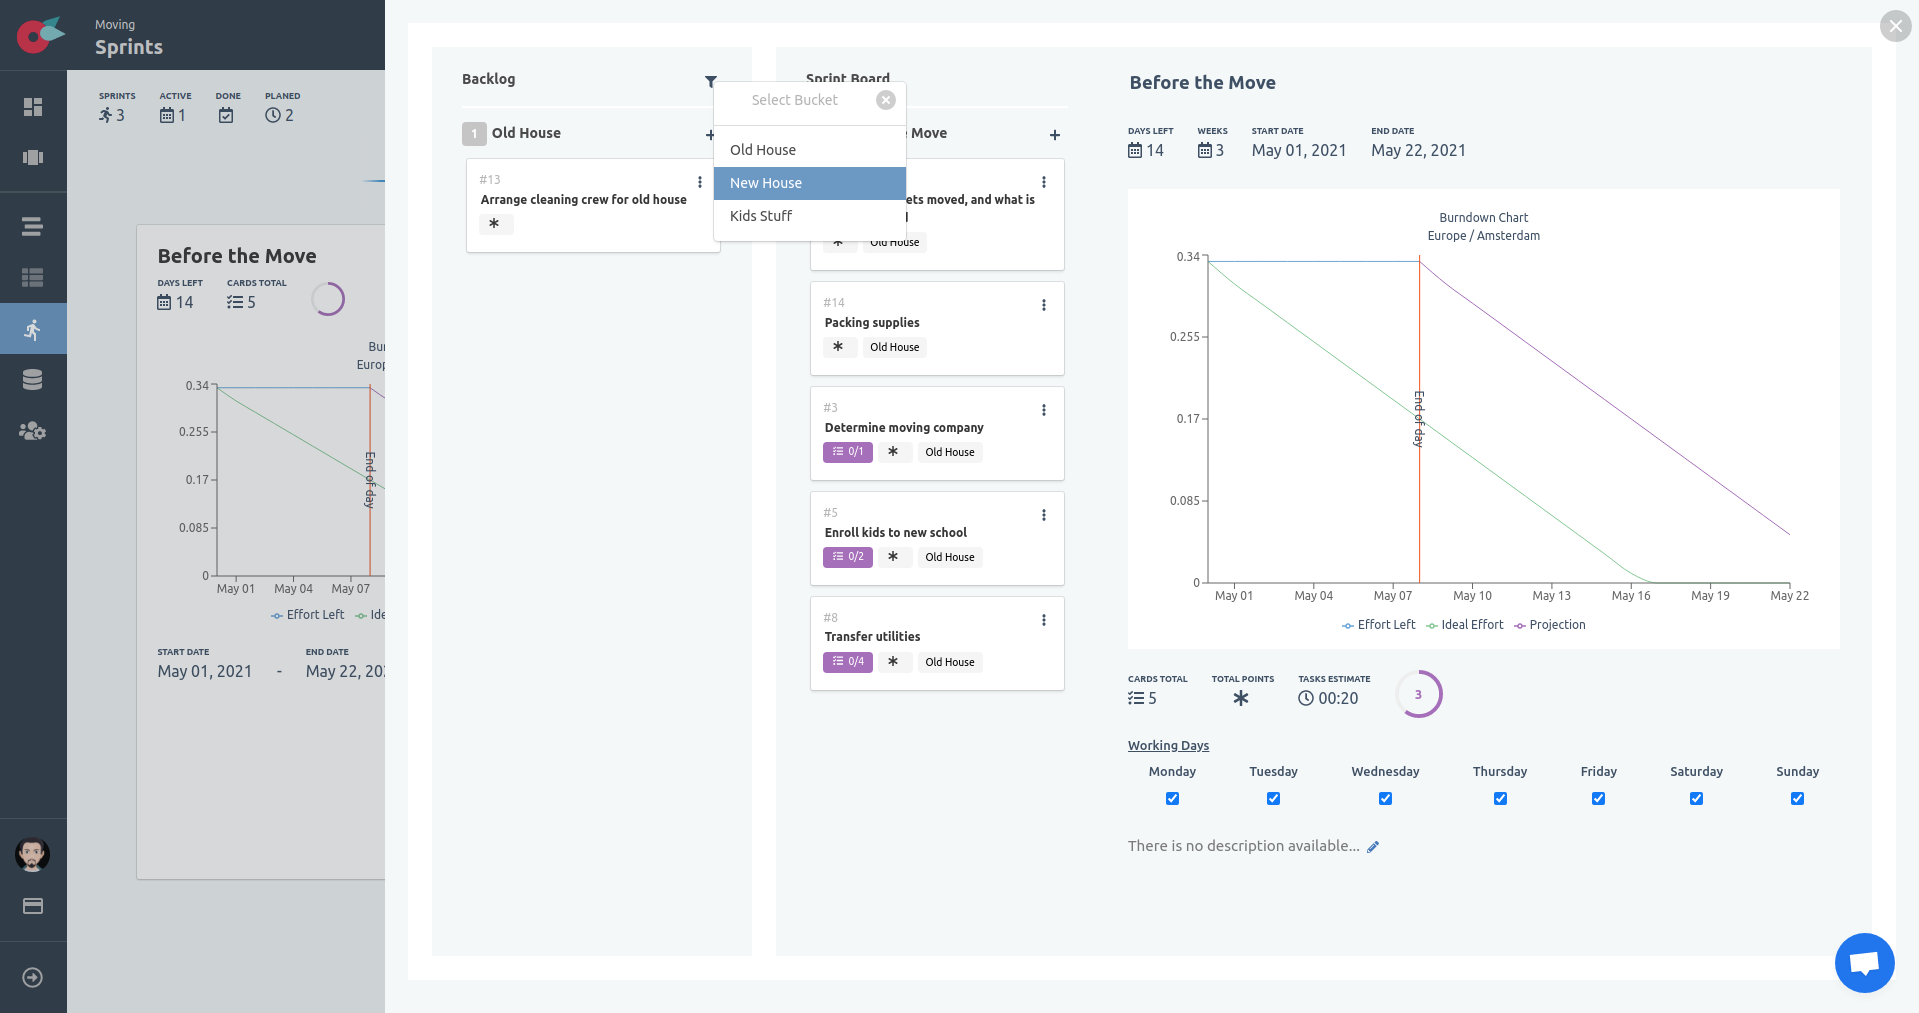
Let’s add the cards we need in this sprint.
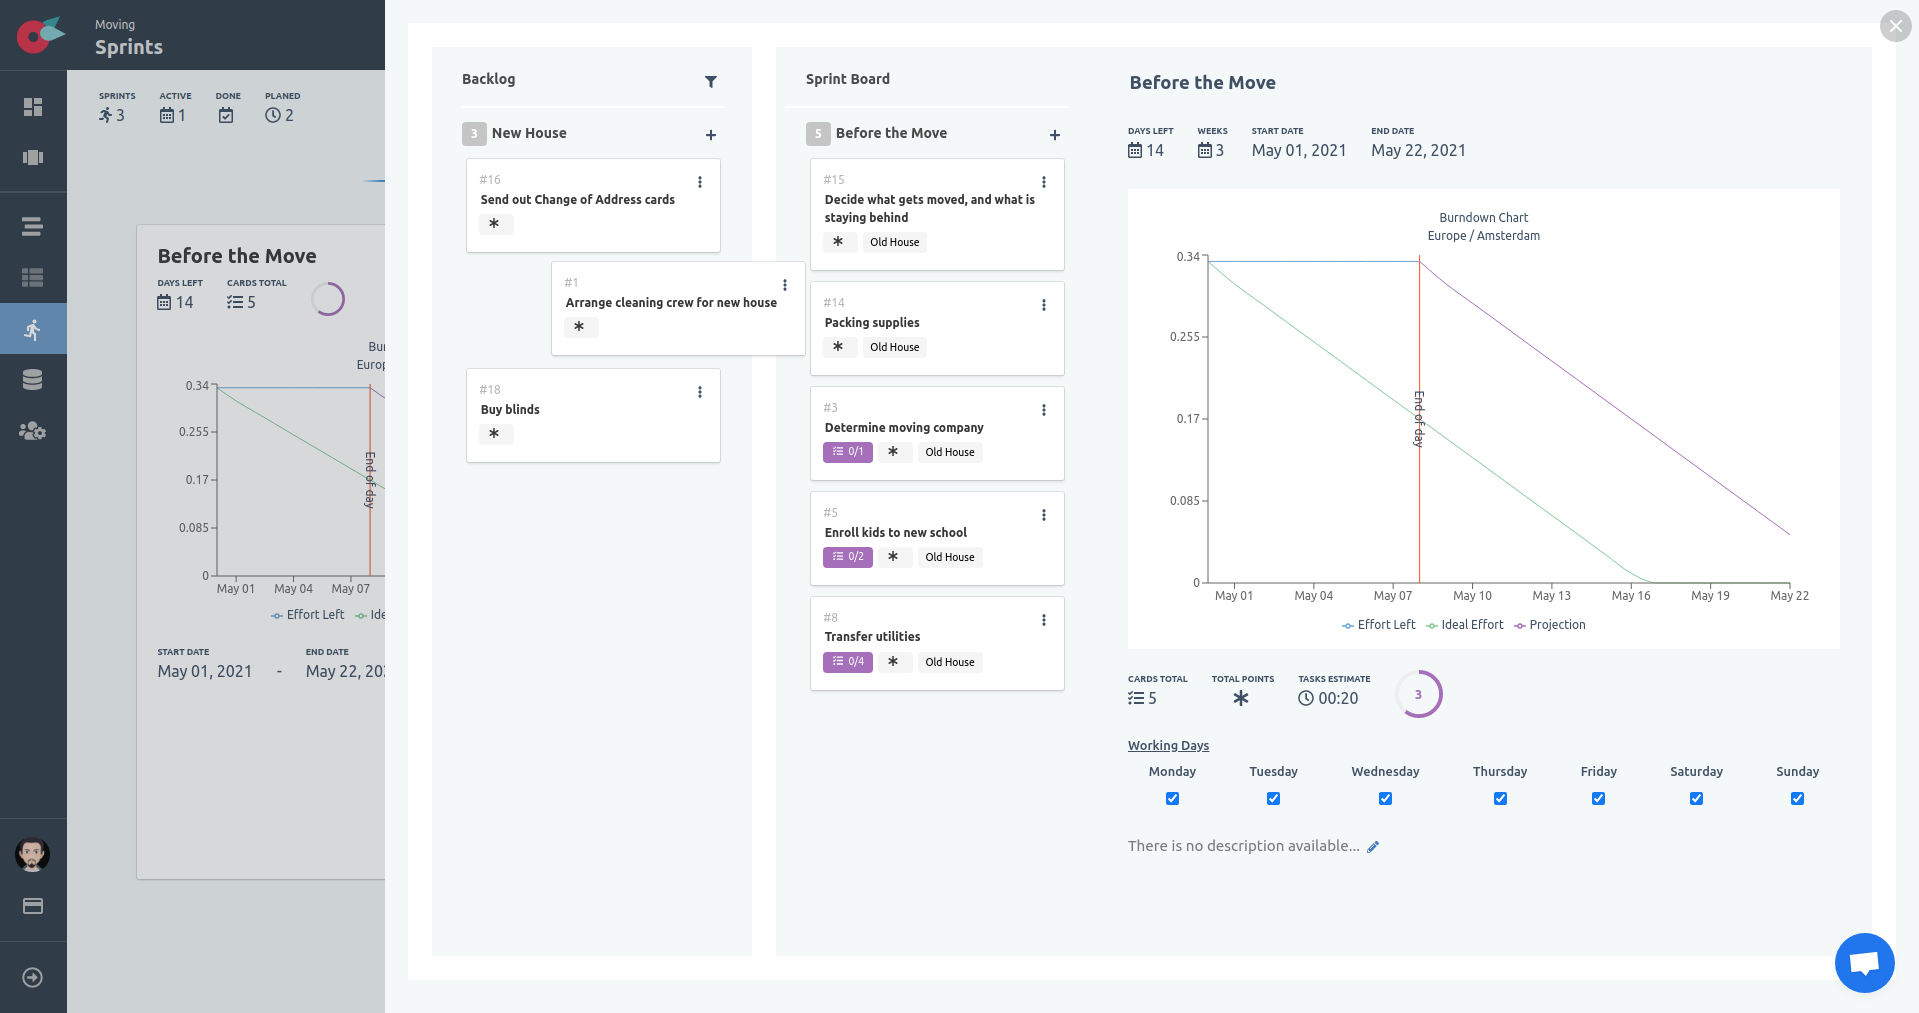
Let’s see if we need to bring something else form the “Kids Stuff” bucket.
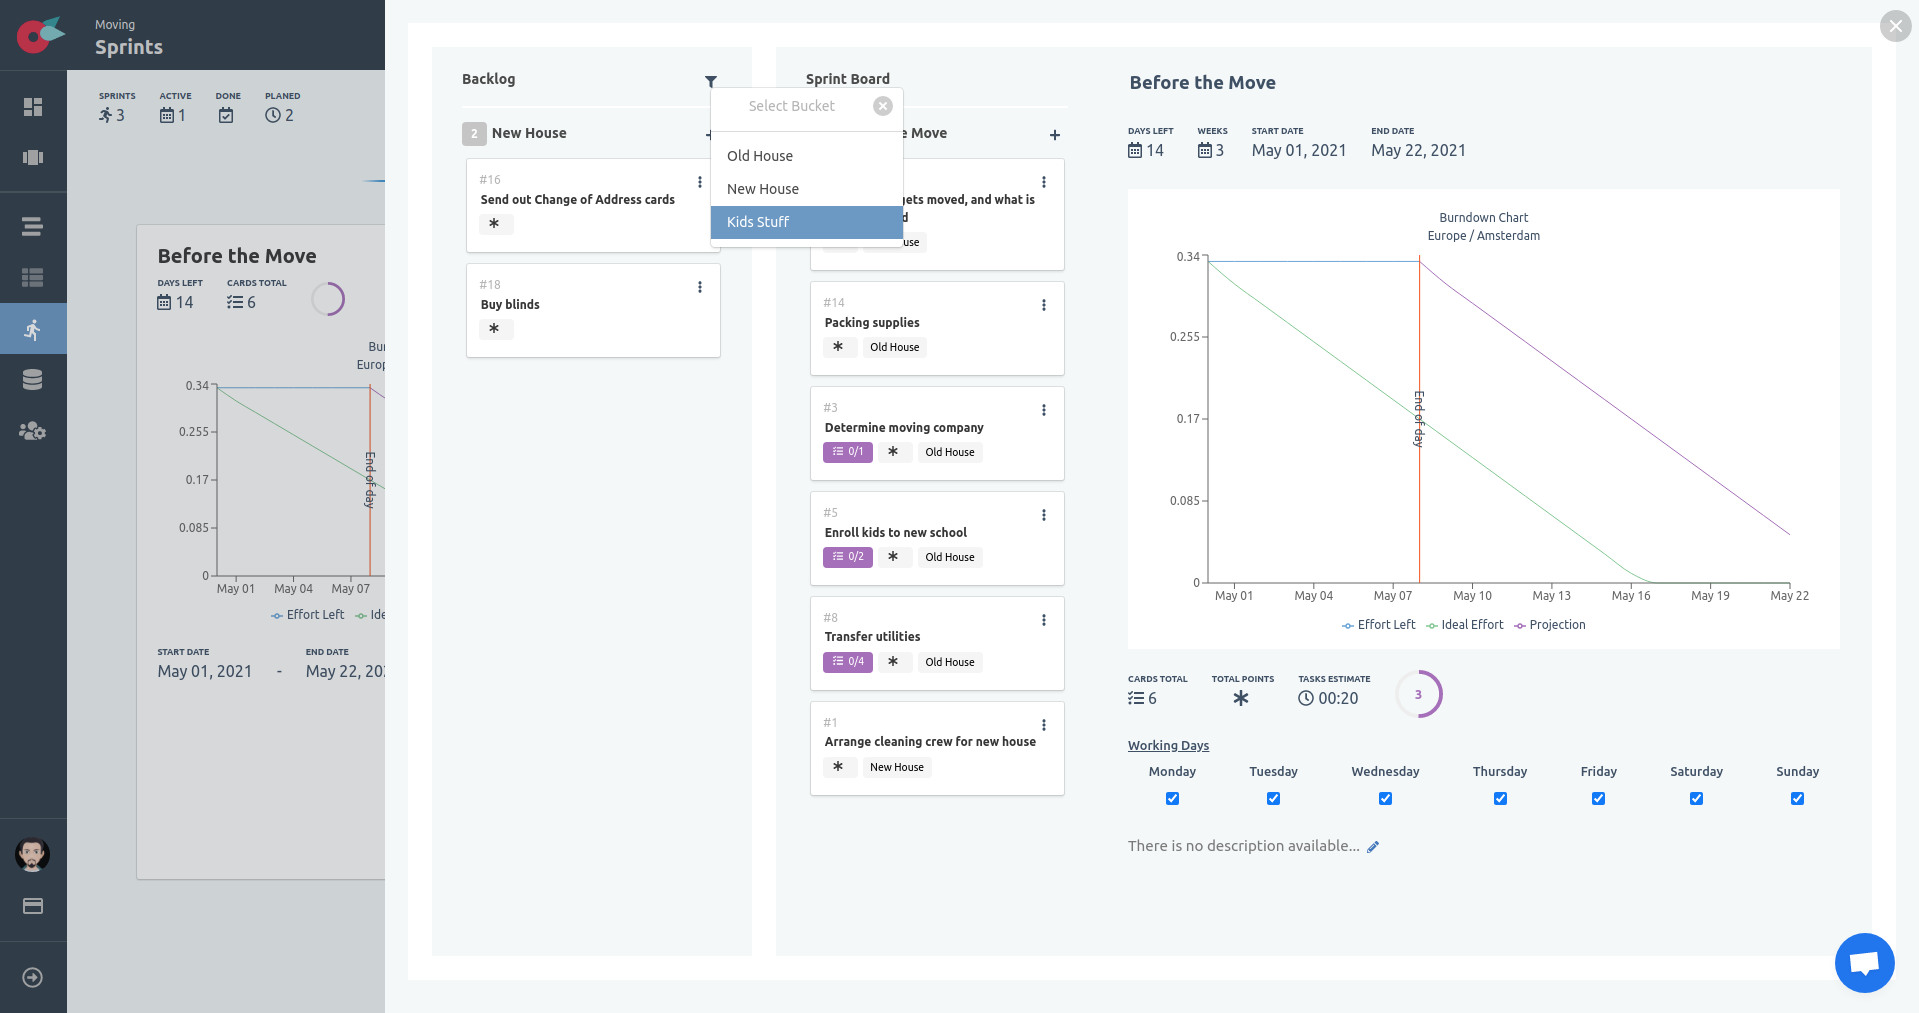
Let’s bring the last card to the sprint.
Starting a Sprint
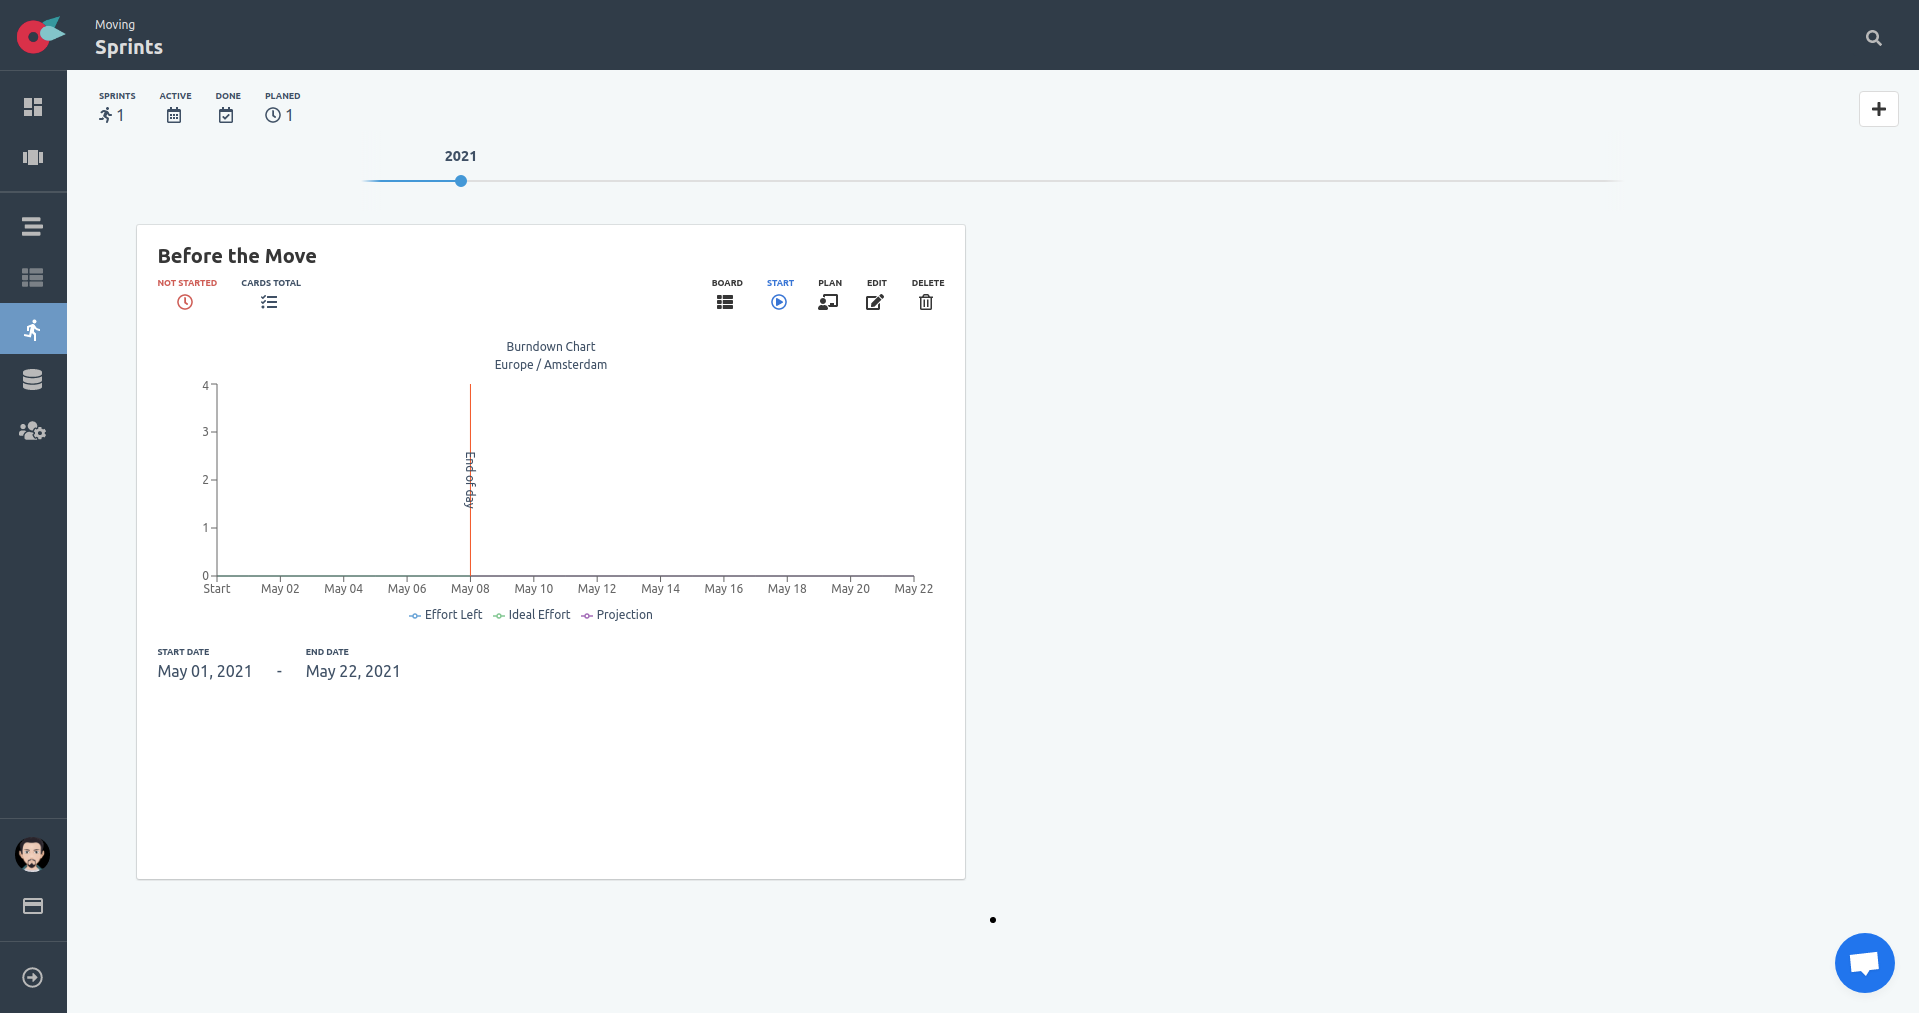
When you are done adding the cards to the sprint, you Start it (when the time comes). Locate the Start button at the toolbar of the sprint.
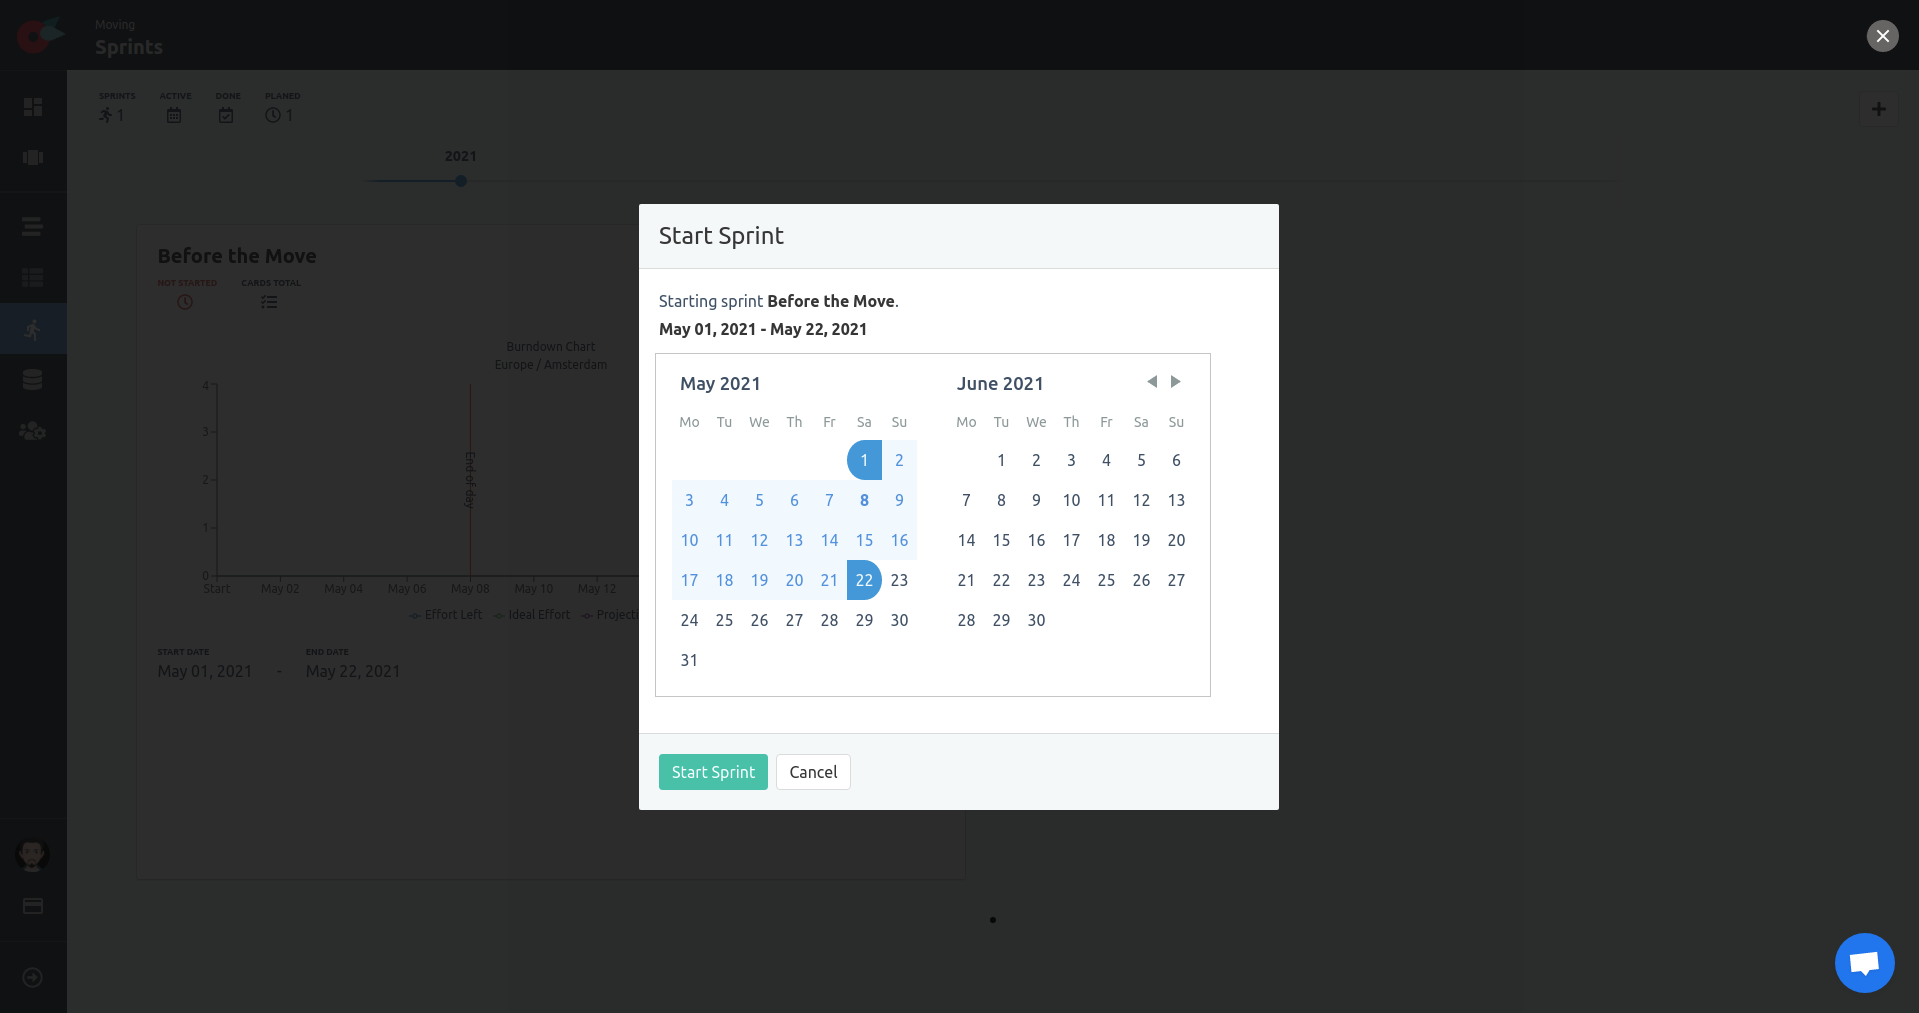
You will be presented with the start sprint modal. You need to provide the start and end dates to start the sprint. Then just click on the Start Sprint button, to start it.
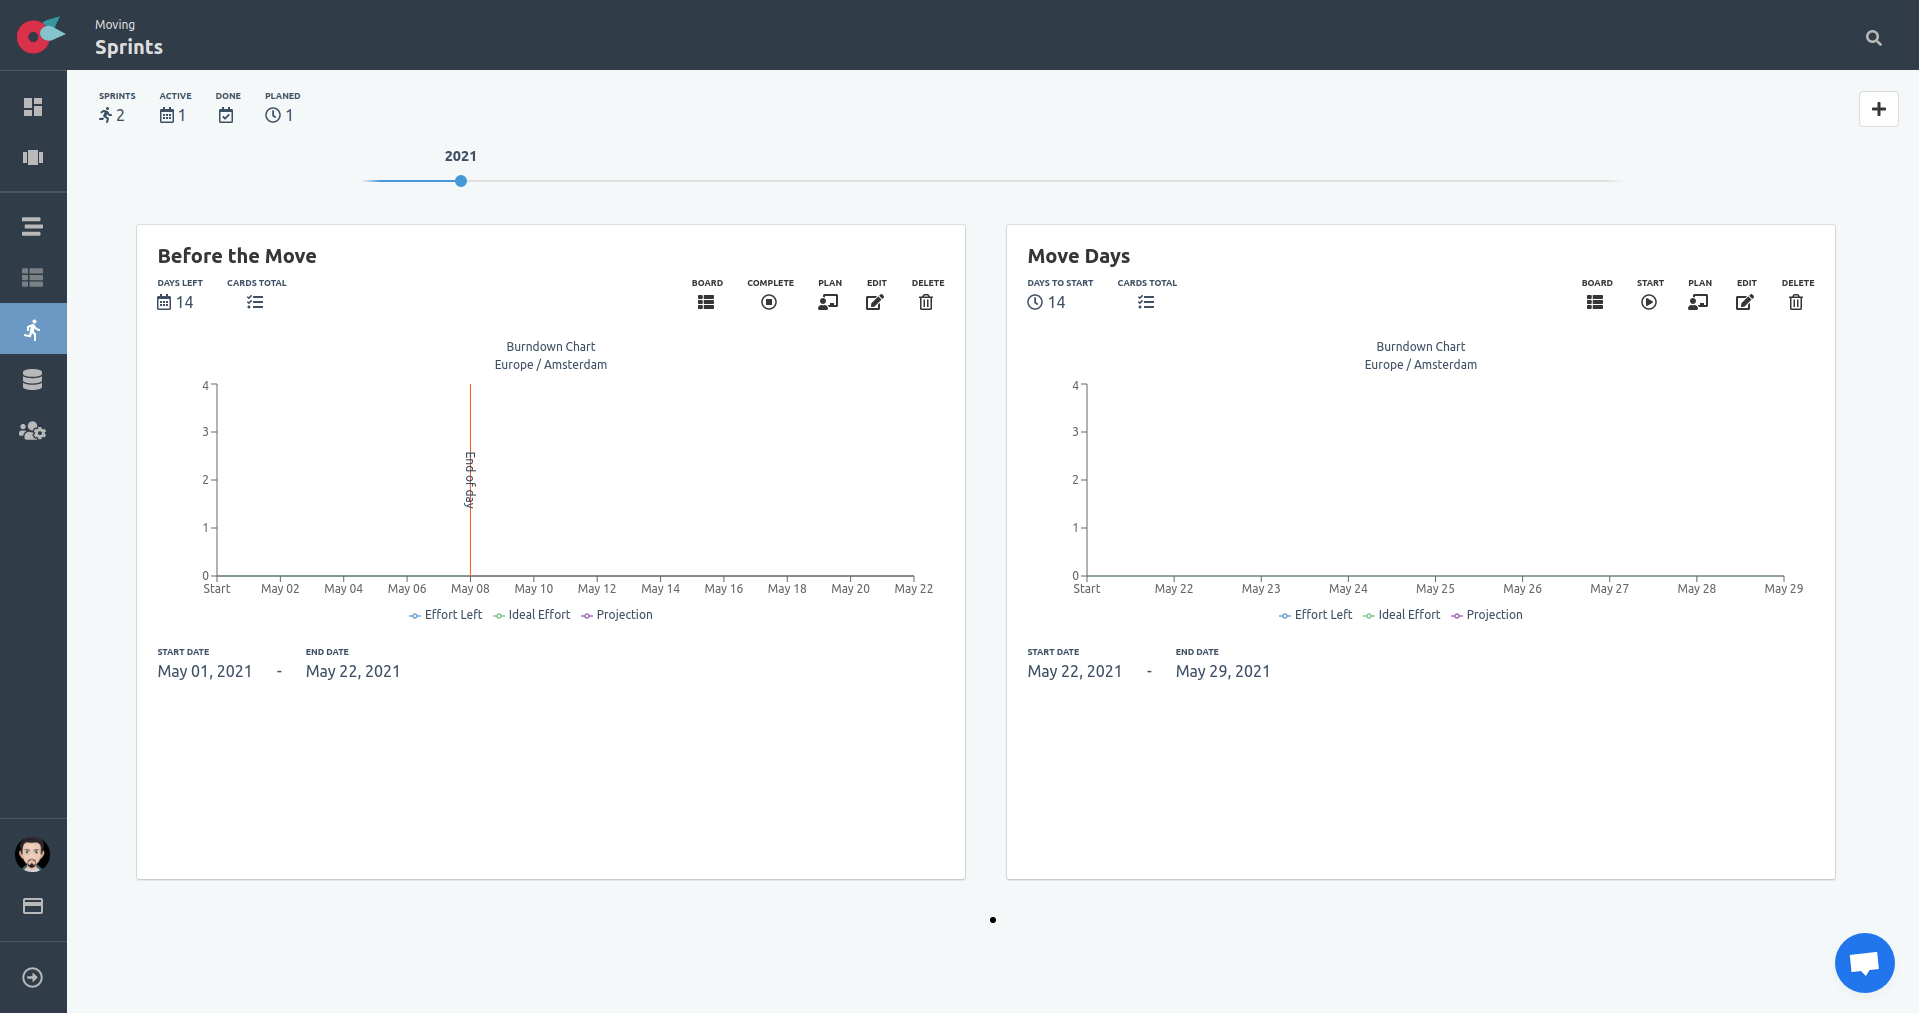
Once you start the sprint you will se an indication with the Days Left and the sprint will be visible in the dashboard.
Completing a Sprint
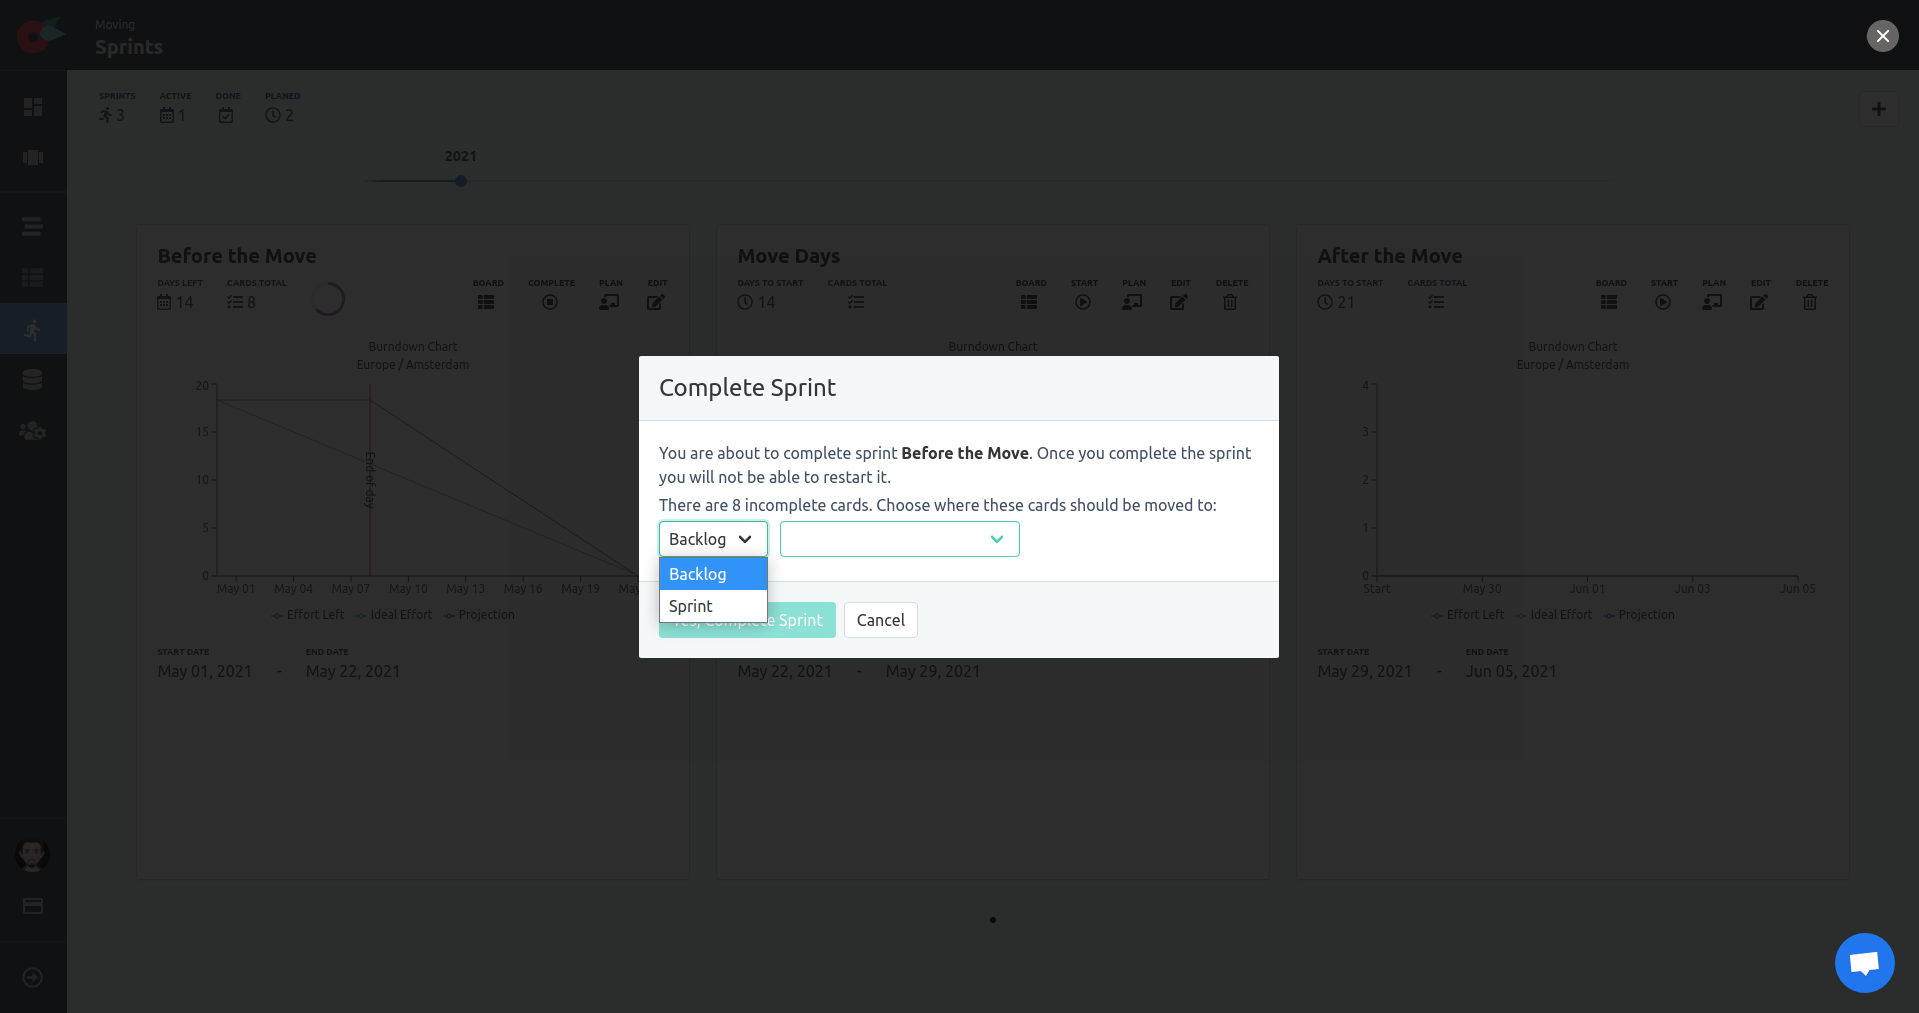
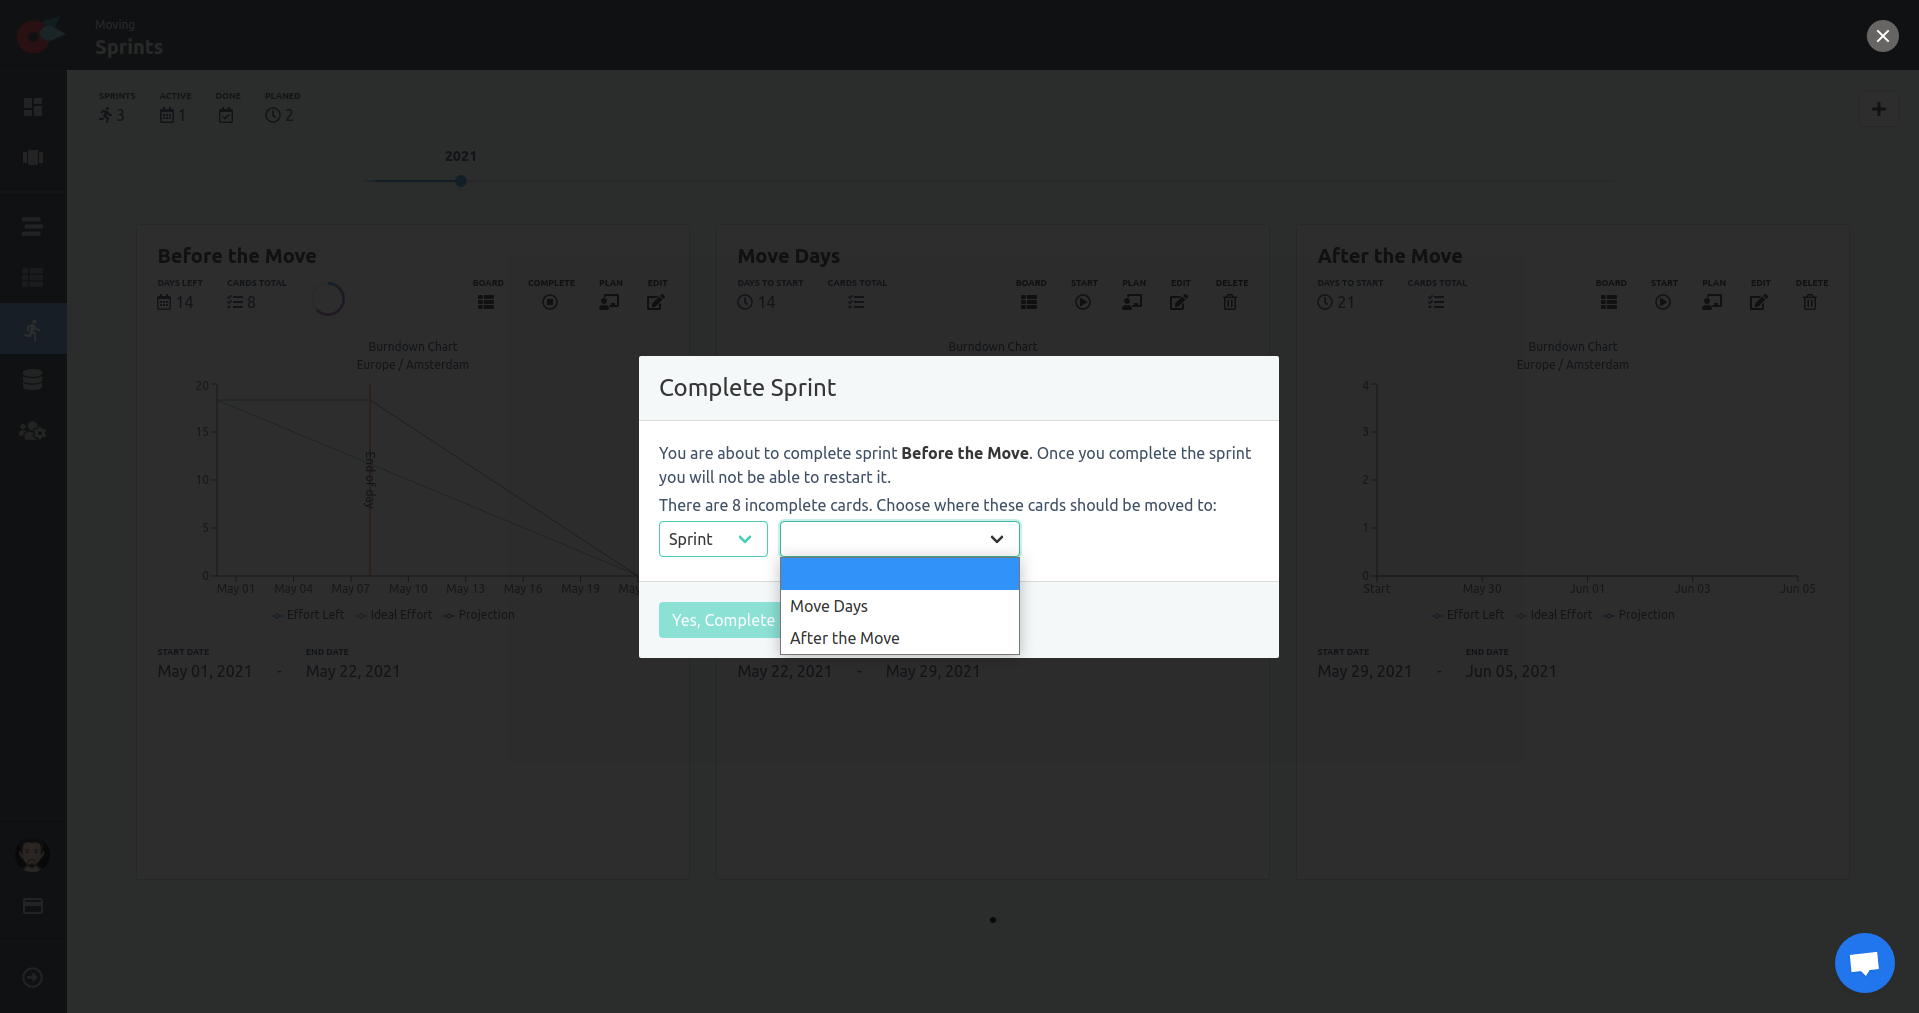
When the sprint has been completed, you need to Complete it (when the time comes). Locate the Complete button at the toolbar of the sprint. You will be presented with the start sprint modal. Uncompleted cards will be moved to a sprint (pending or active) or a backlog bucket. Once selected, just click on the Comlete Sprint button.
Sprints and Boards
To navigate to the sprint board click on the name of the sprint, or find the Board button located at the toolbar of each sprint and click it.

SCRUM Sprint Board
There are cases where you don’t want or need a modern kanban board to run sprints in. In simple traditional scrum, you prioritize your cards vertically, and you only move the tasks of a card in the task board. When all tasks are done, then the card is considered done.
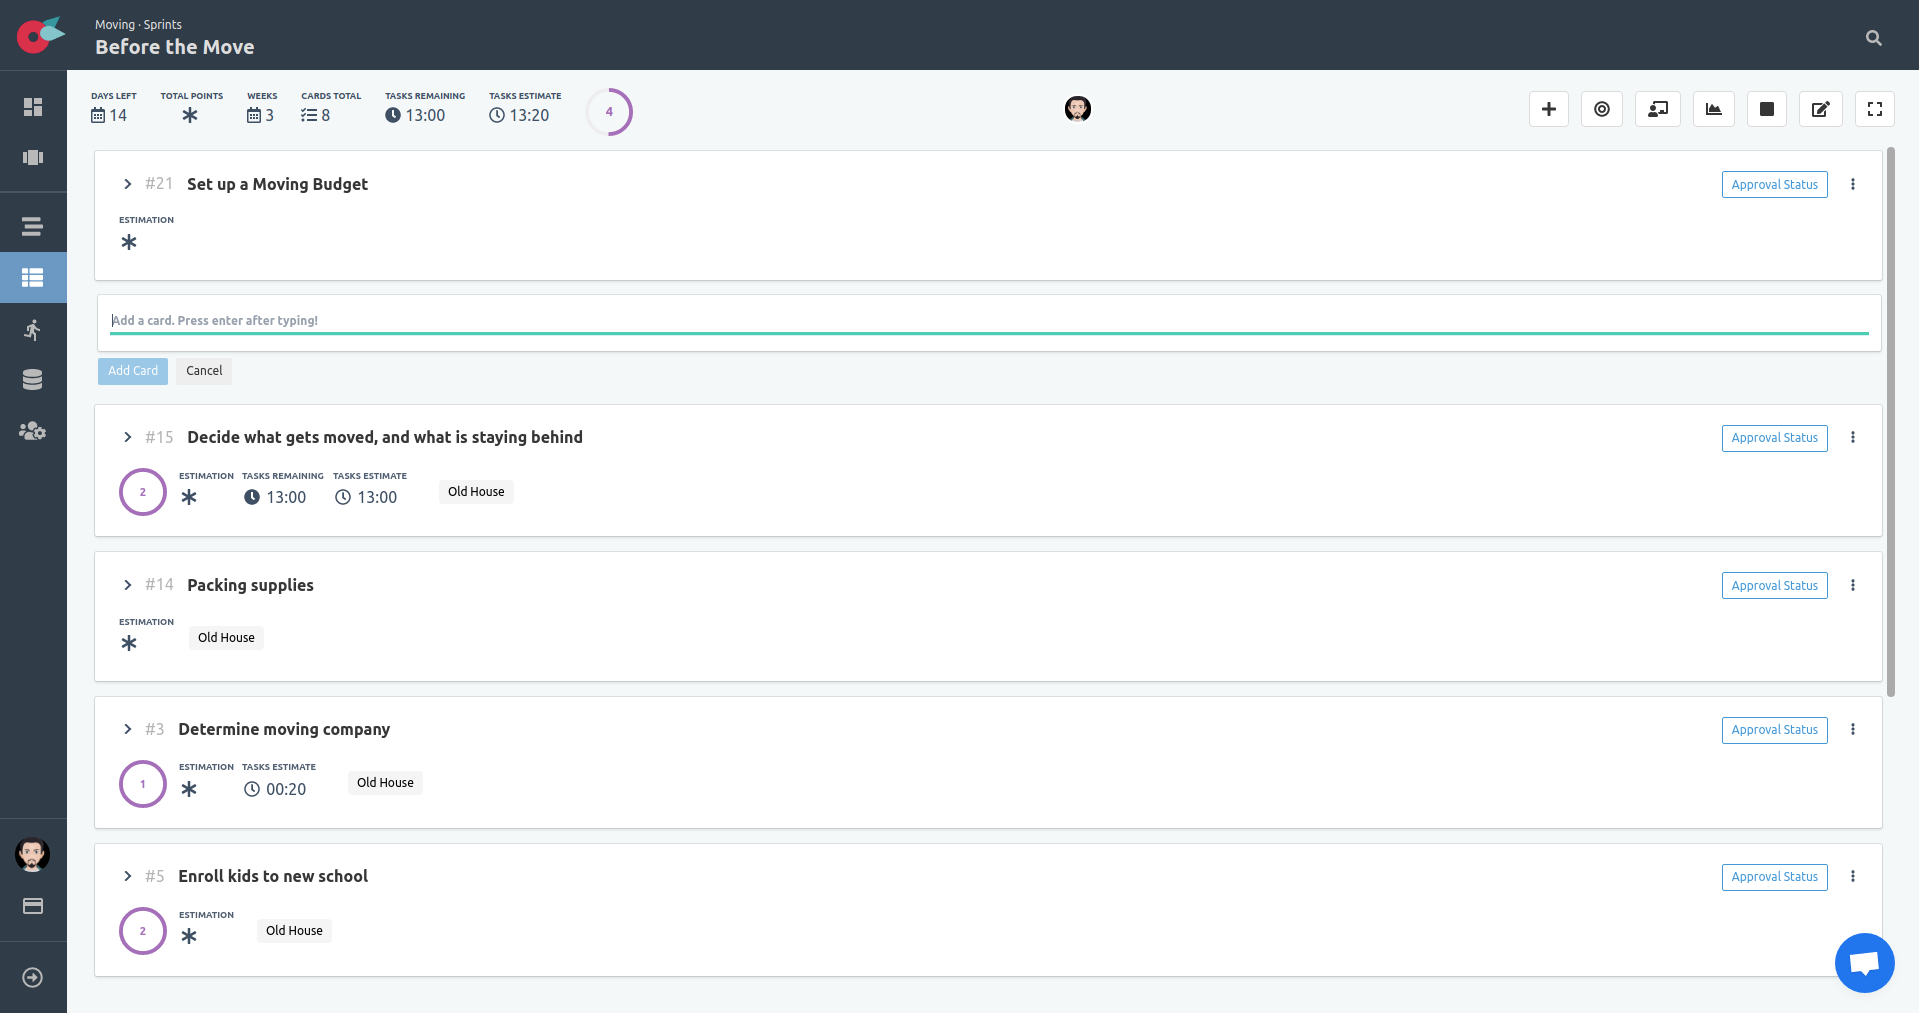
Add Card
To add a card find the + button located at the toolbar, and click on it.
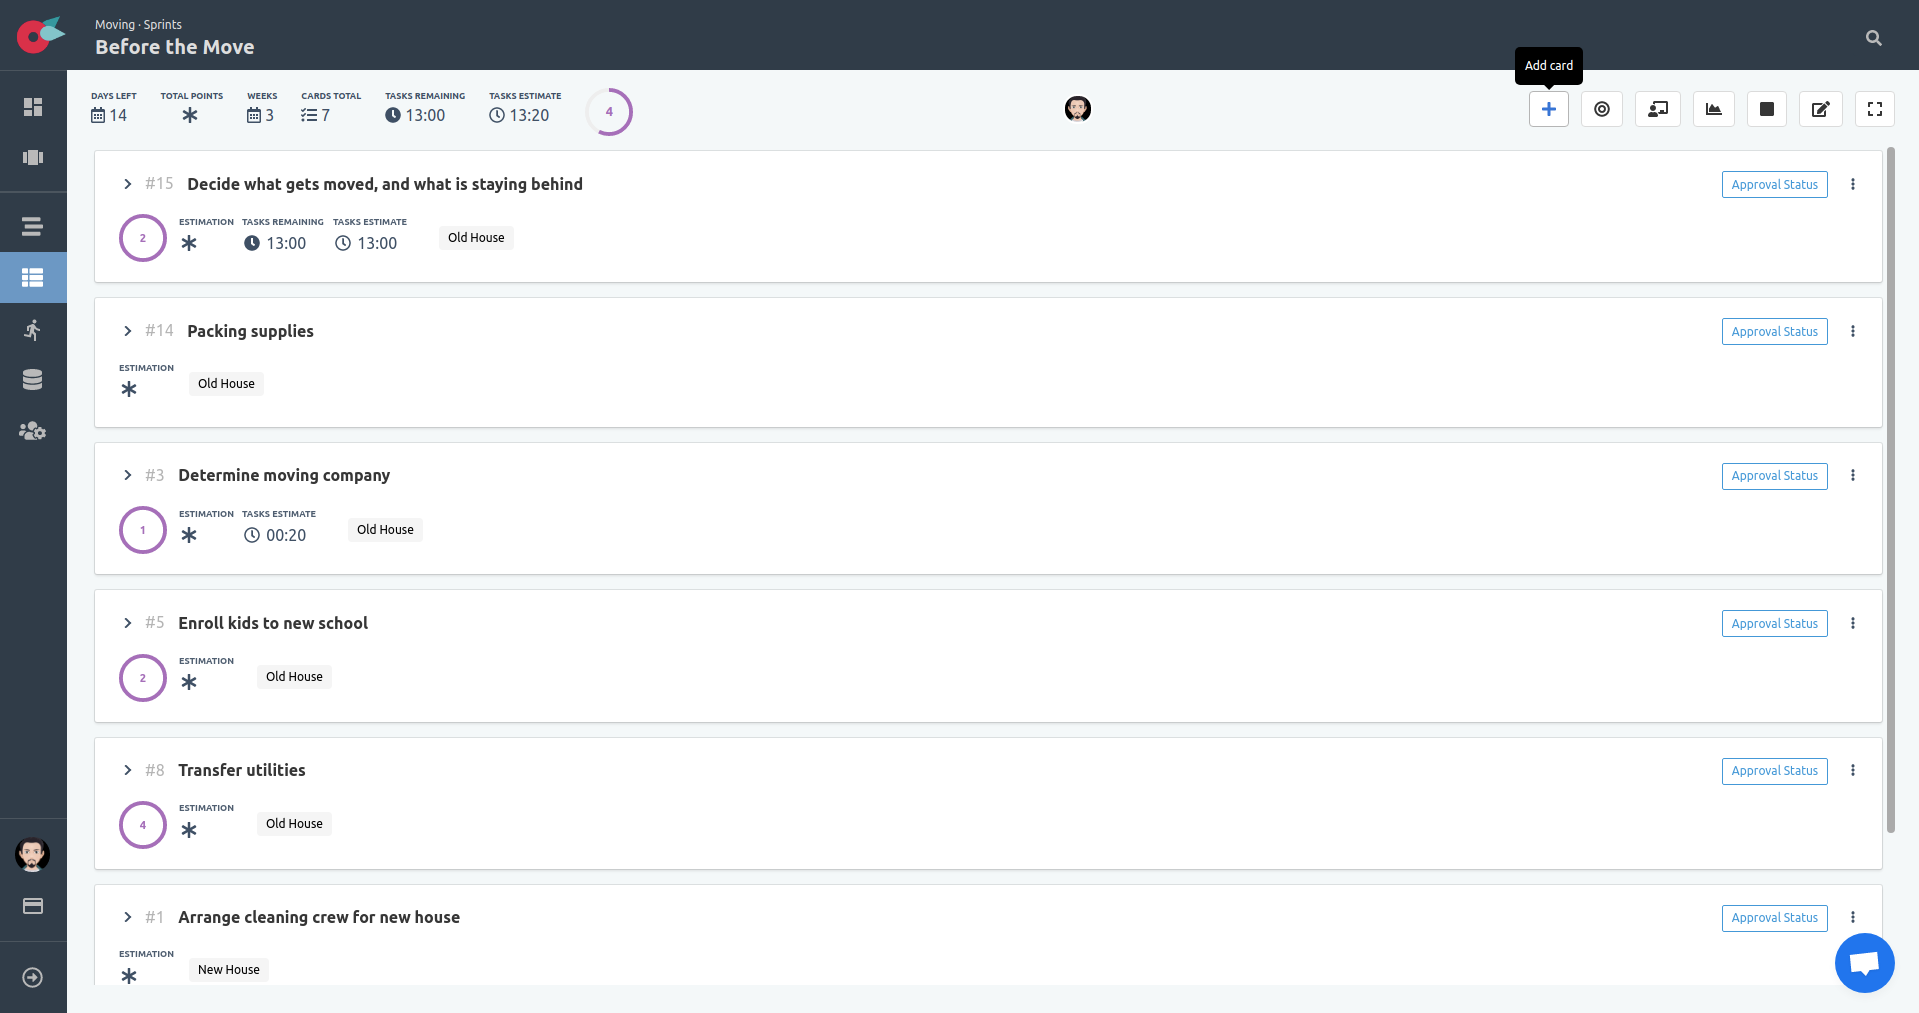
When you click on the button, an input field appears. Simply type the name of the card in the input text box, and hit Enter or click on the Add Card button.
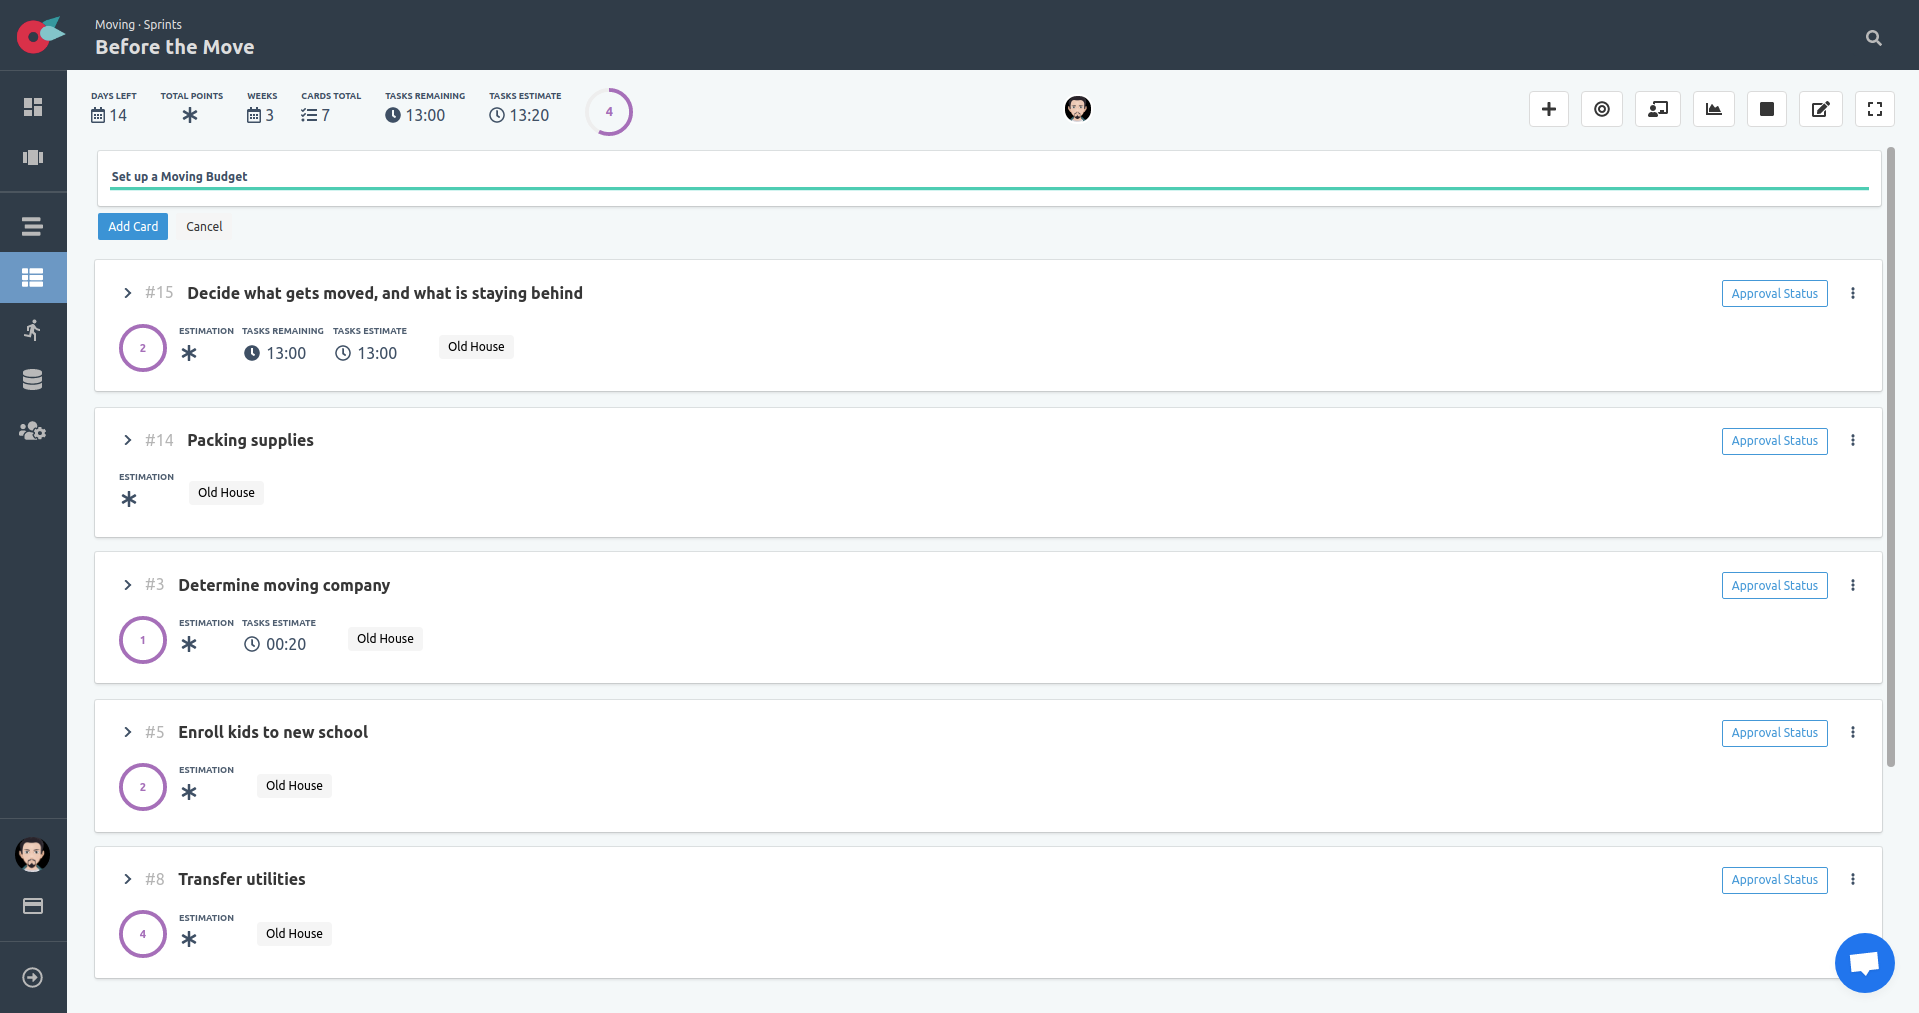
You can add as many items as you can think of. Remember that these are higher level work items, that we can break down into smaller tasks later.
Prioritize
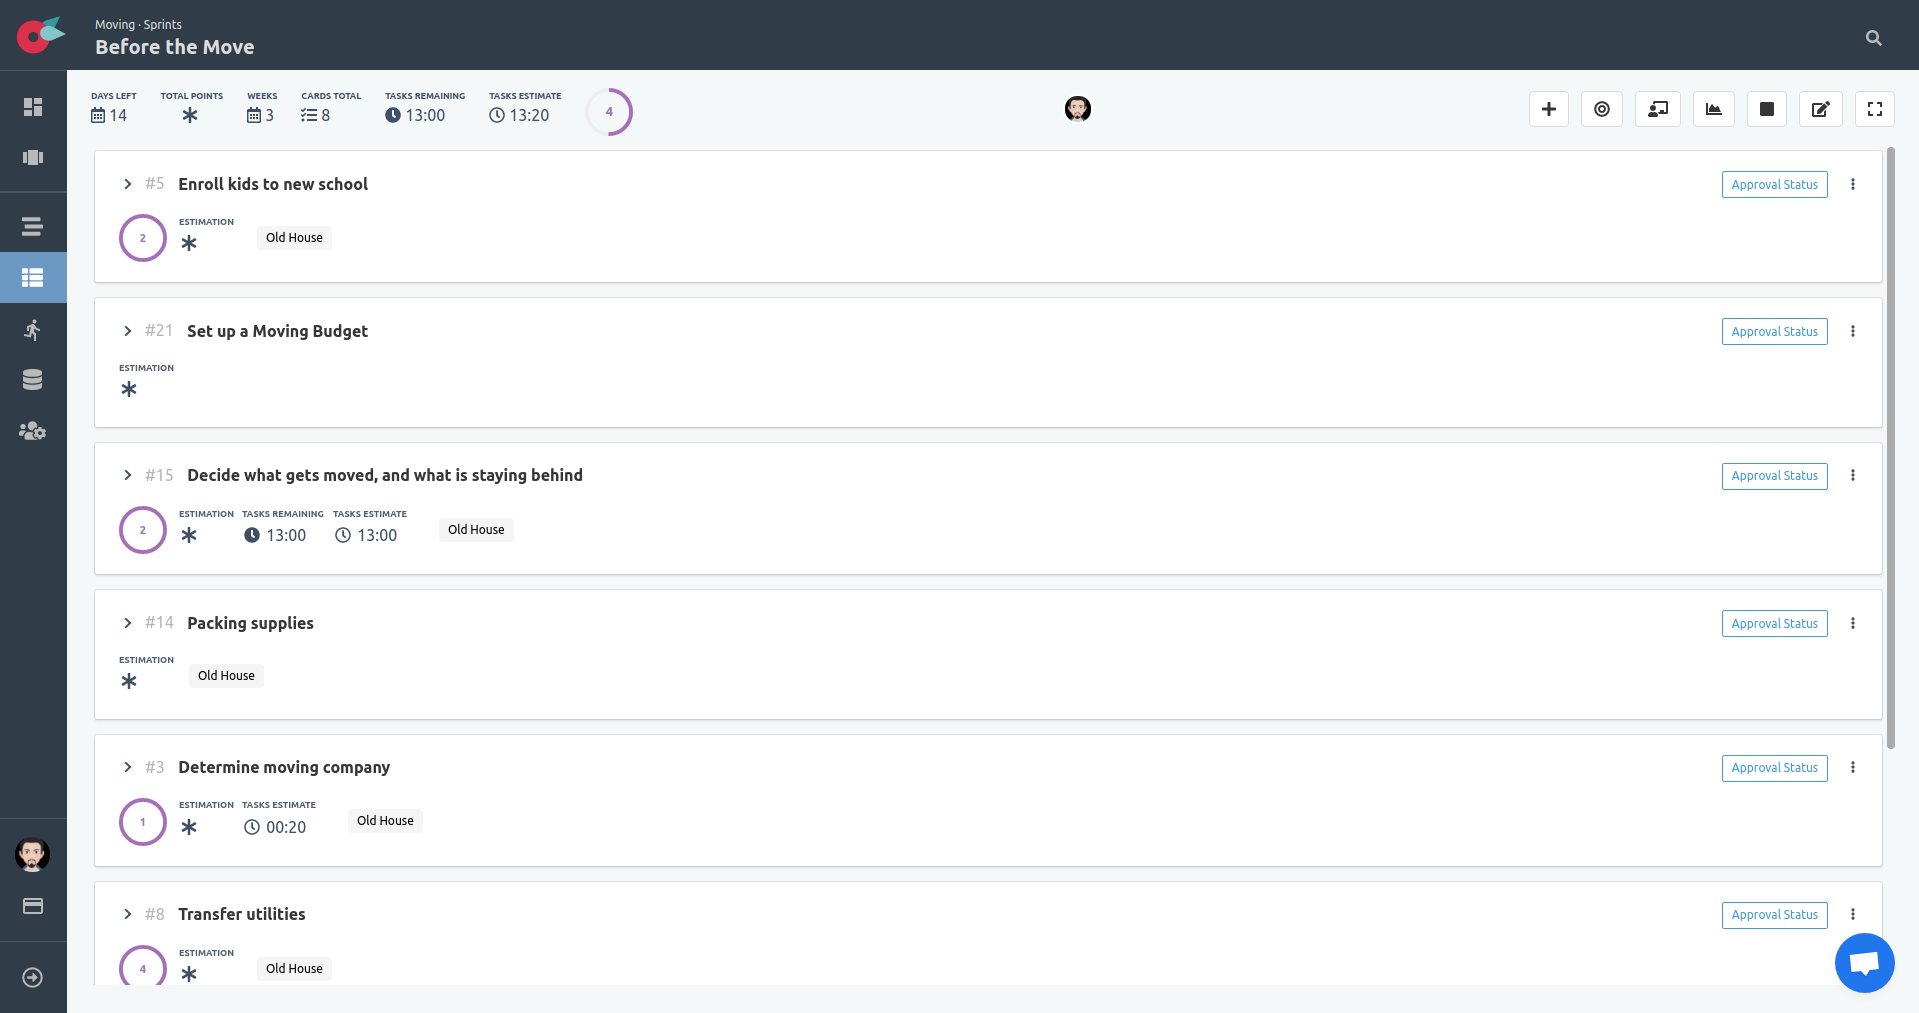
The cards can be moved around in board via drag ‘n drop. The order from top to bottom is used to order the priority of each card.
Click on the card and start dragging until you find the position you want.
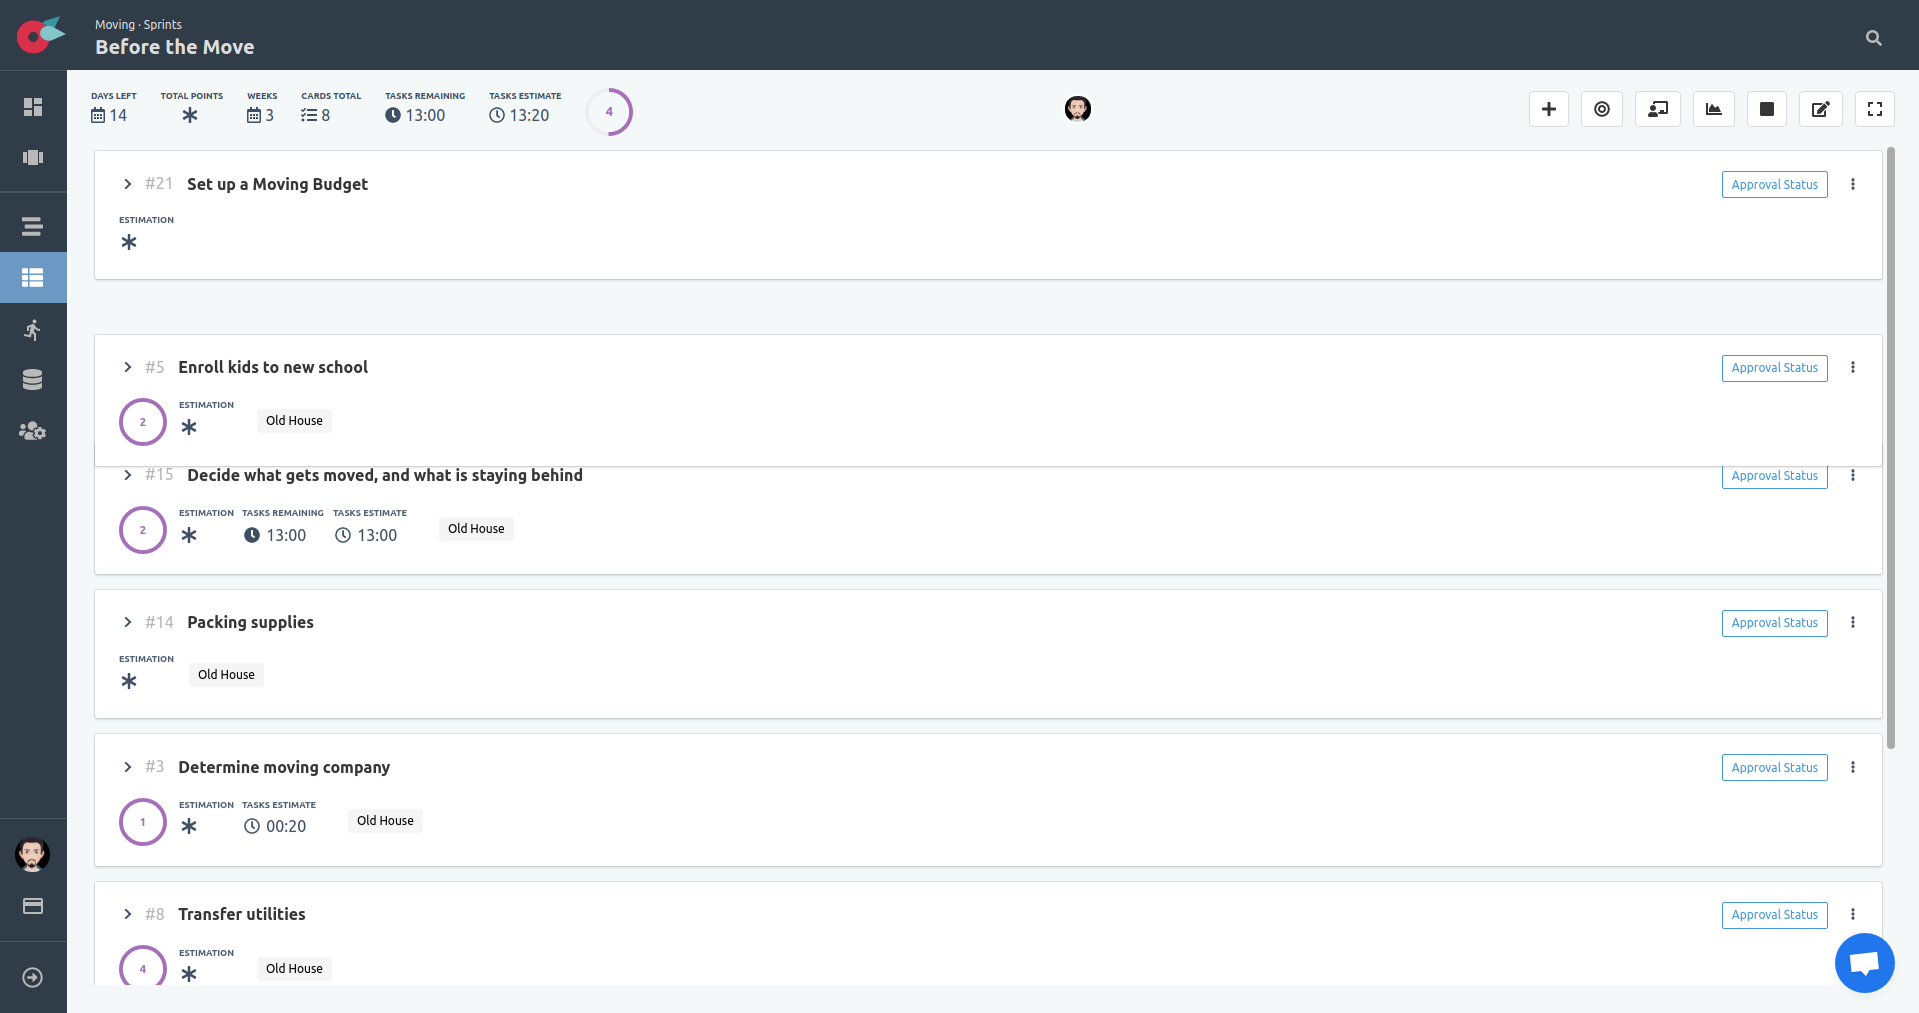
Then release the drag and leave it at the desired position.
Task Board - Expanded Card
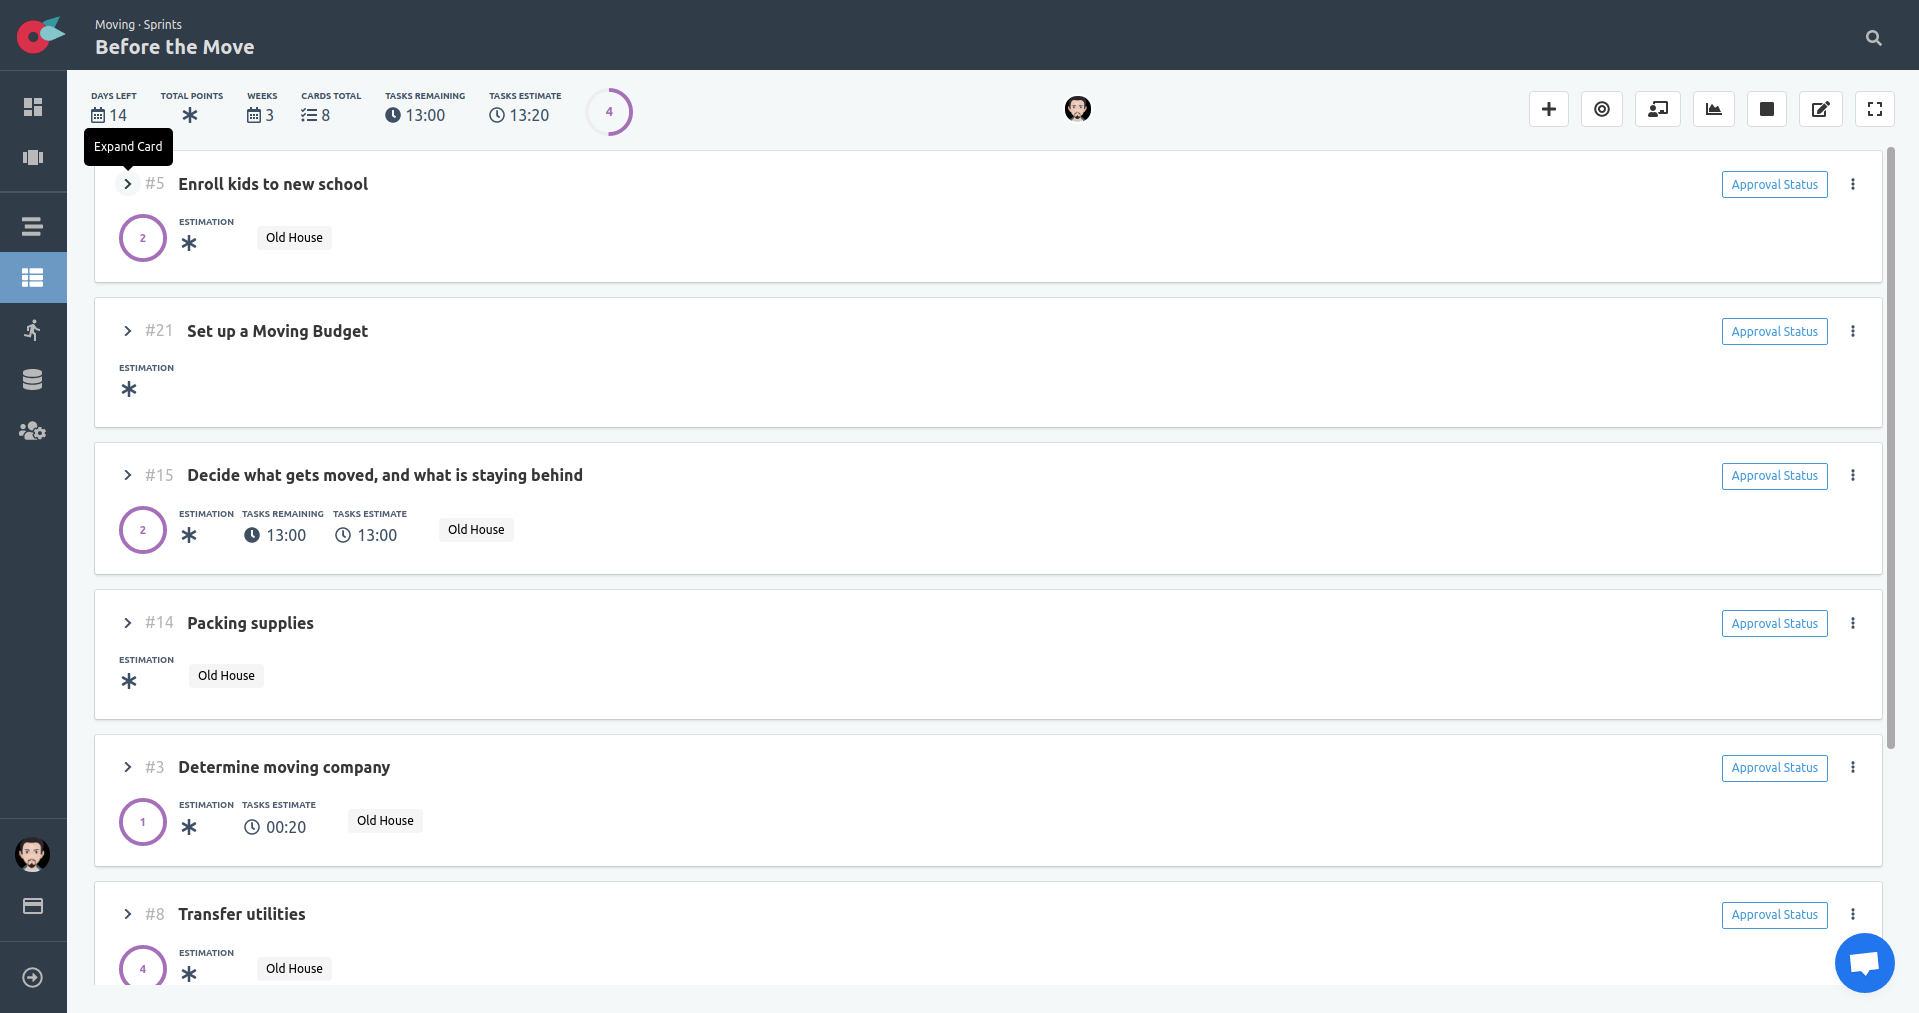
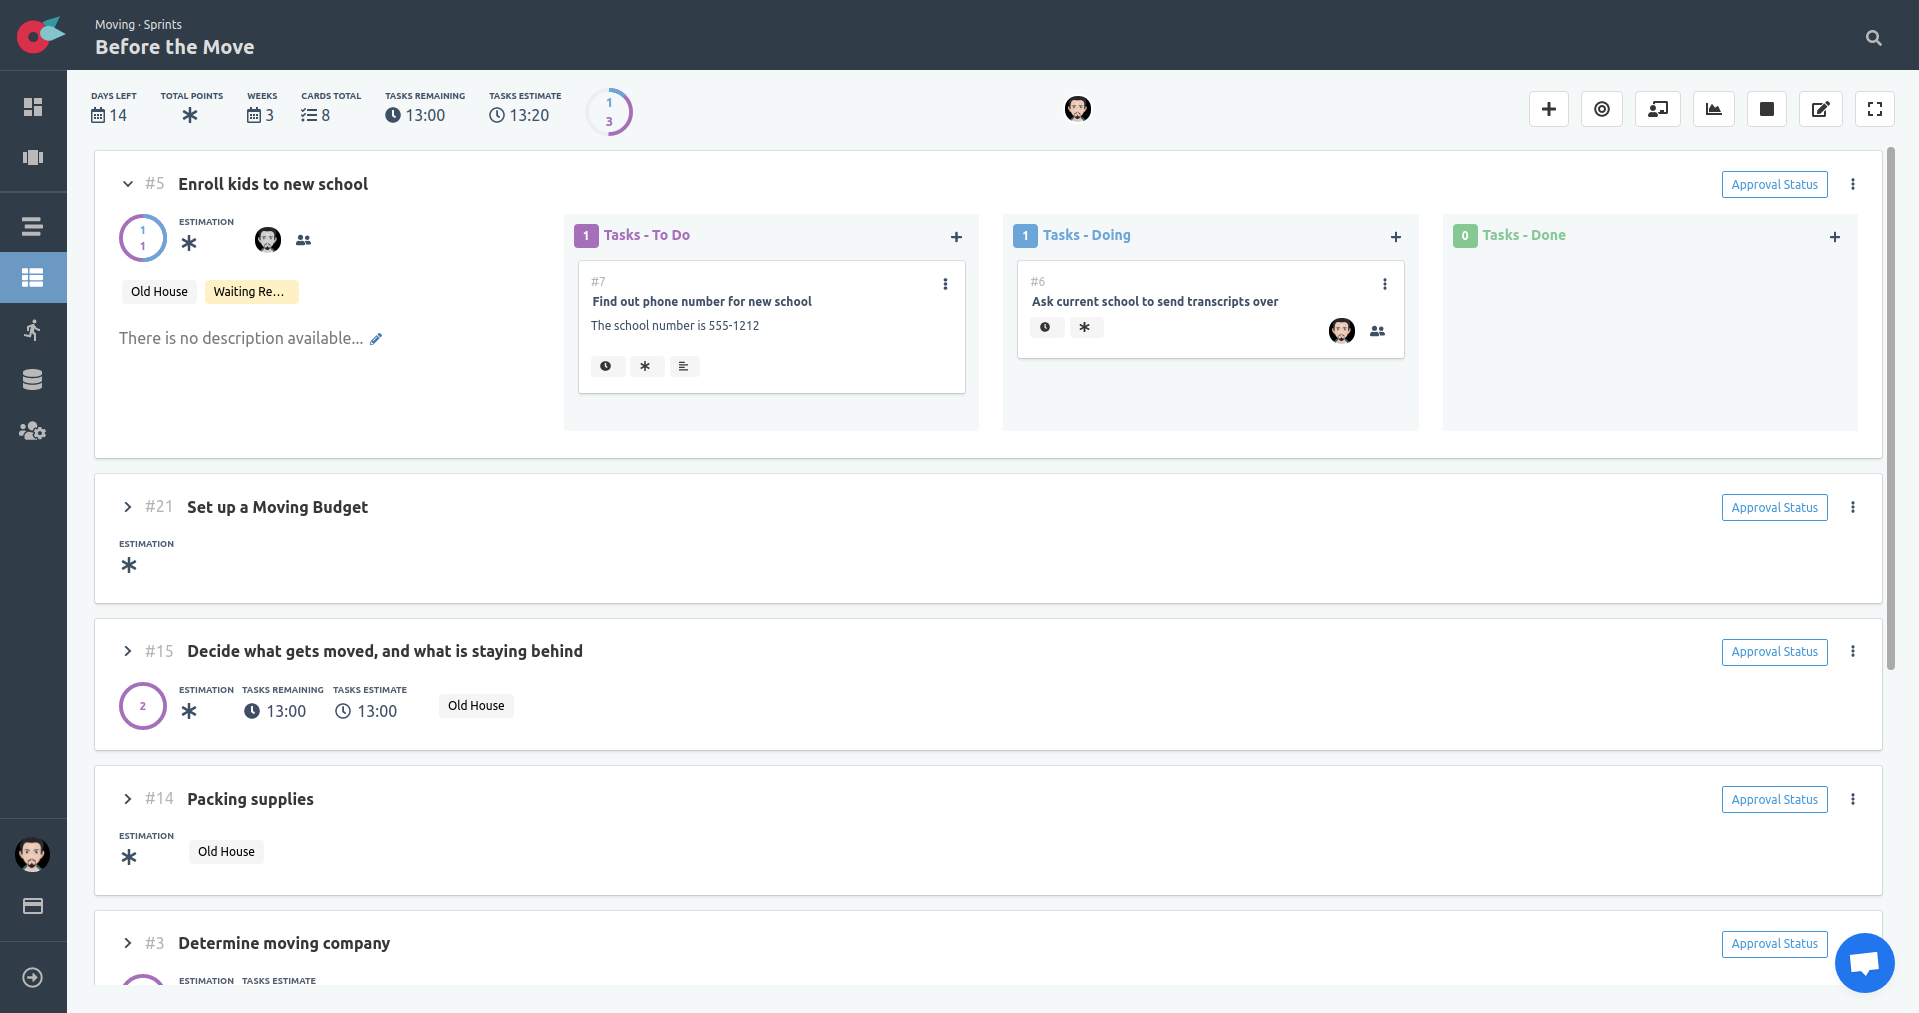
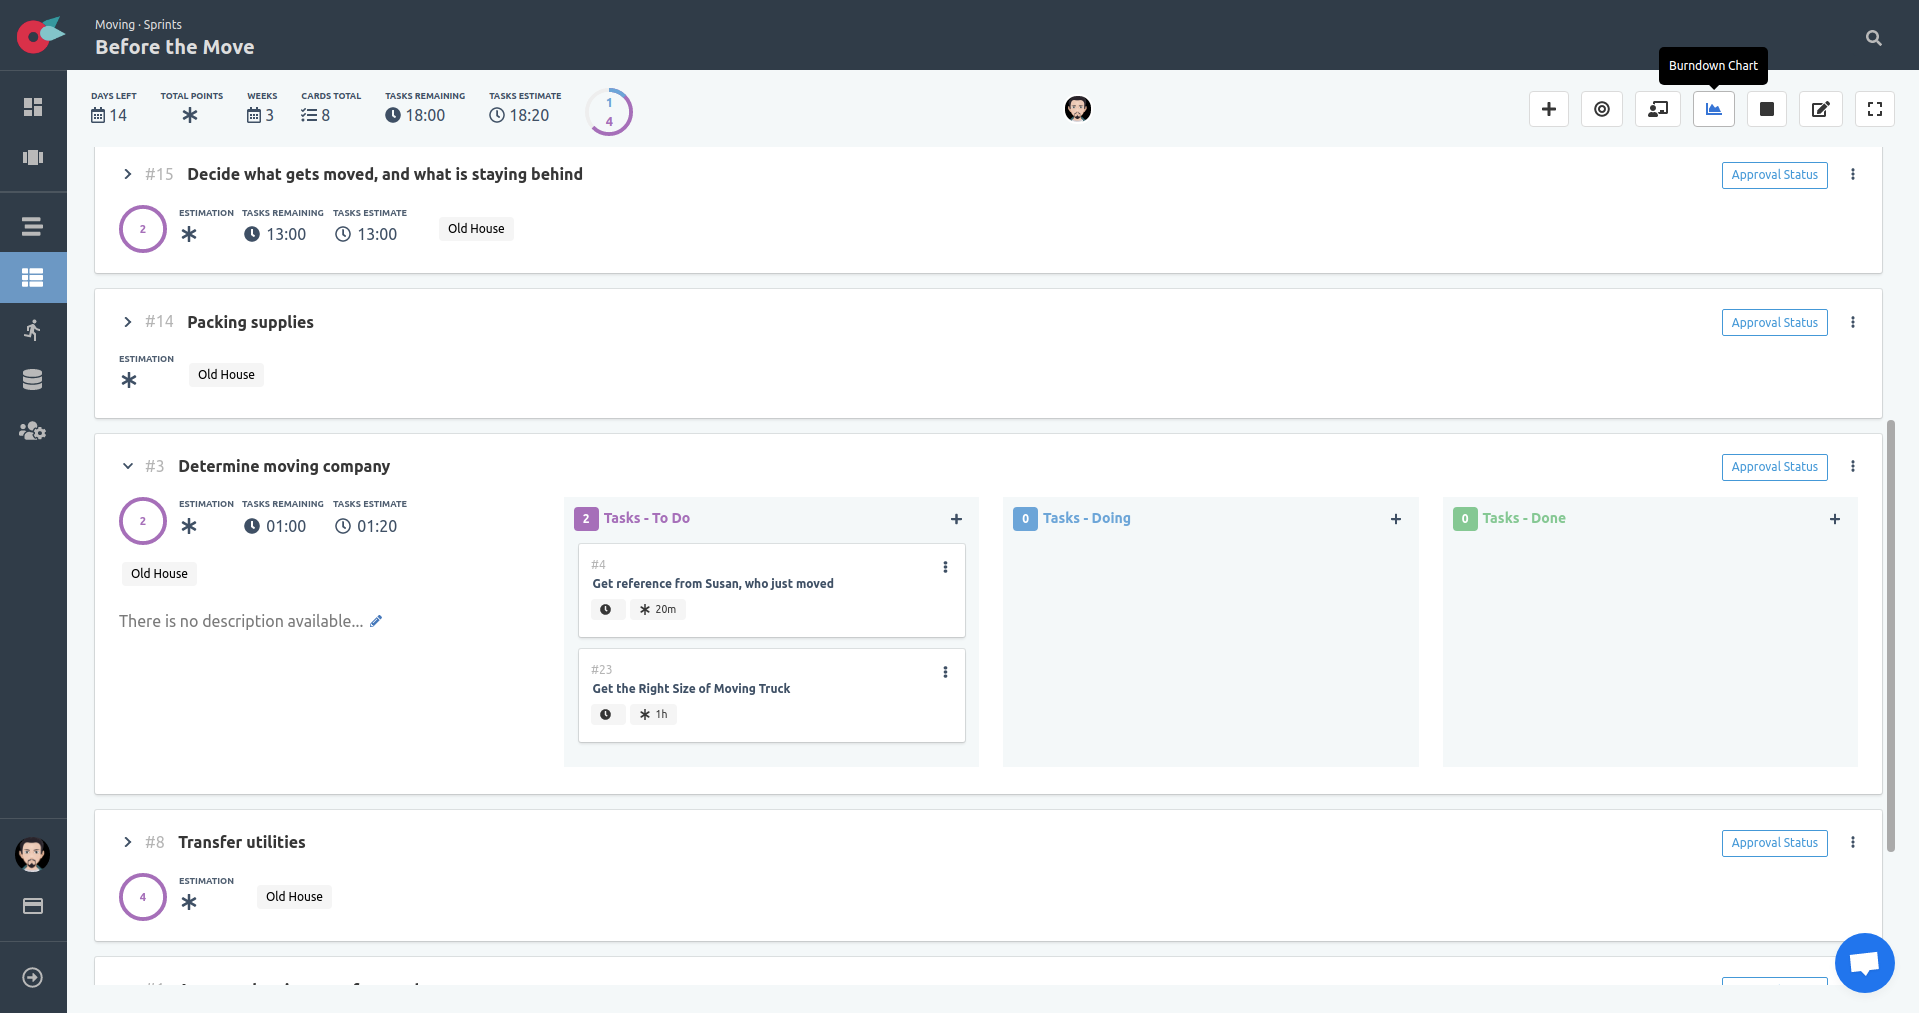
In the simple SCRUM board we can expand the cards to reveal some details of the card. Among the details is the task board.
Click on the Expand Card icon located in the left corner of the card.
The task board, and the description is visible in the board.
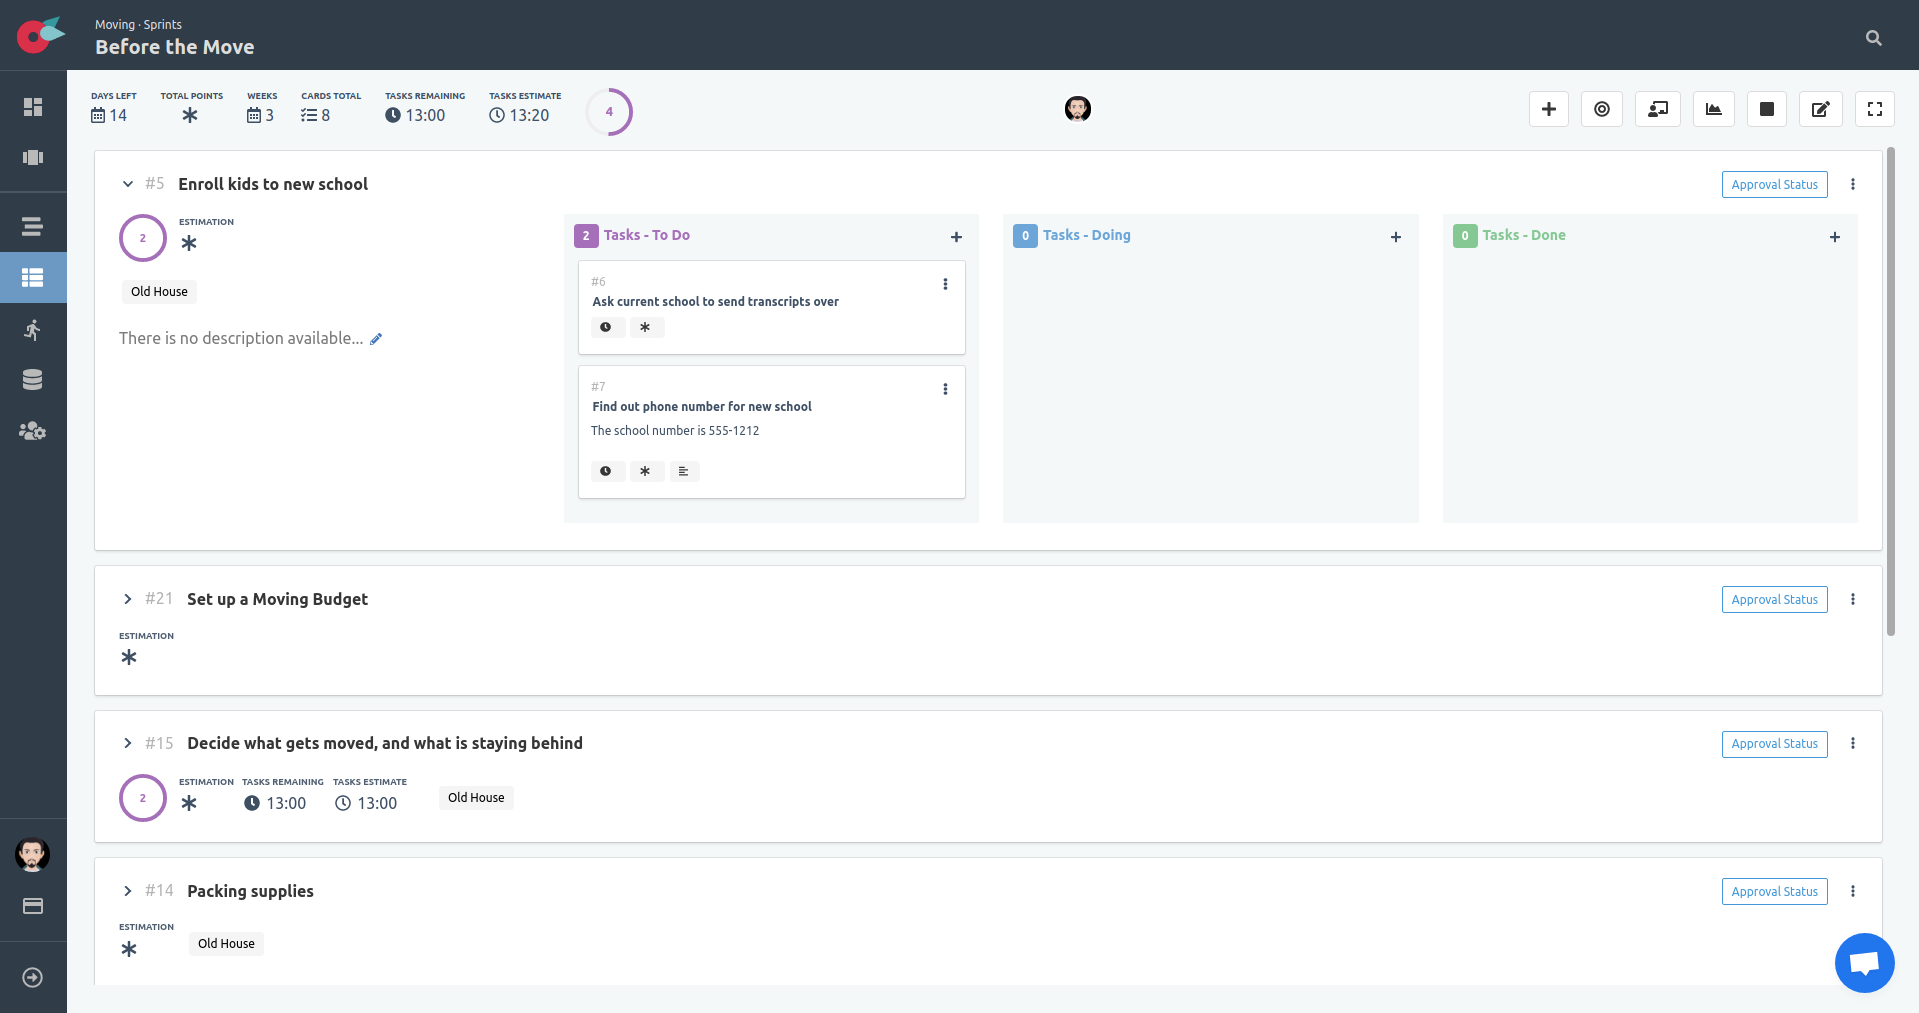
The only columns available for the tasks are To Do, Doing, Done. You will be able to drag the tasks and drop them in the proper column. Once all tasks are done the card will be considered as done.
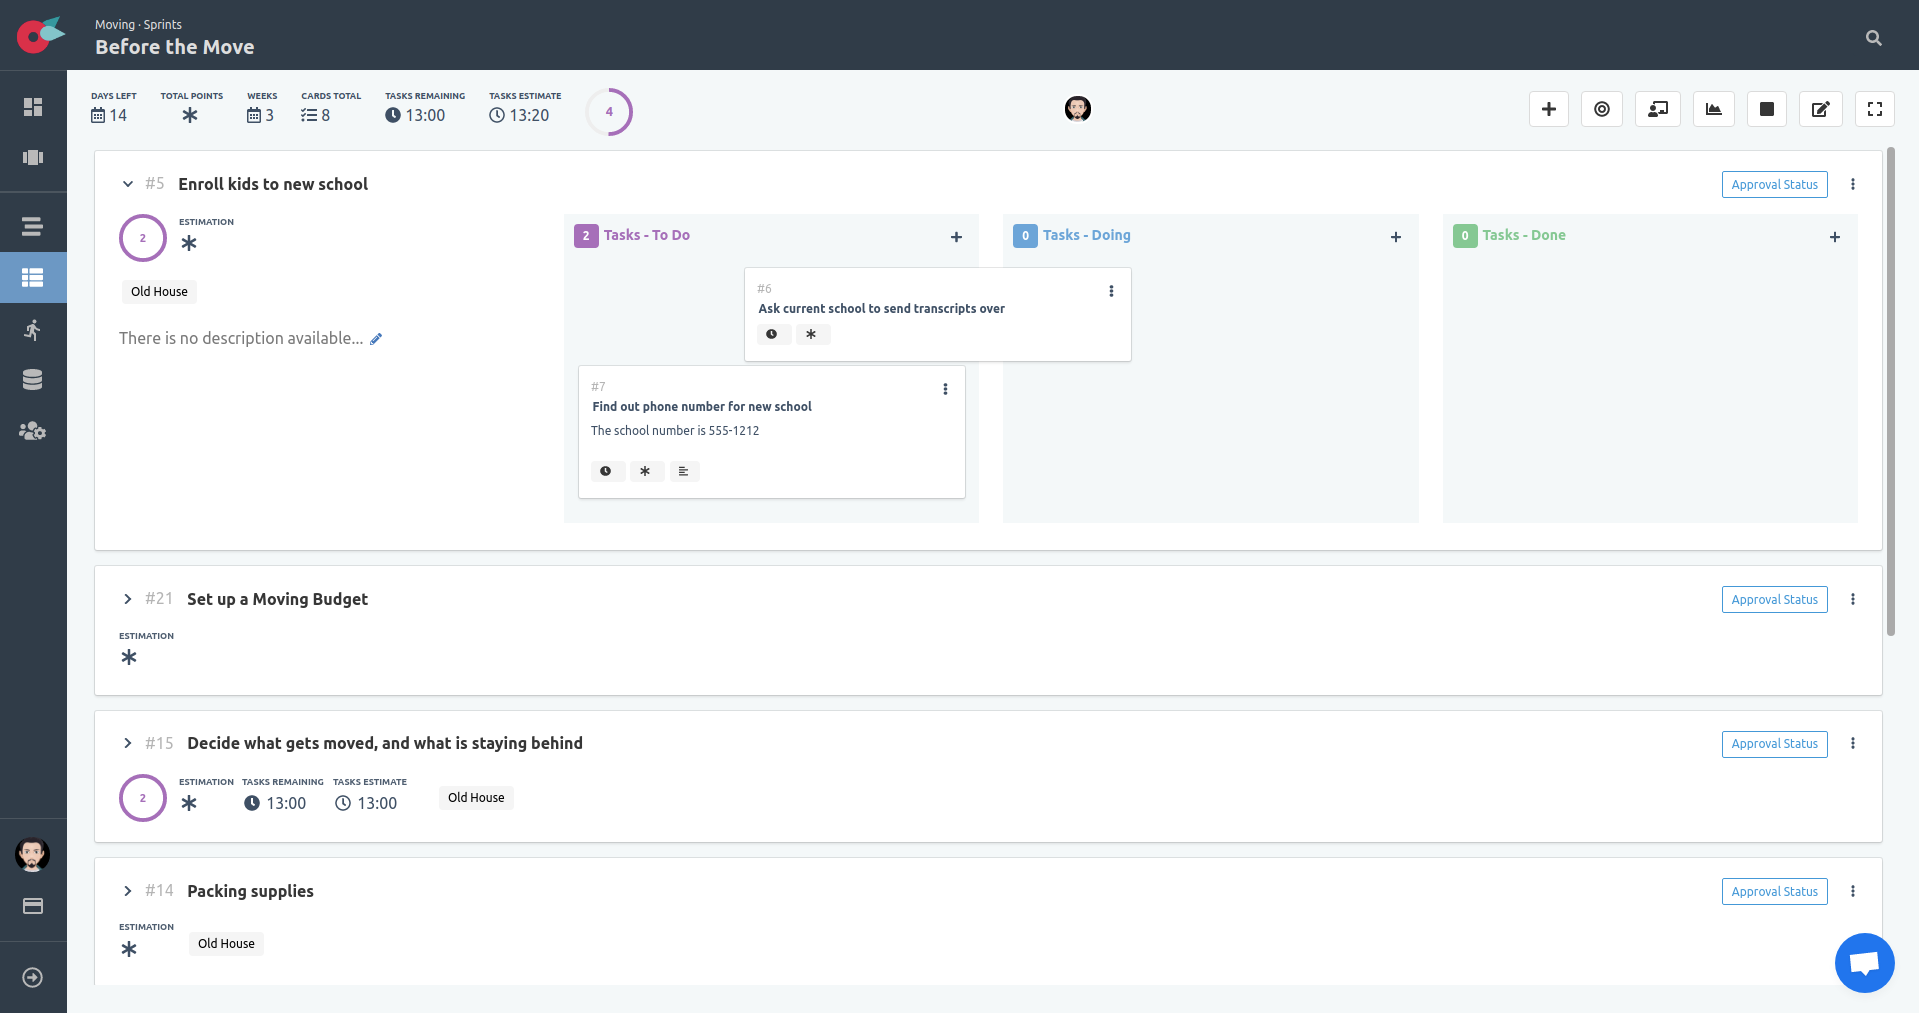
Add Tasks - Expanded Card
To add a task find the + button located at the top of the column in the task board, and click on it.
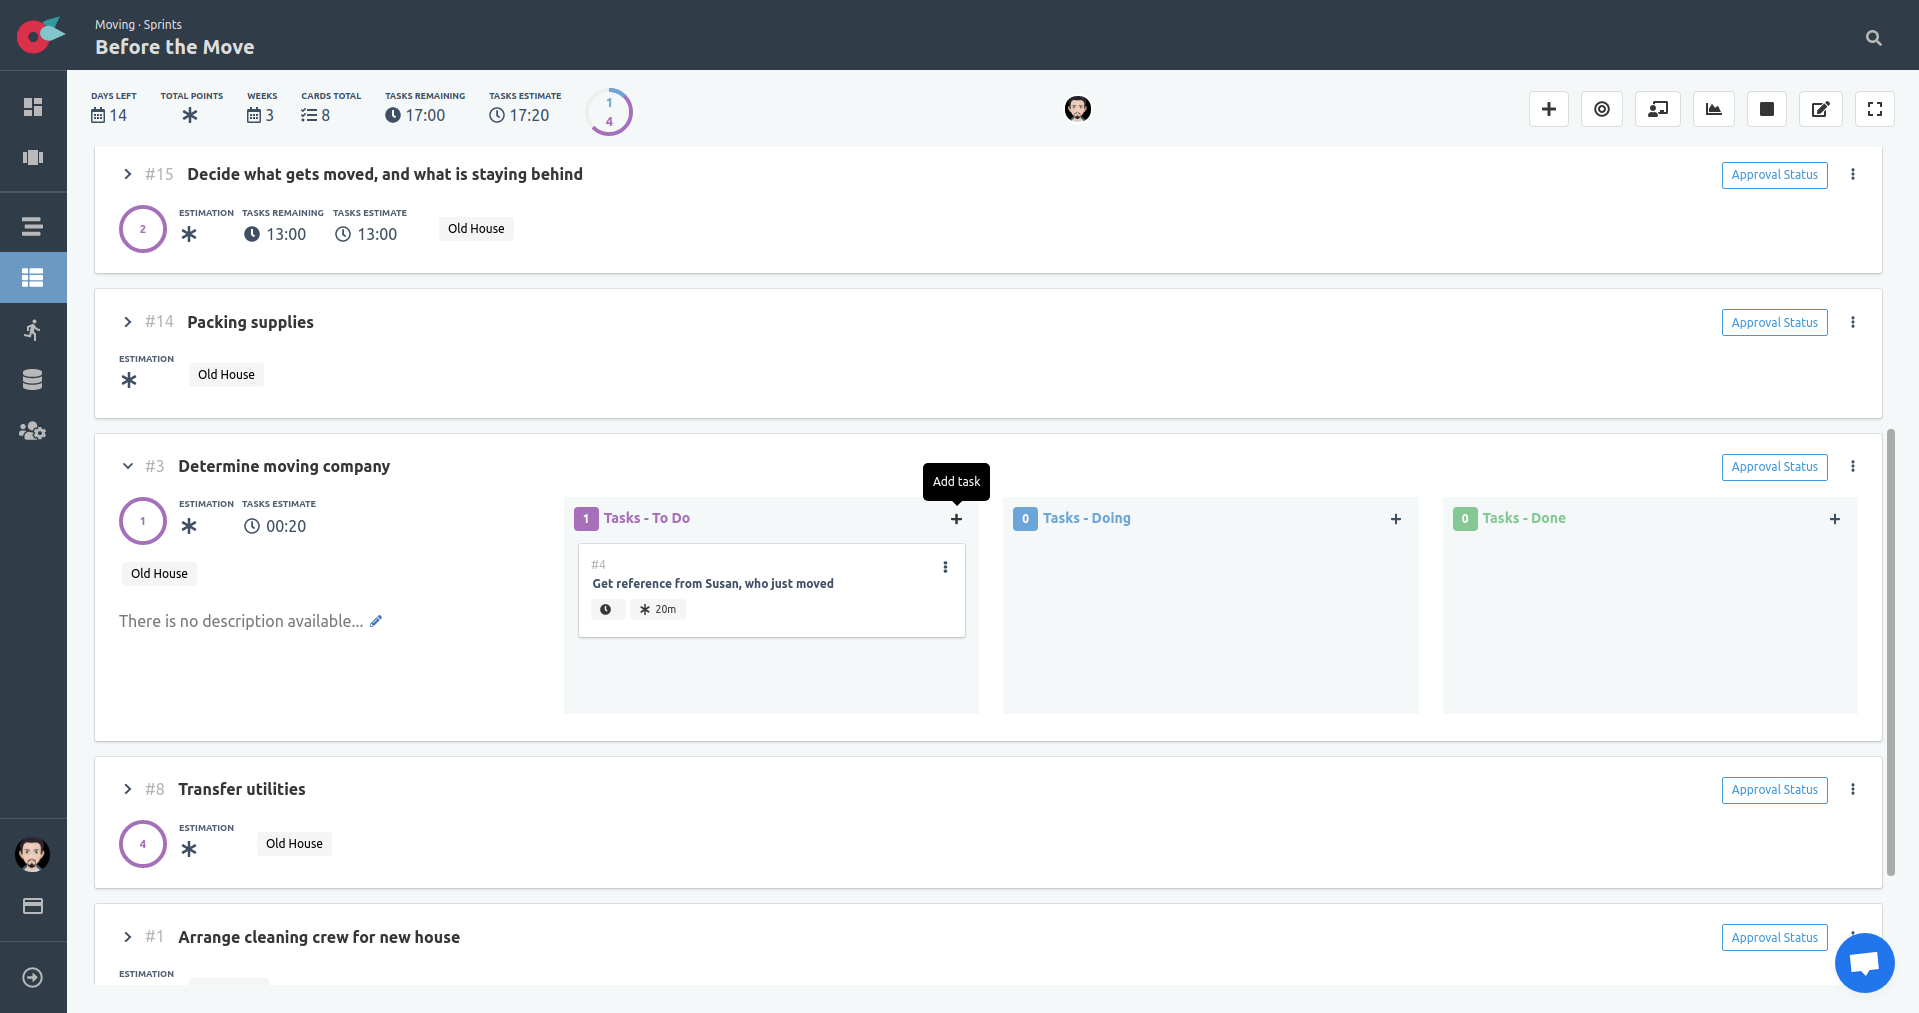
When you click on the button, an input field appears. Simply type the name of the task in the input text box, and hit Enter or click on the Add Task button.
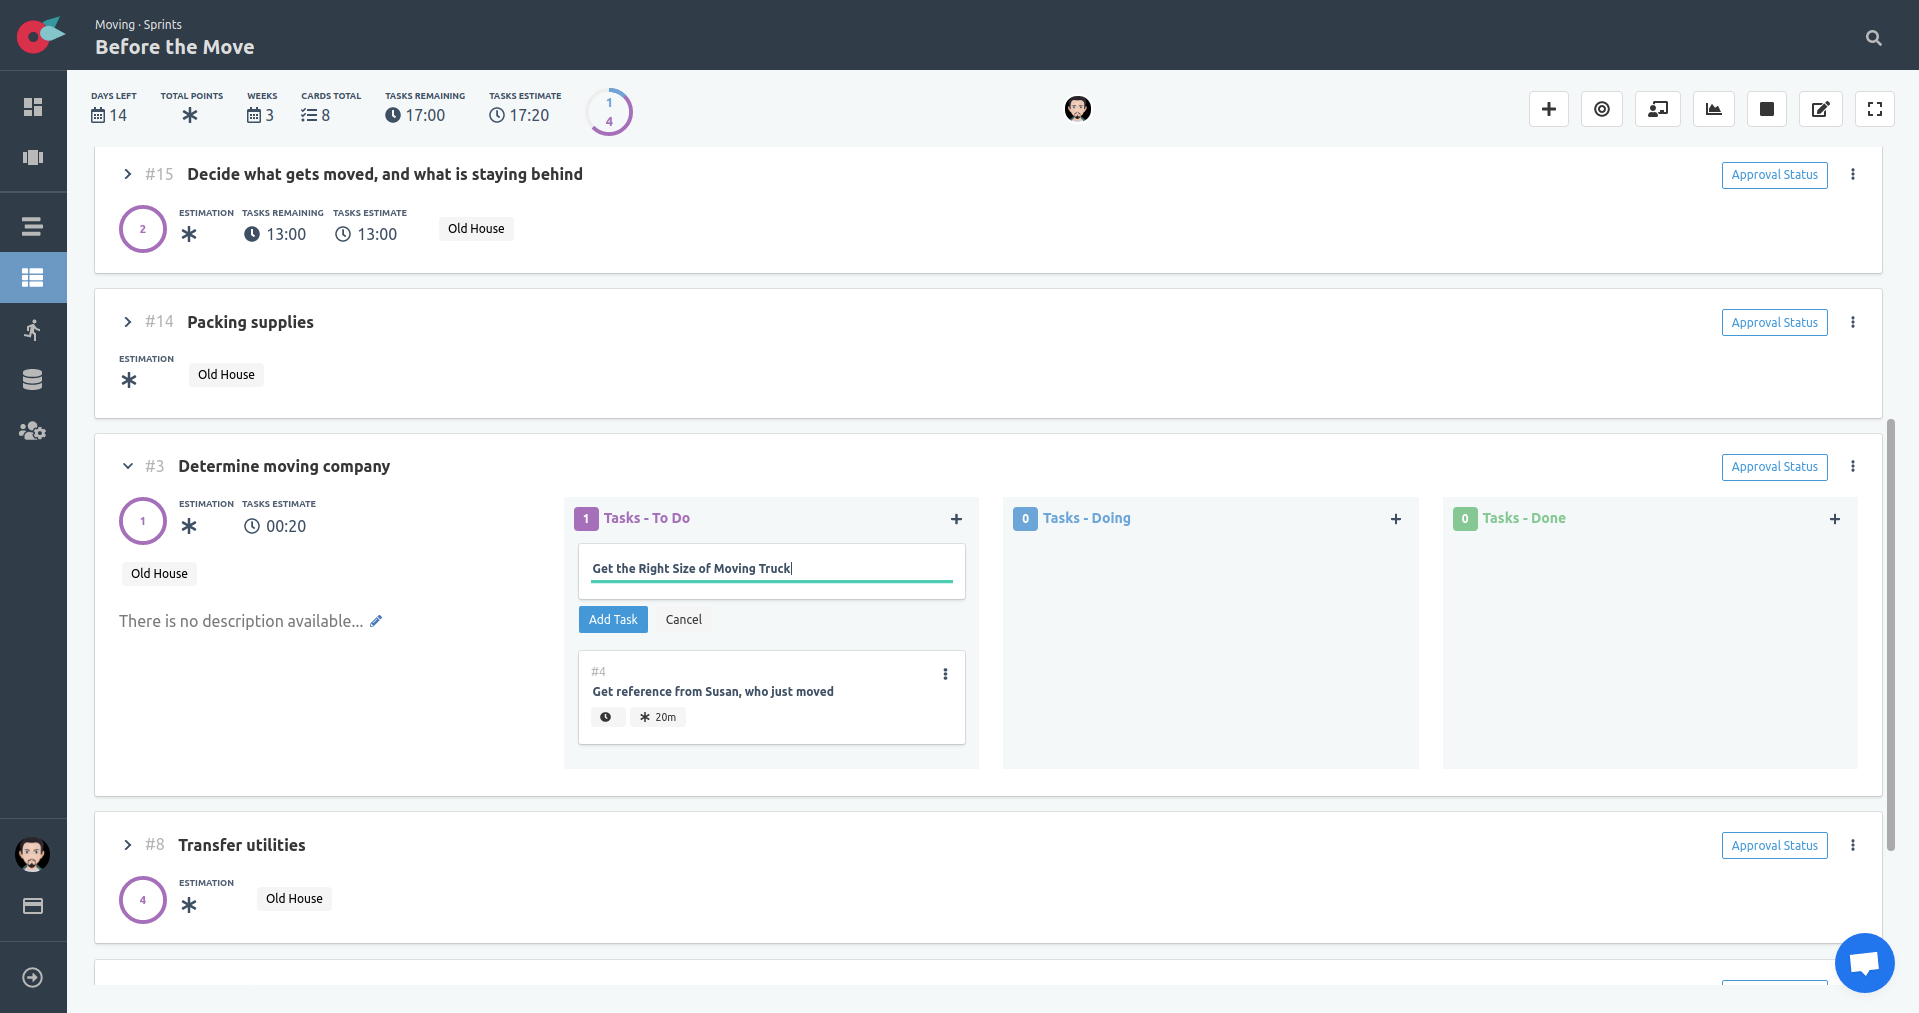
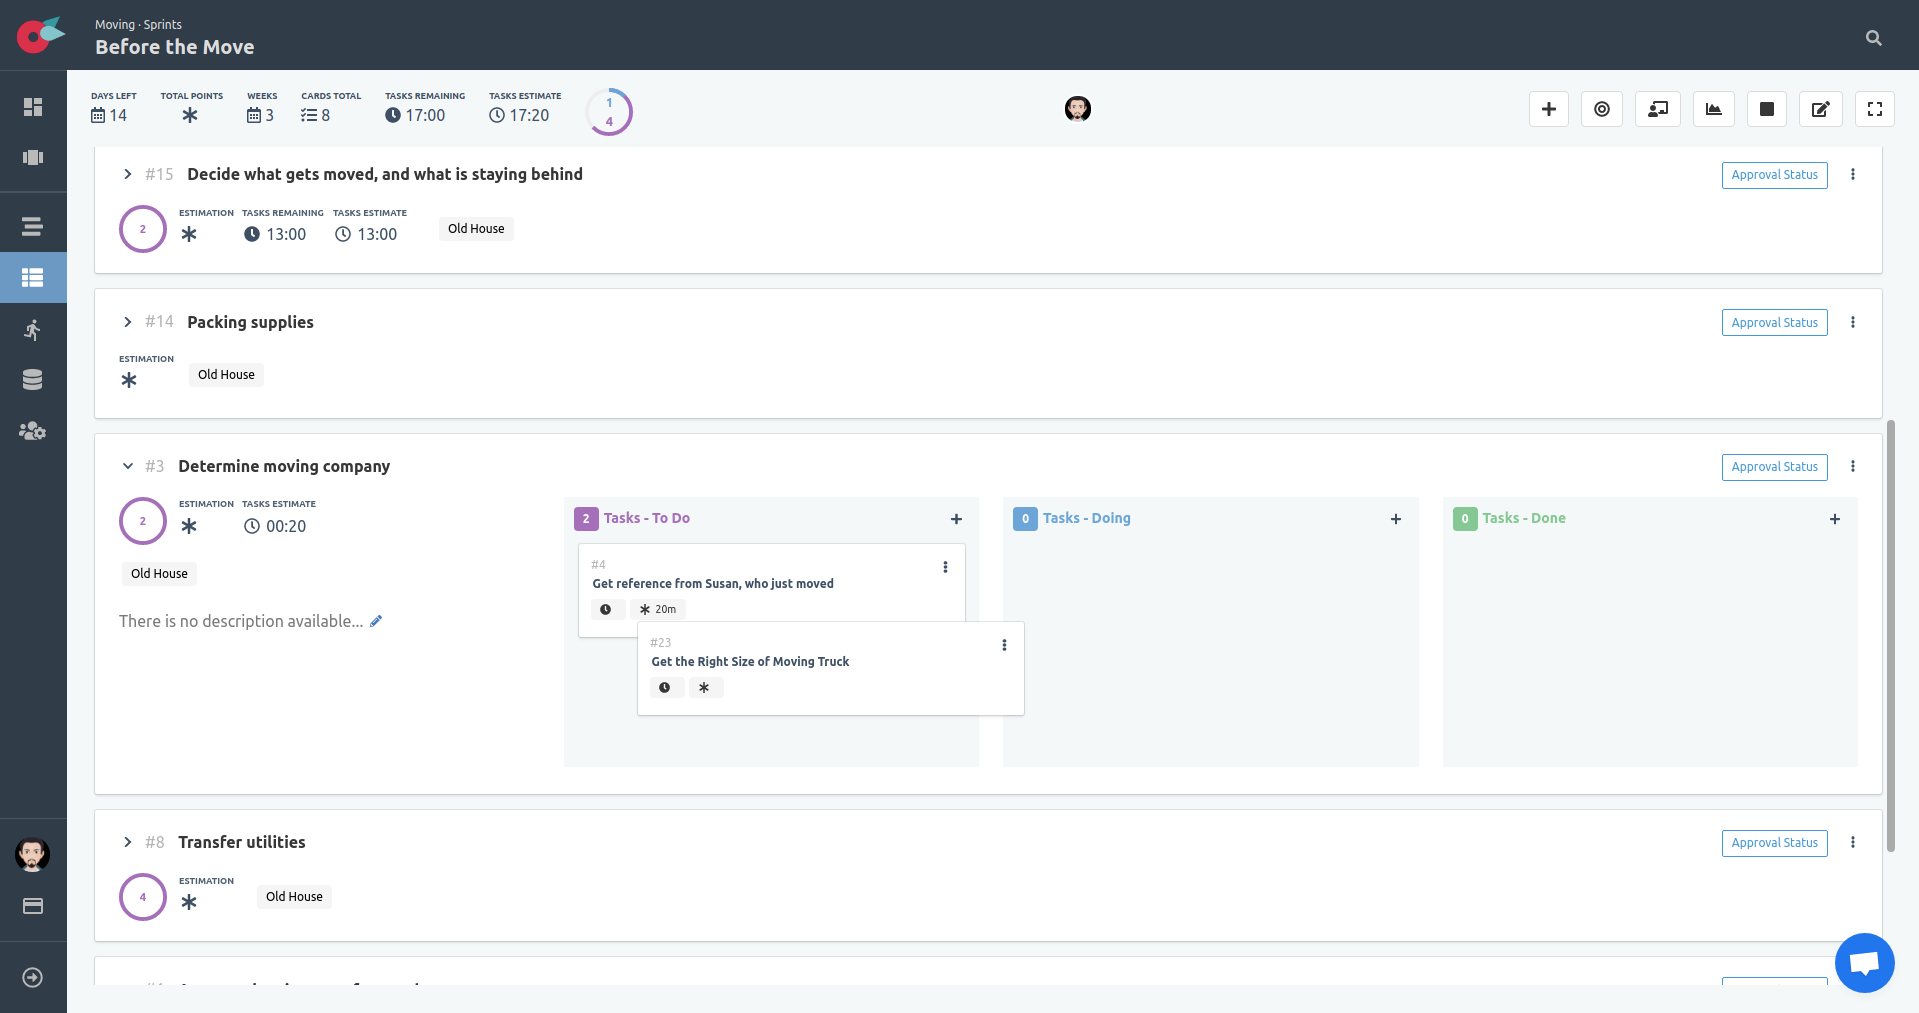
Reorder the tasks based on priority order. We will start working with tasks at the top, and since we want to talk to Suzan first, we will move it at the top.
Add Labels - Card
To add clarity to your boards, add labels to the cards. With the use of labels, you get an extra layer of information at a glance.
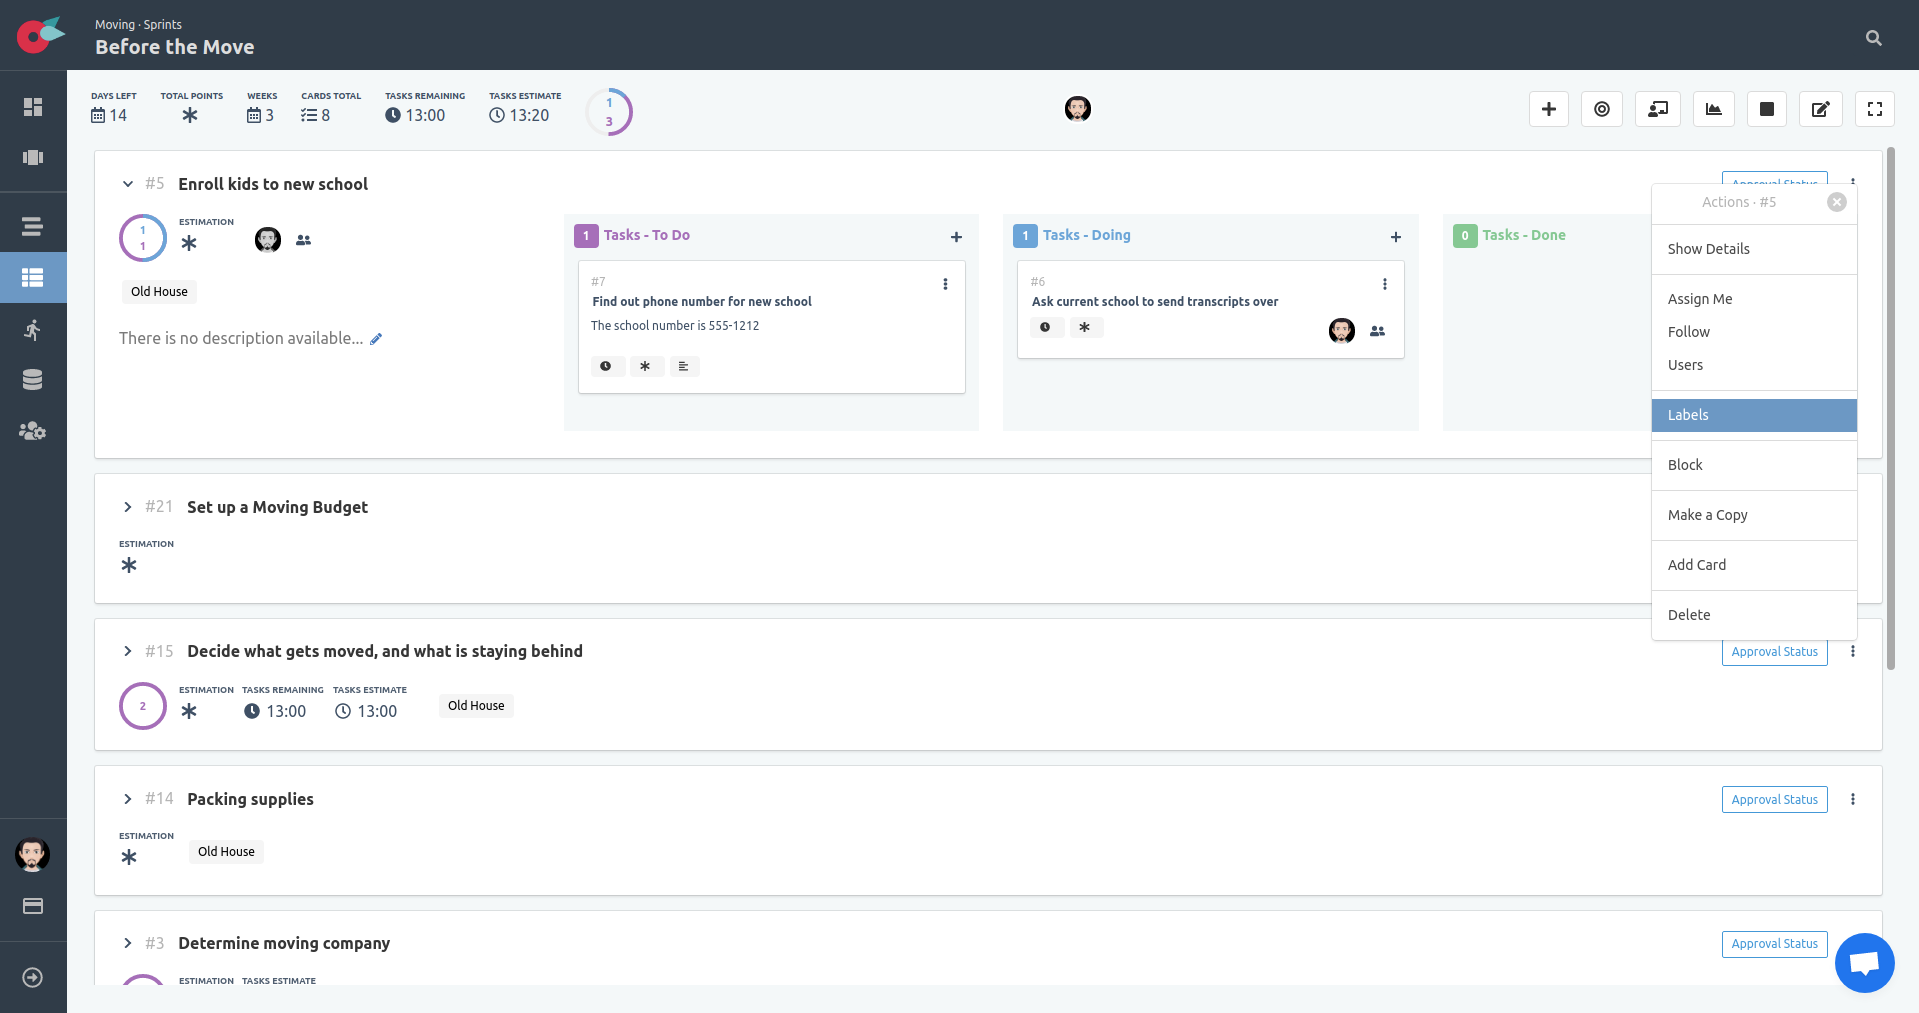
From the dropdown menu of the card locate and click on the Labels action.
The labels menu is visible. Select the labels of the card and close the menu with a click anywhere outside the menu or the x button at the right upper corner of the menu.
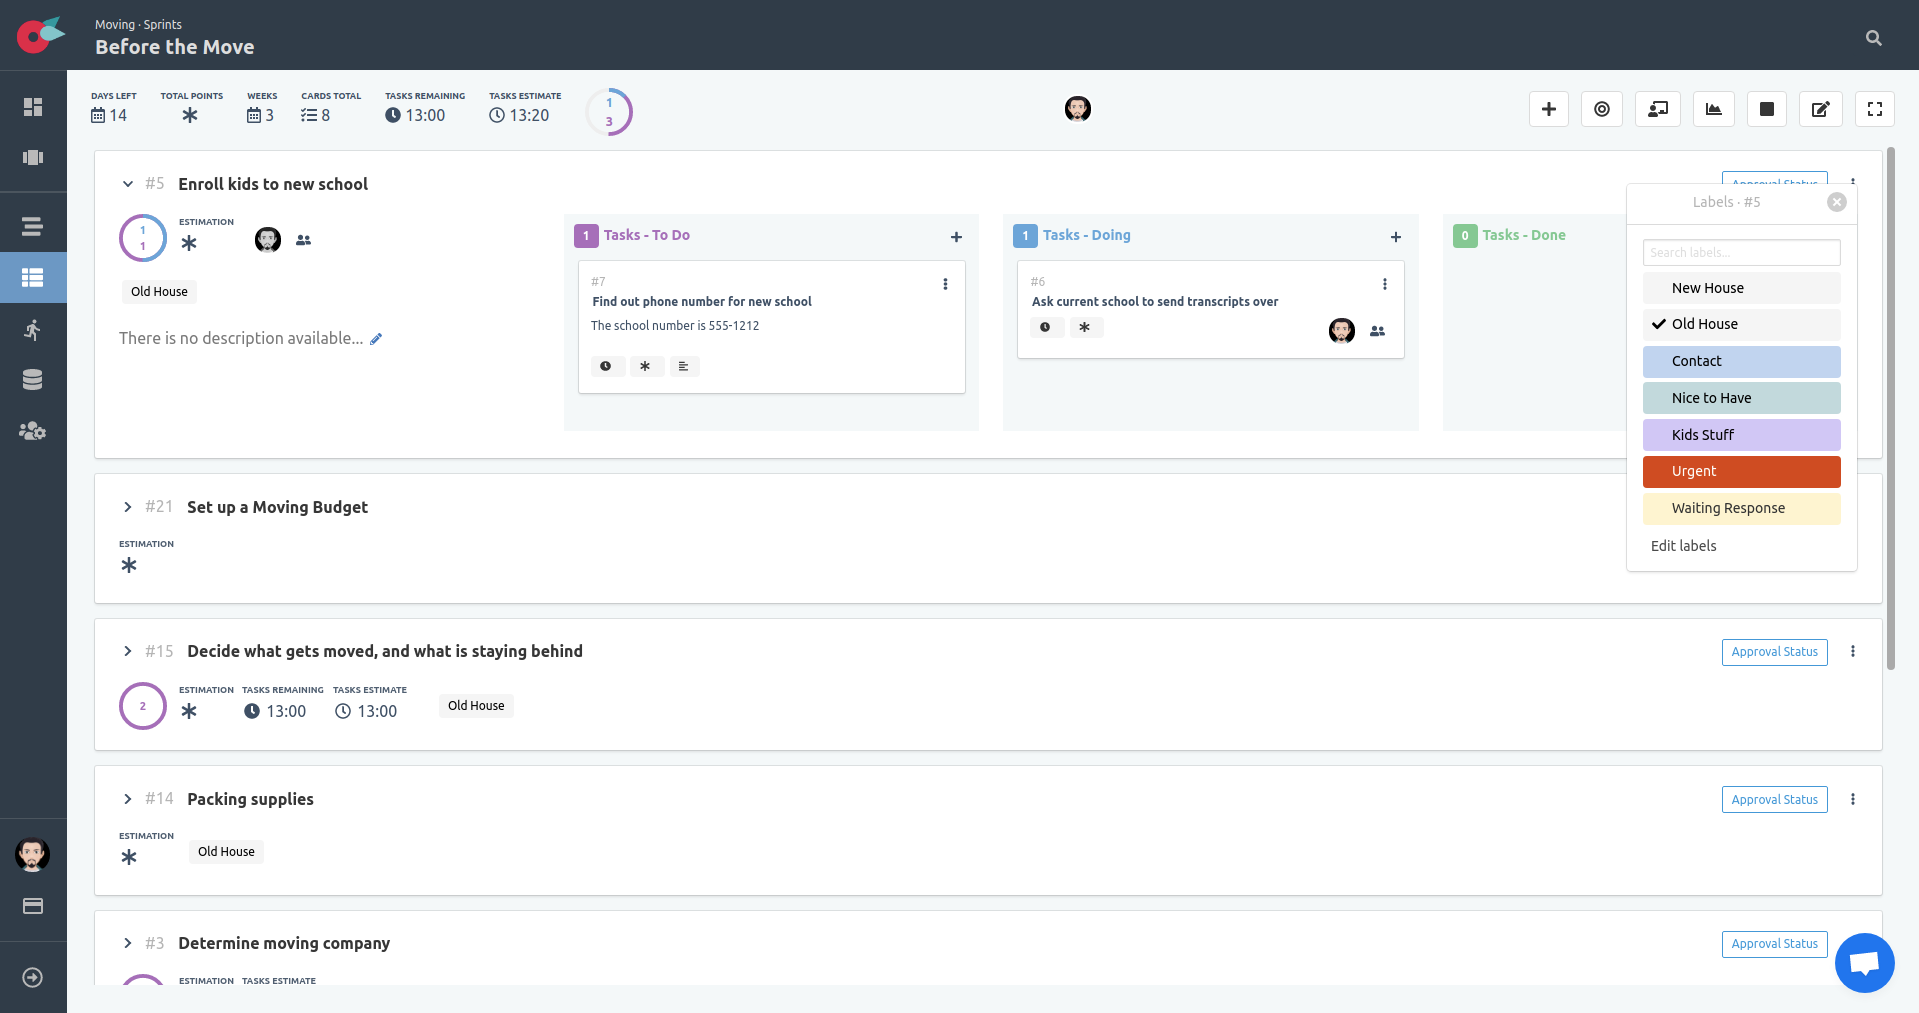
The menu stays open until you chose to close it.
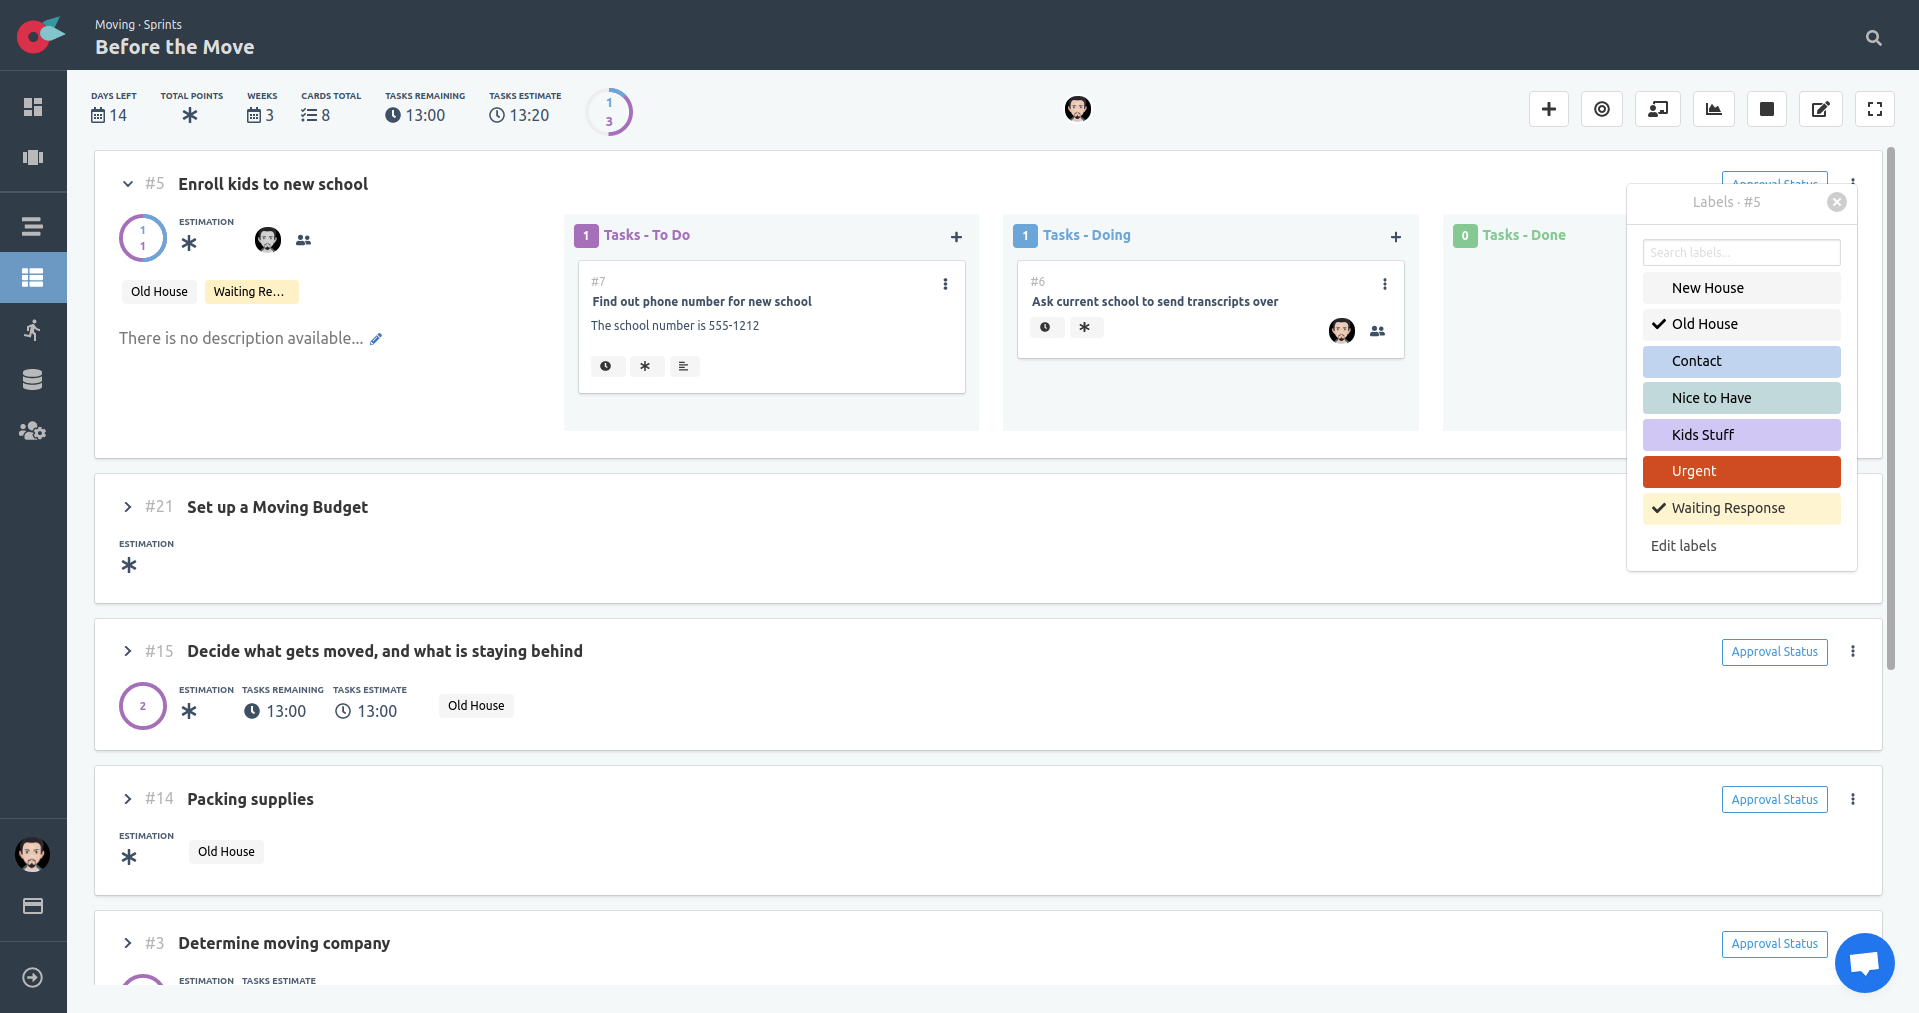
The labels are visible in the expanded card, to give clarity to your boards.
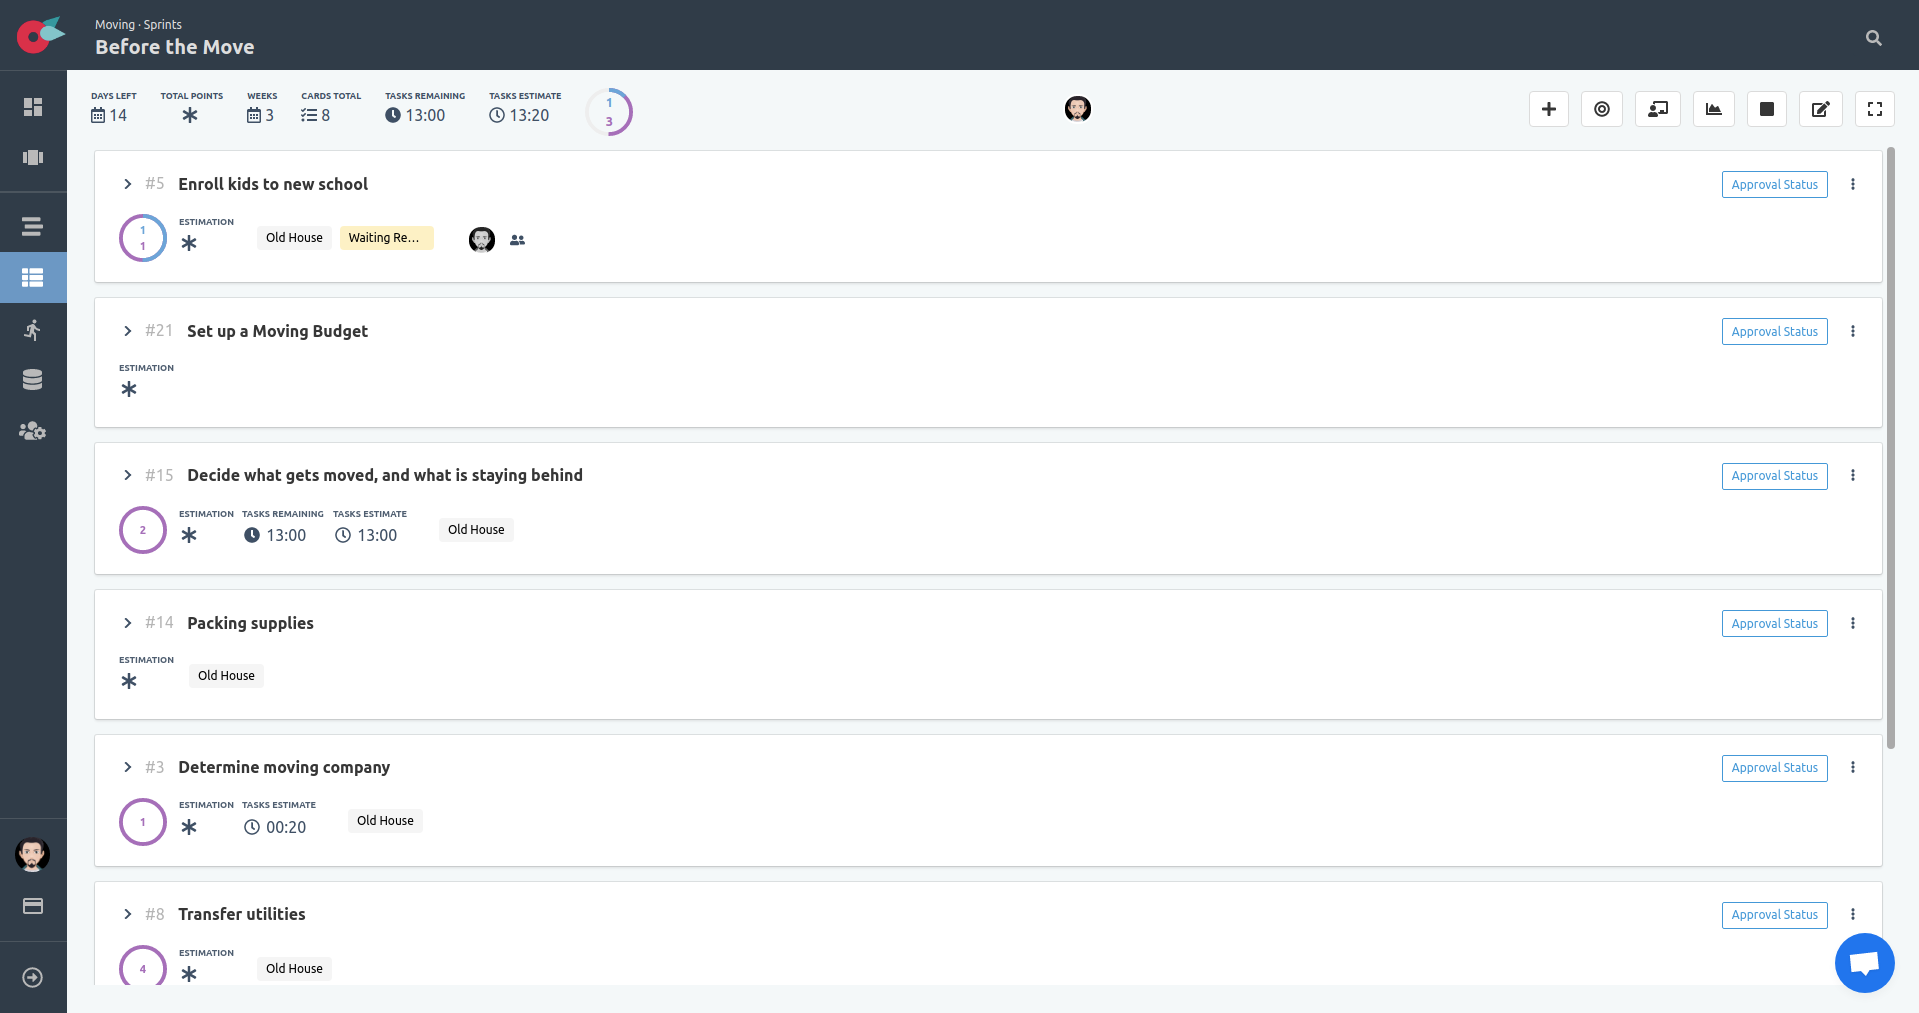
The labels are visible in the collapsed card, to give clarity to your boards.
Edit Card Description
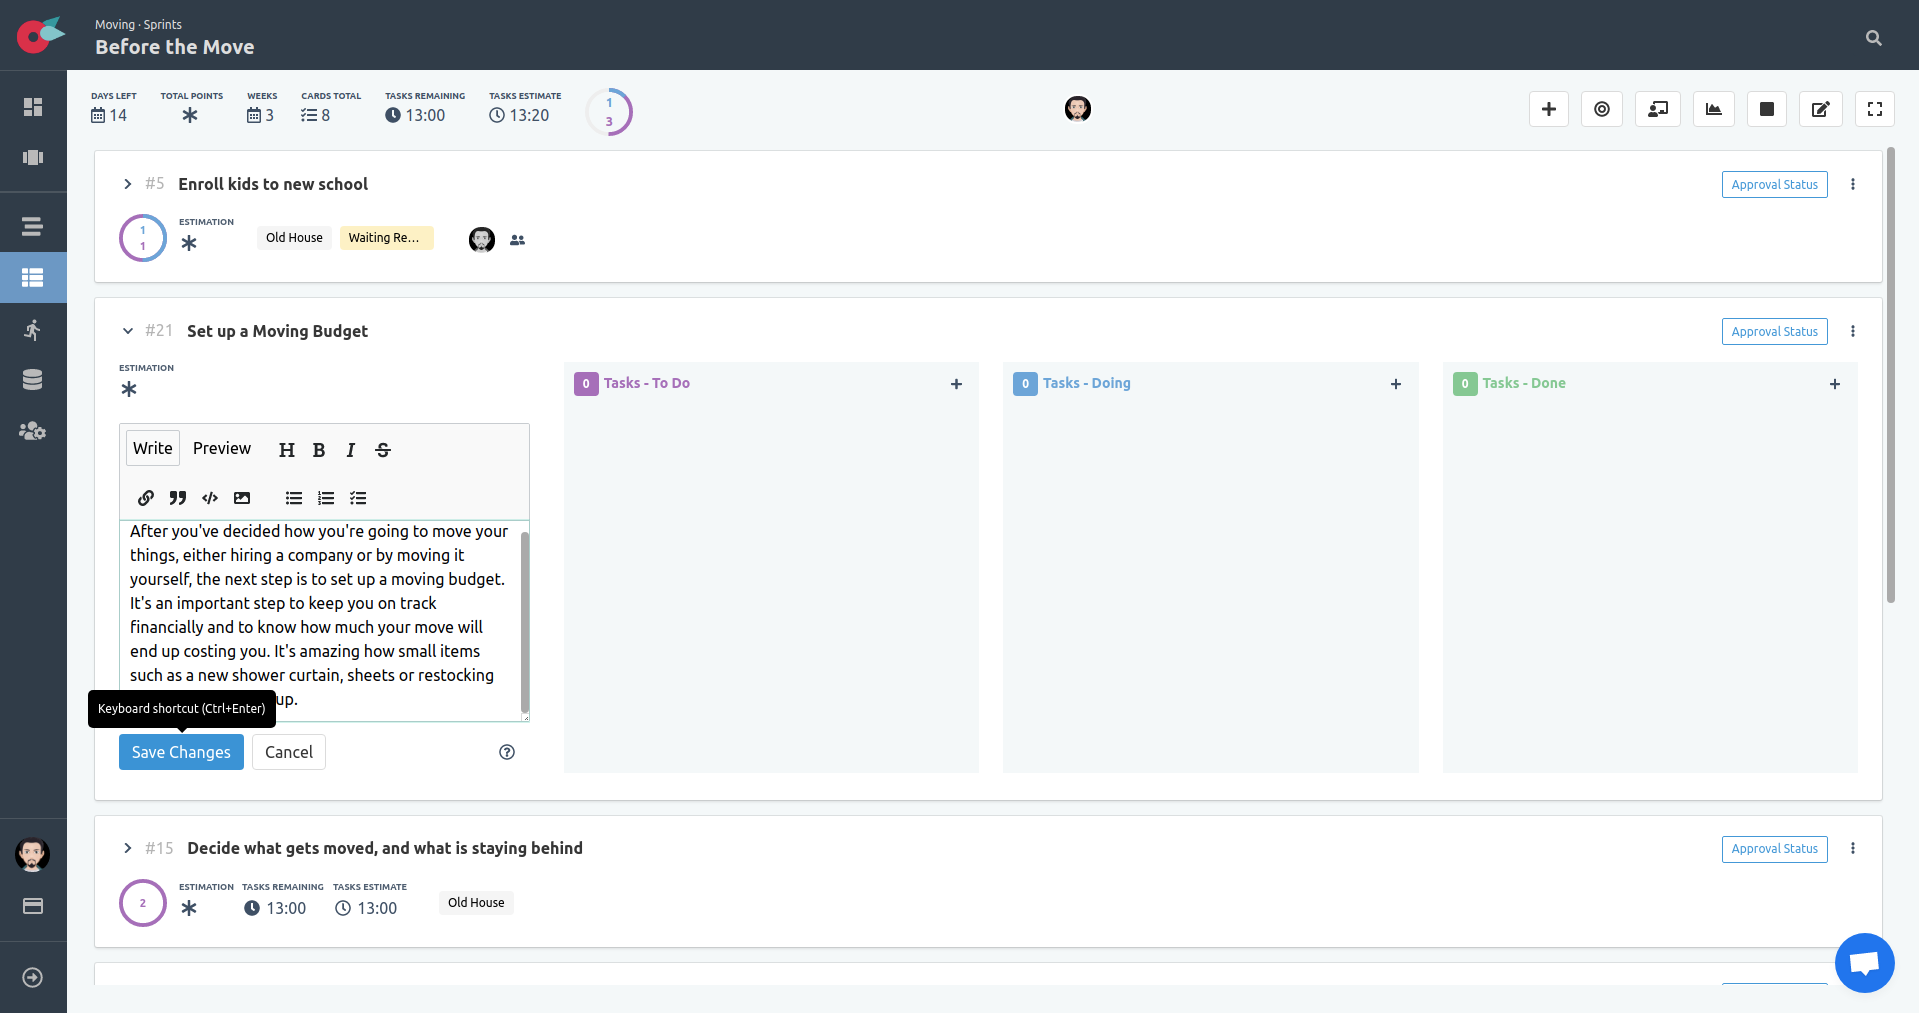
We can edit the card description with more details when expanded. Locate the Pencil button when hover over the description. The markdown editor will be visible. Click on the Save Changes button or press Ctrl+Enter to save the changes.
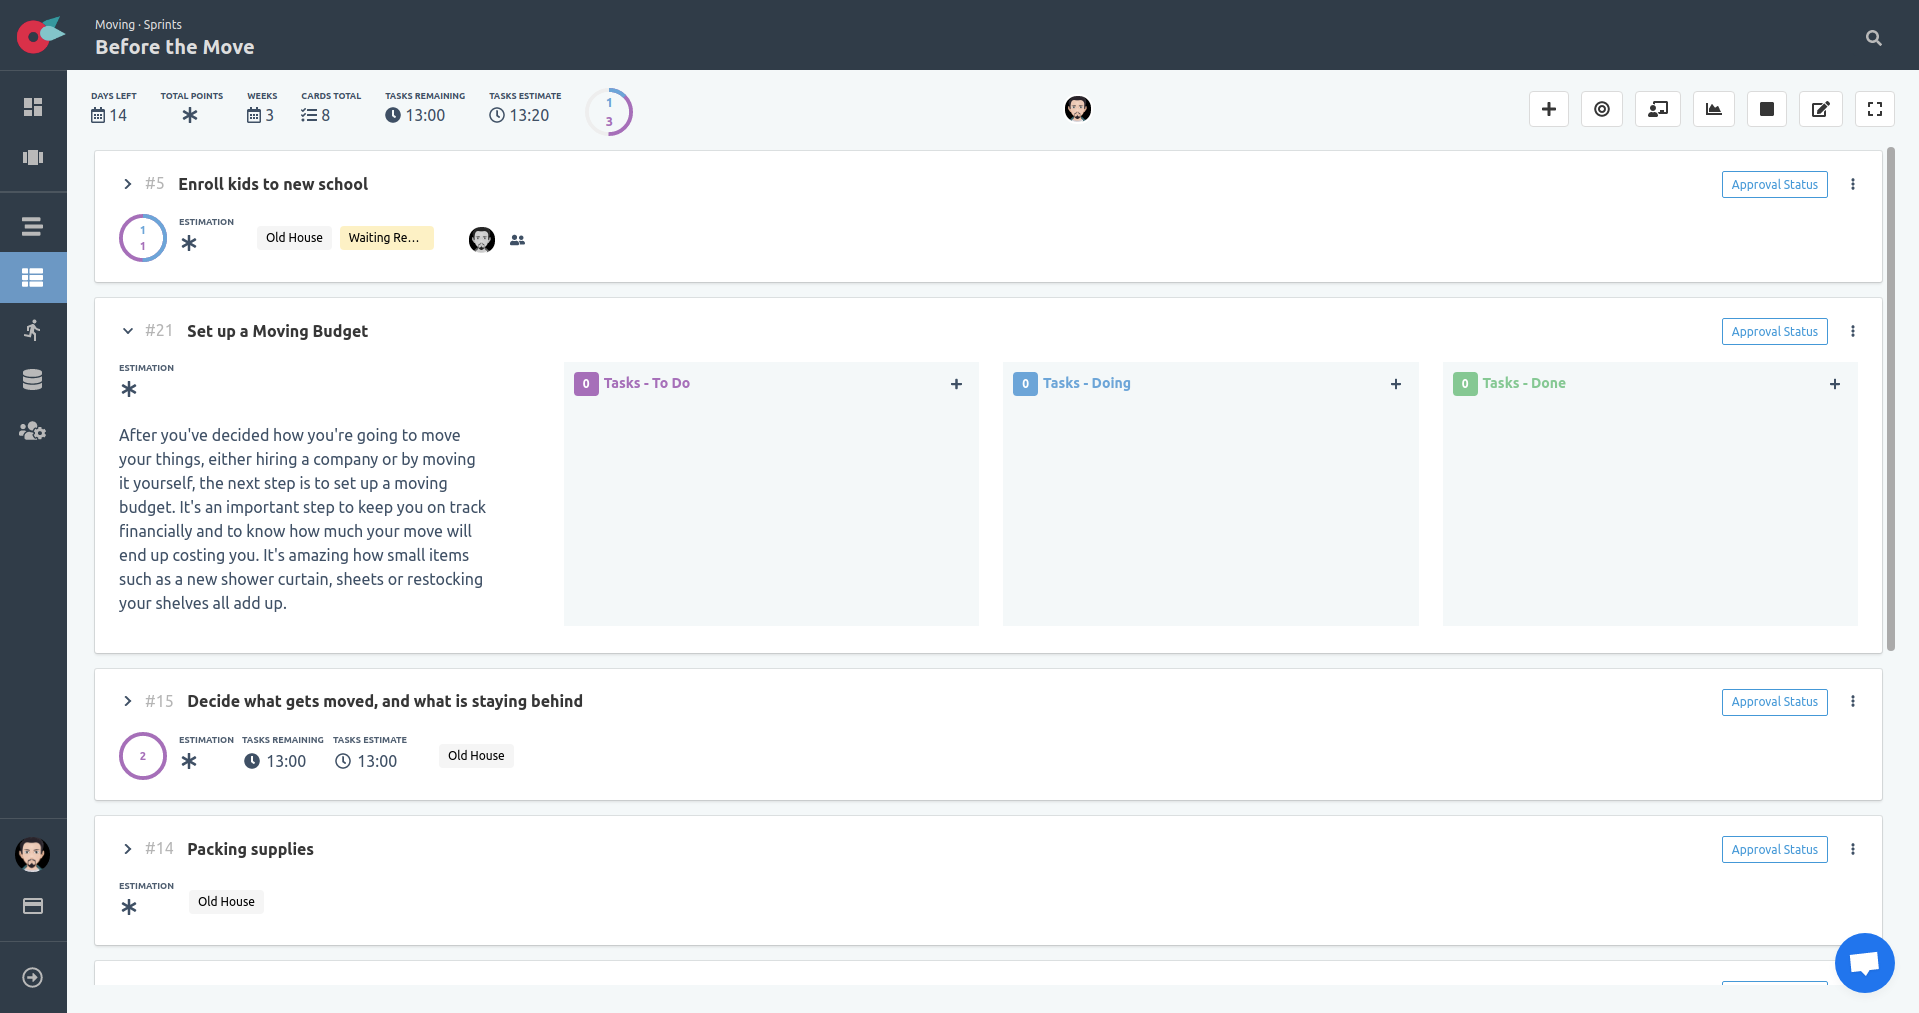
The description is visible in when the card is expanded.
View the Burndown Chart
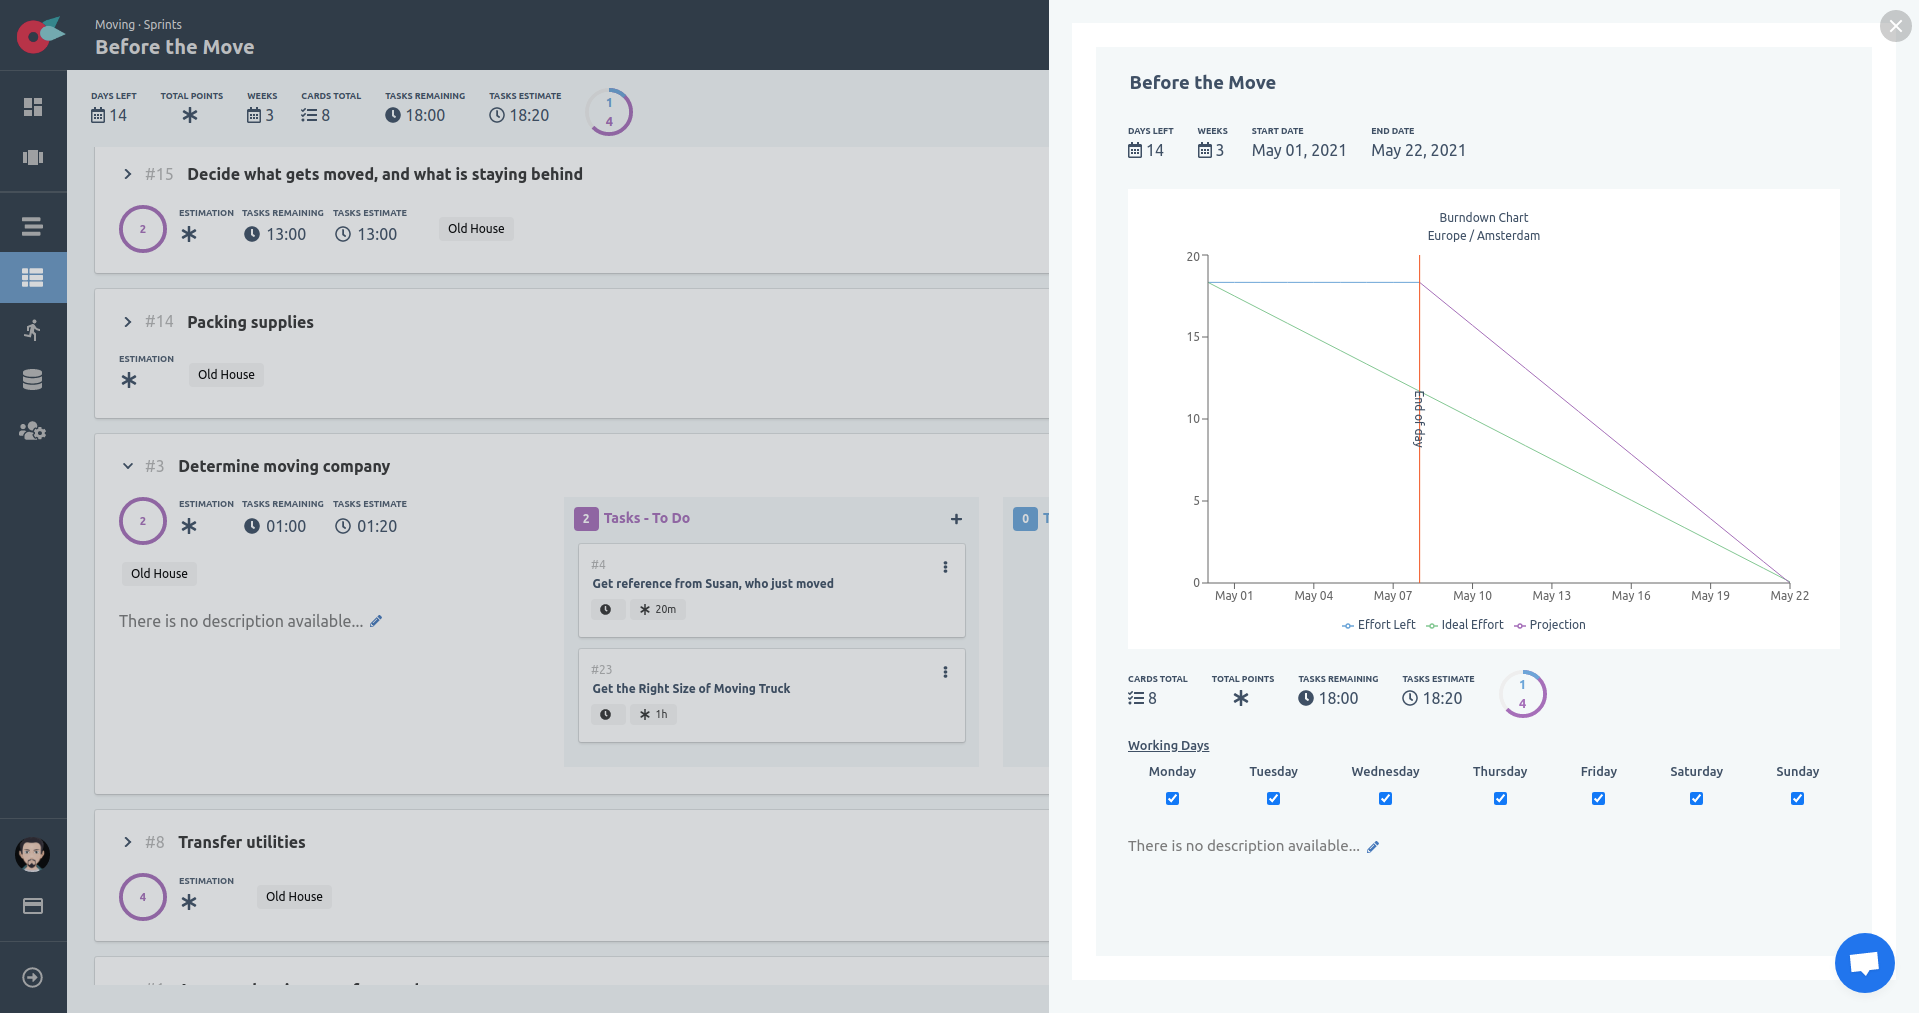
Let’s check the burndown chart now that we added a few tasks to see how it looks like now. Locate the Burndown Chart button at the board toolbar located in the top right-hand side of the board, and click on it.
The burndown chart view is visible now.
SCRUMBAN Sprint Board
Let say that we changed our mind, and we want to use SCUMBAN instead. We need to chang the project type.
Change Project Board Type
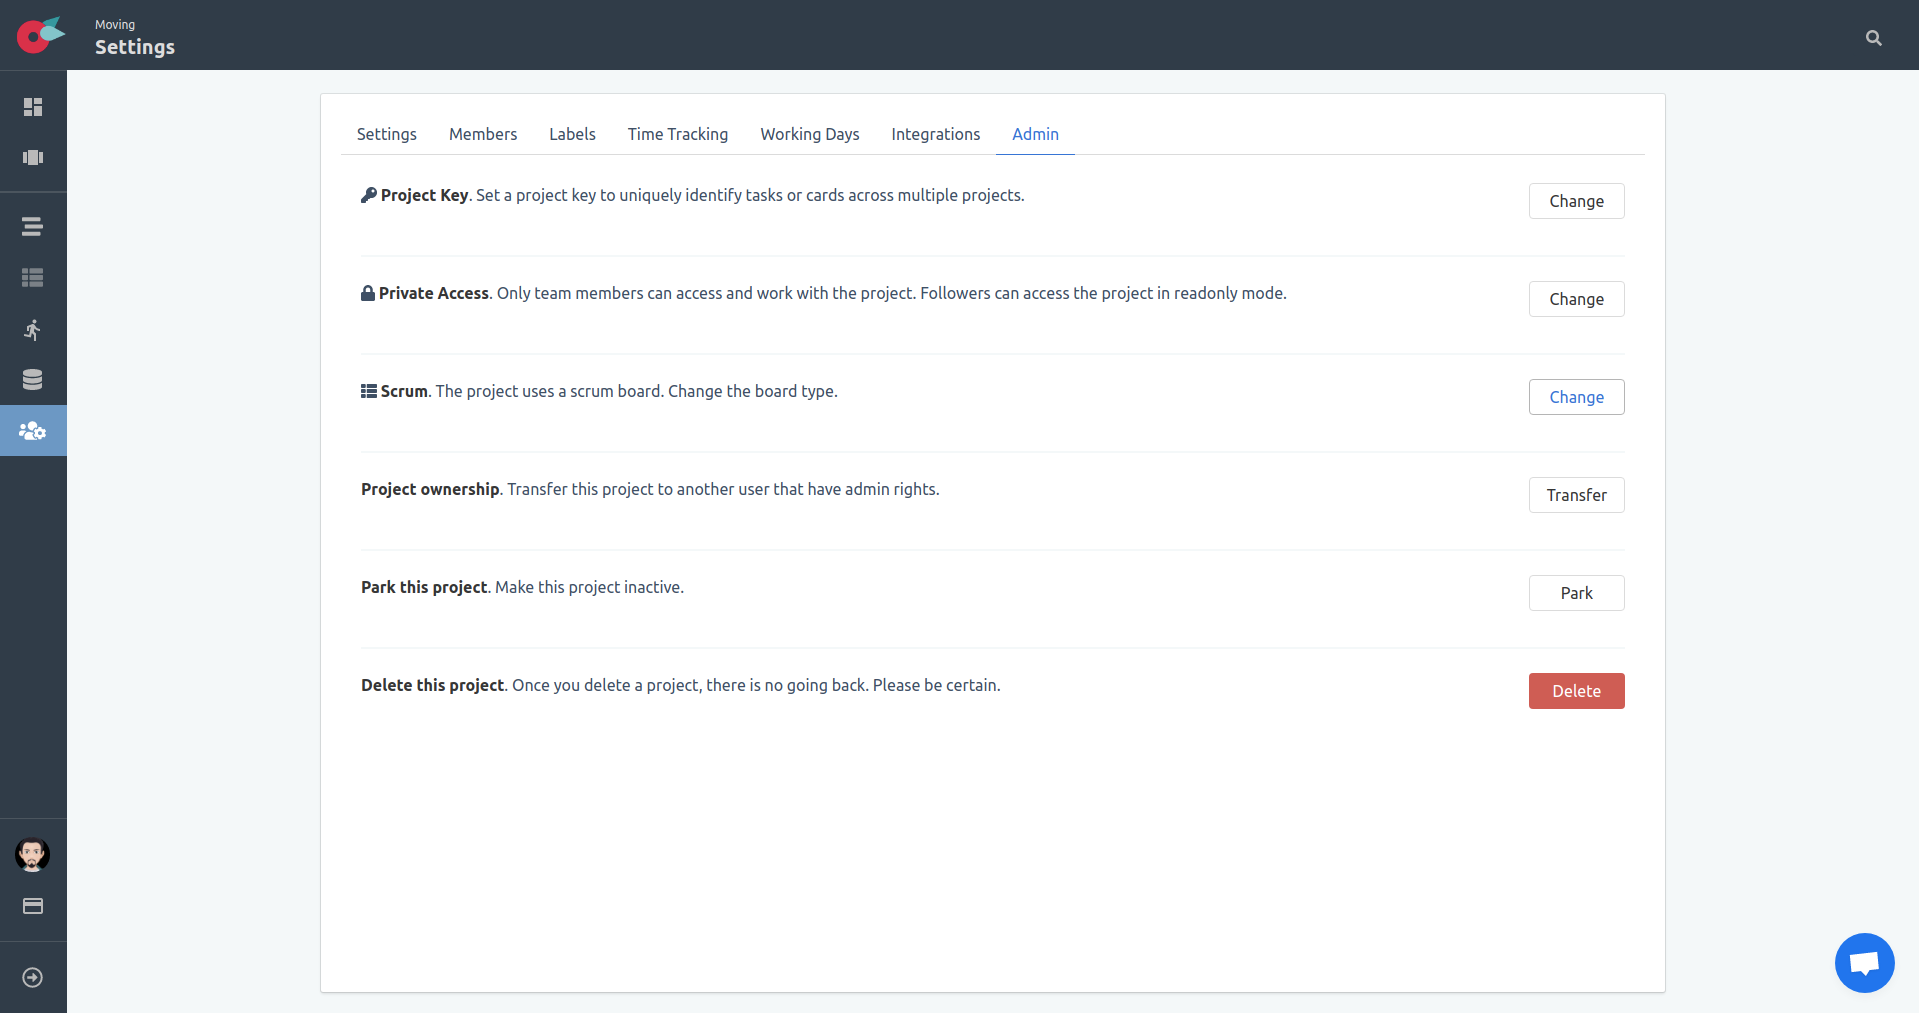
Locate the project Settings button at the left-side menu and click on it. Then select the Admin tab. The Admin tab is only available to project administrators or the project owner.
Locate the change board type option and click on the Change button.
We see what is selected, and the available options we can choose of.
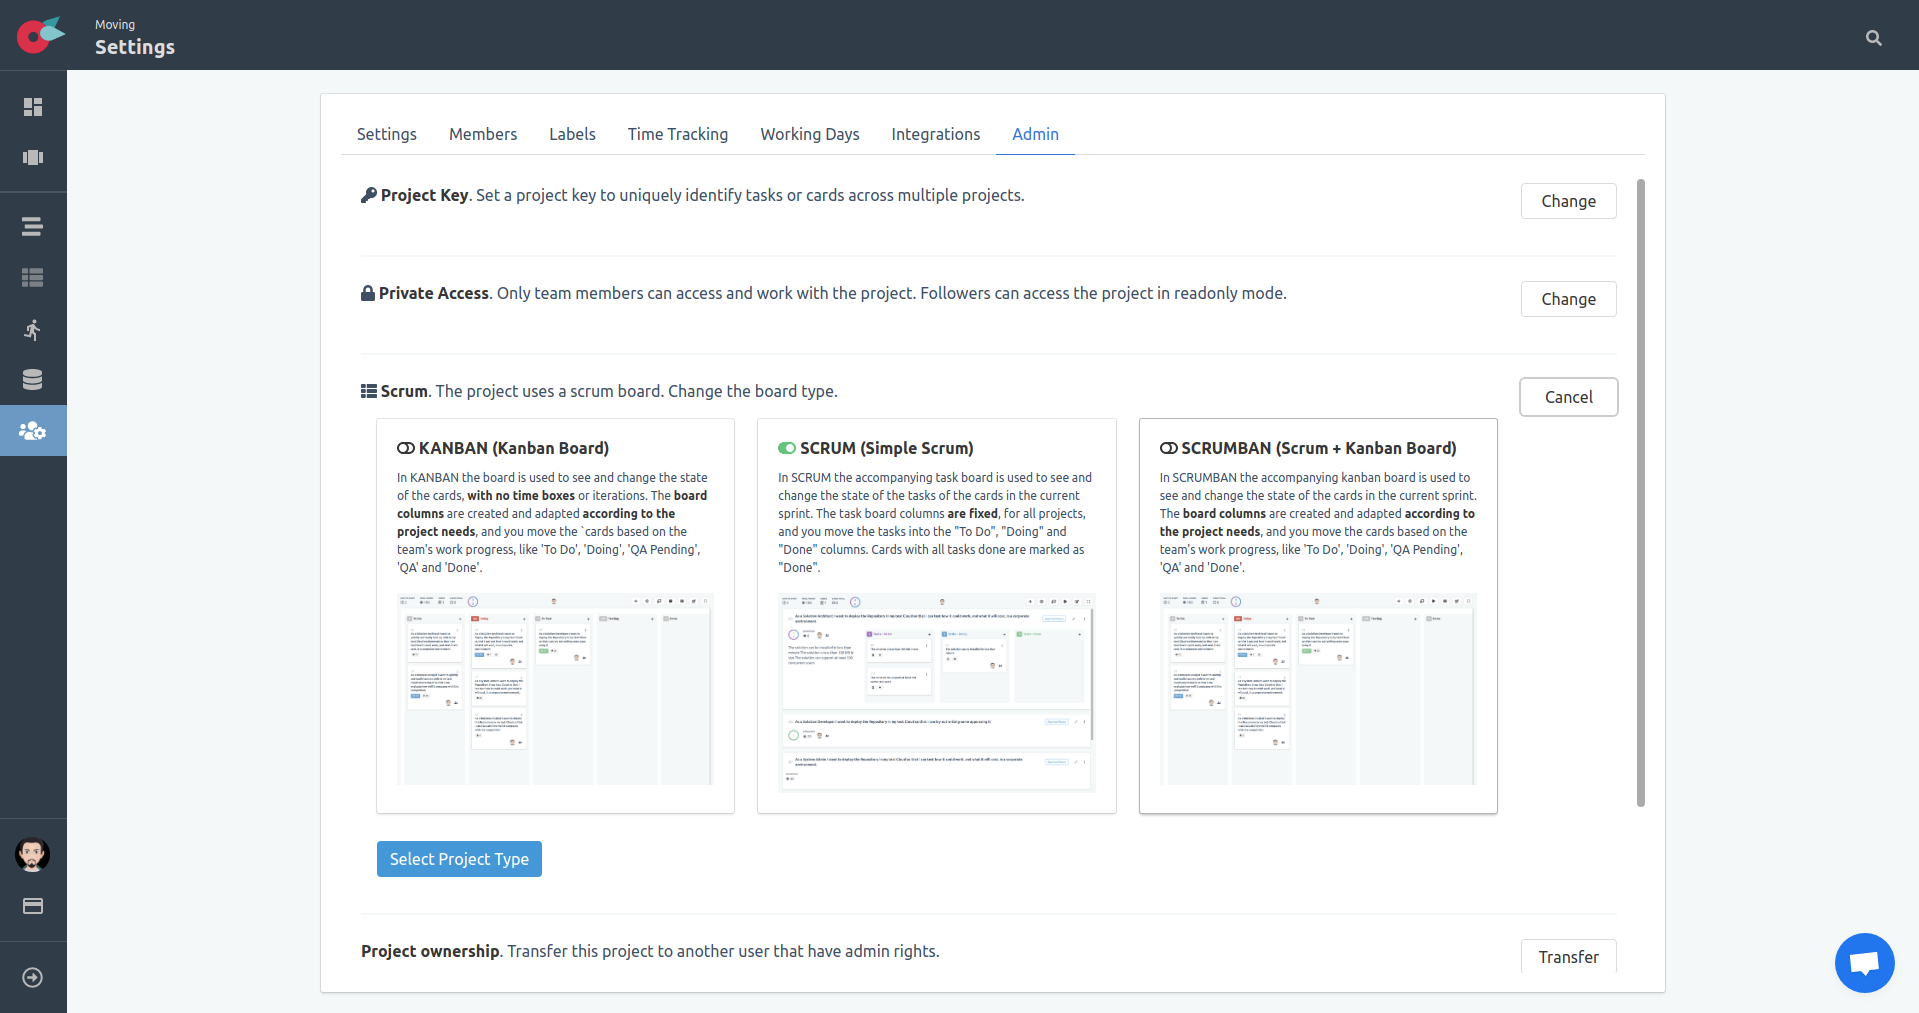
Let’s select the SCRUMBAN option to change the project board type.
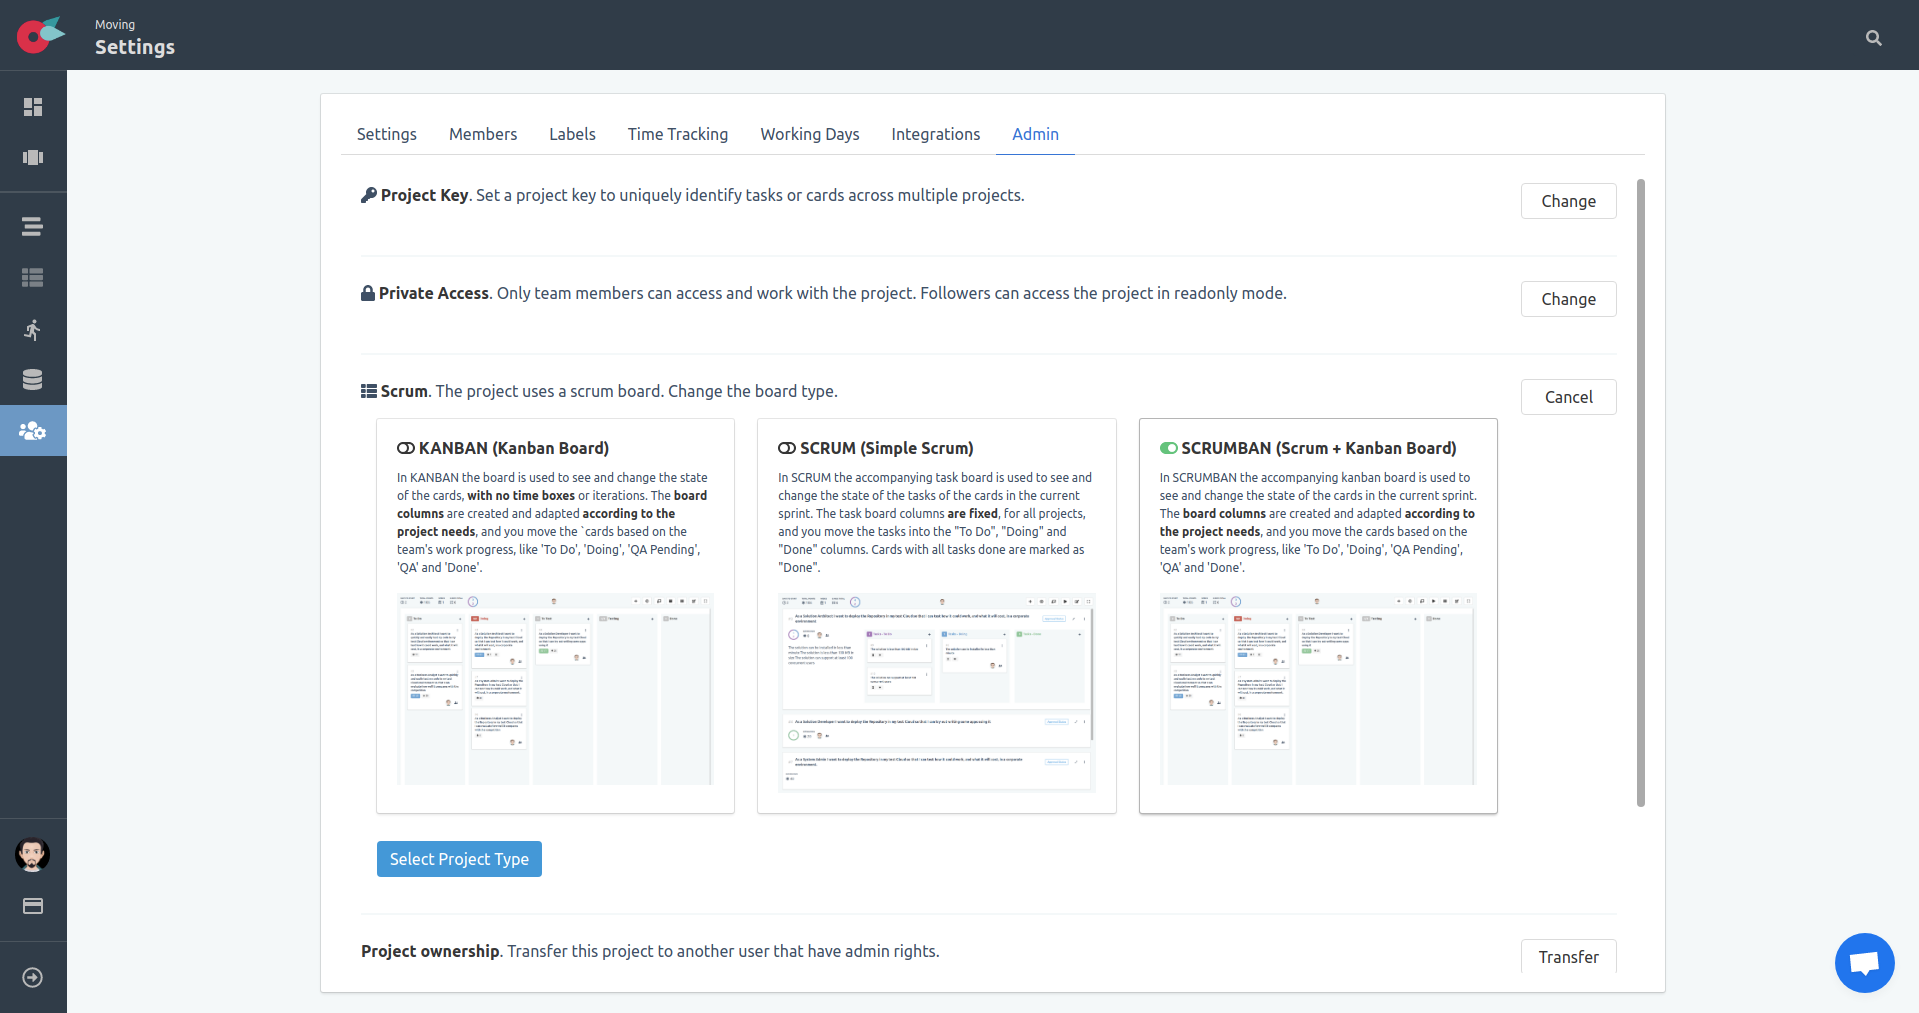
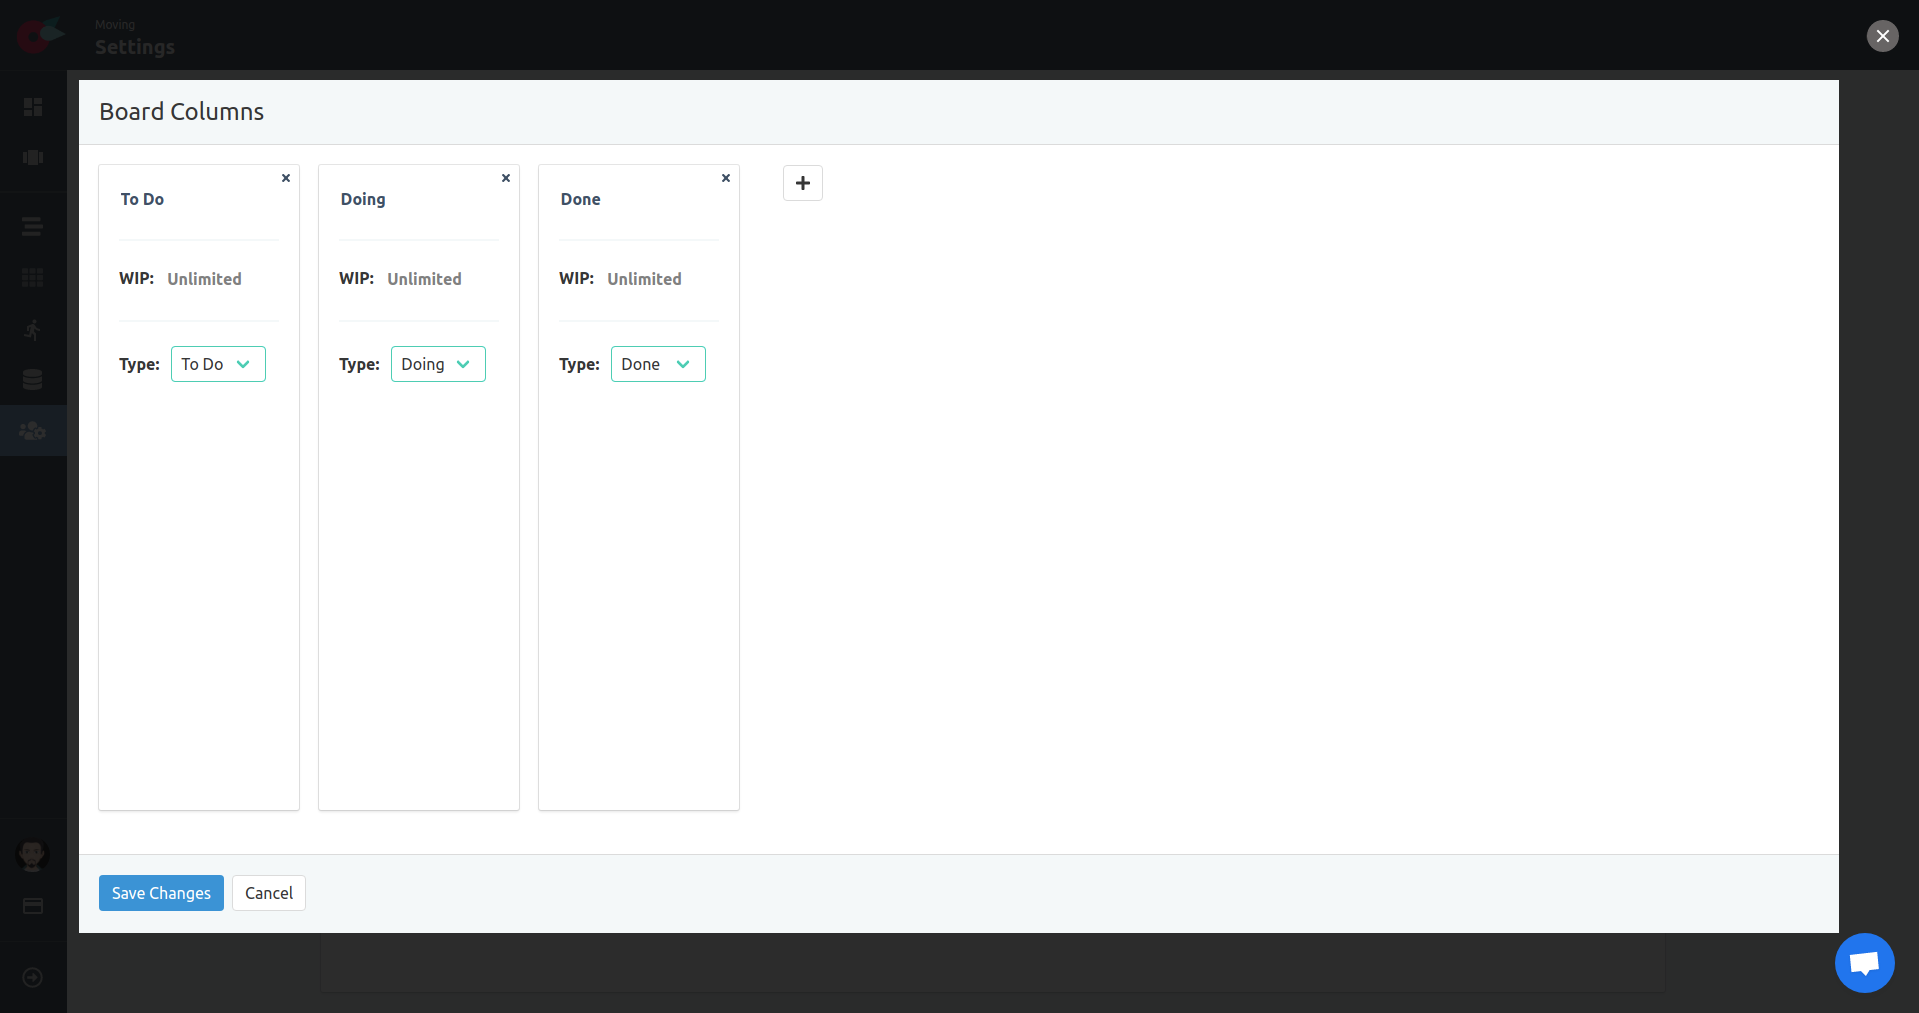
Once the project type is changed, we have the option to edit and modify the columns of our board. Locate the Columns section, just bellow the Board Type, and click on the Edit button.
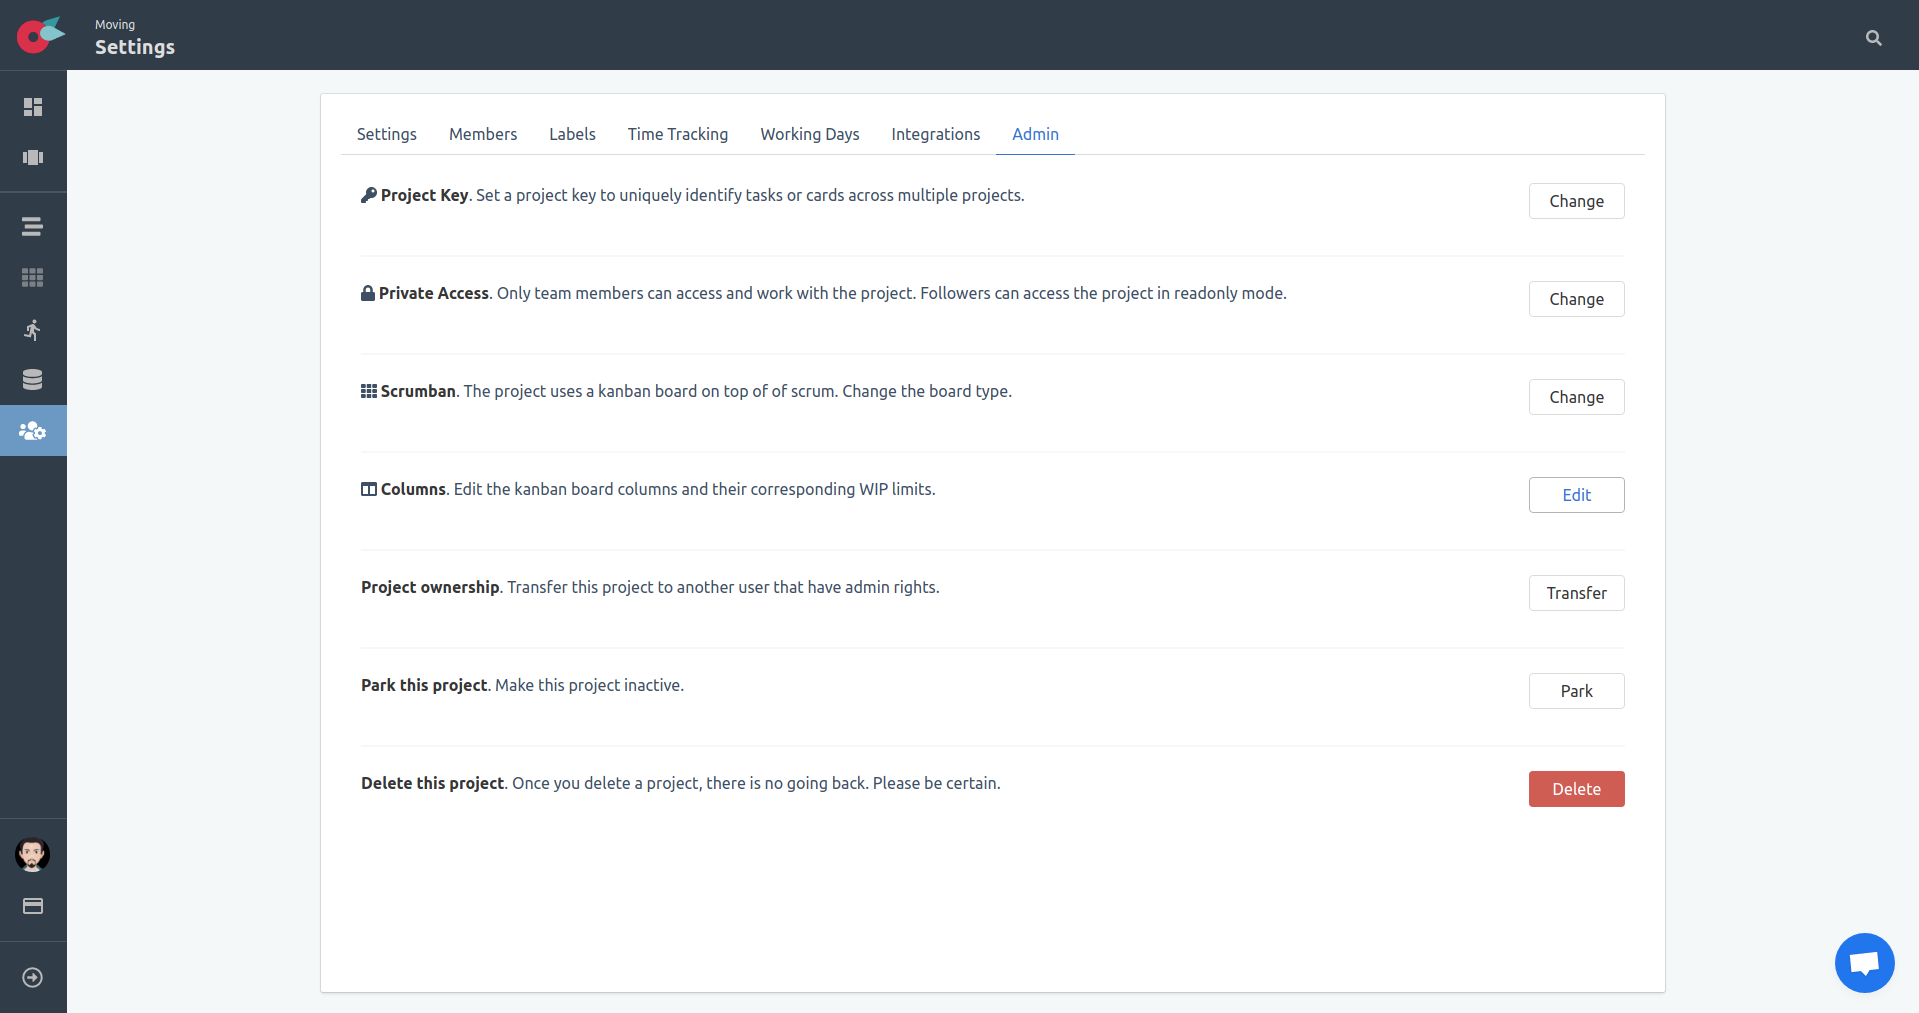
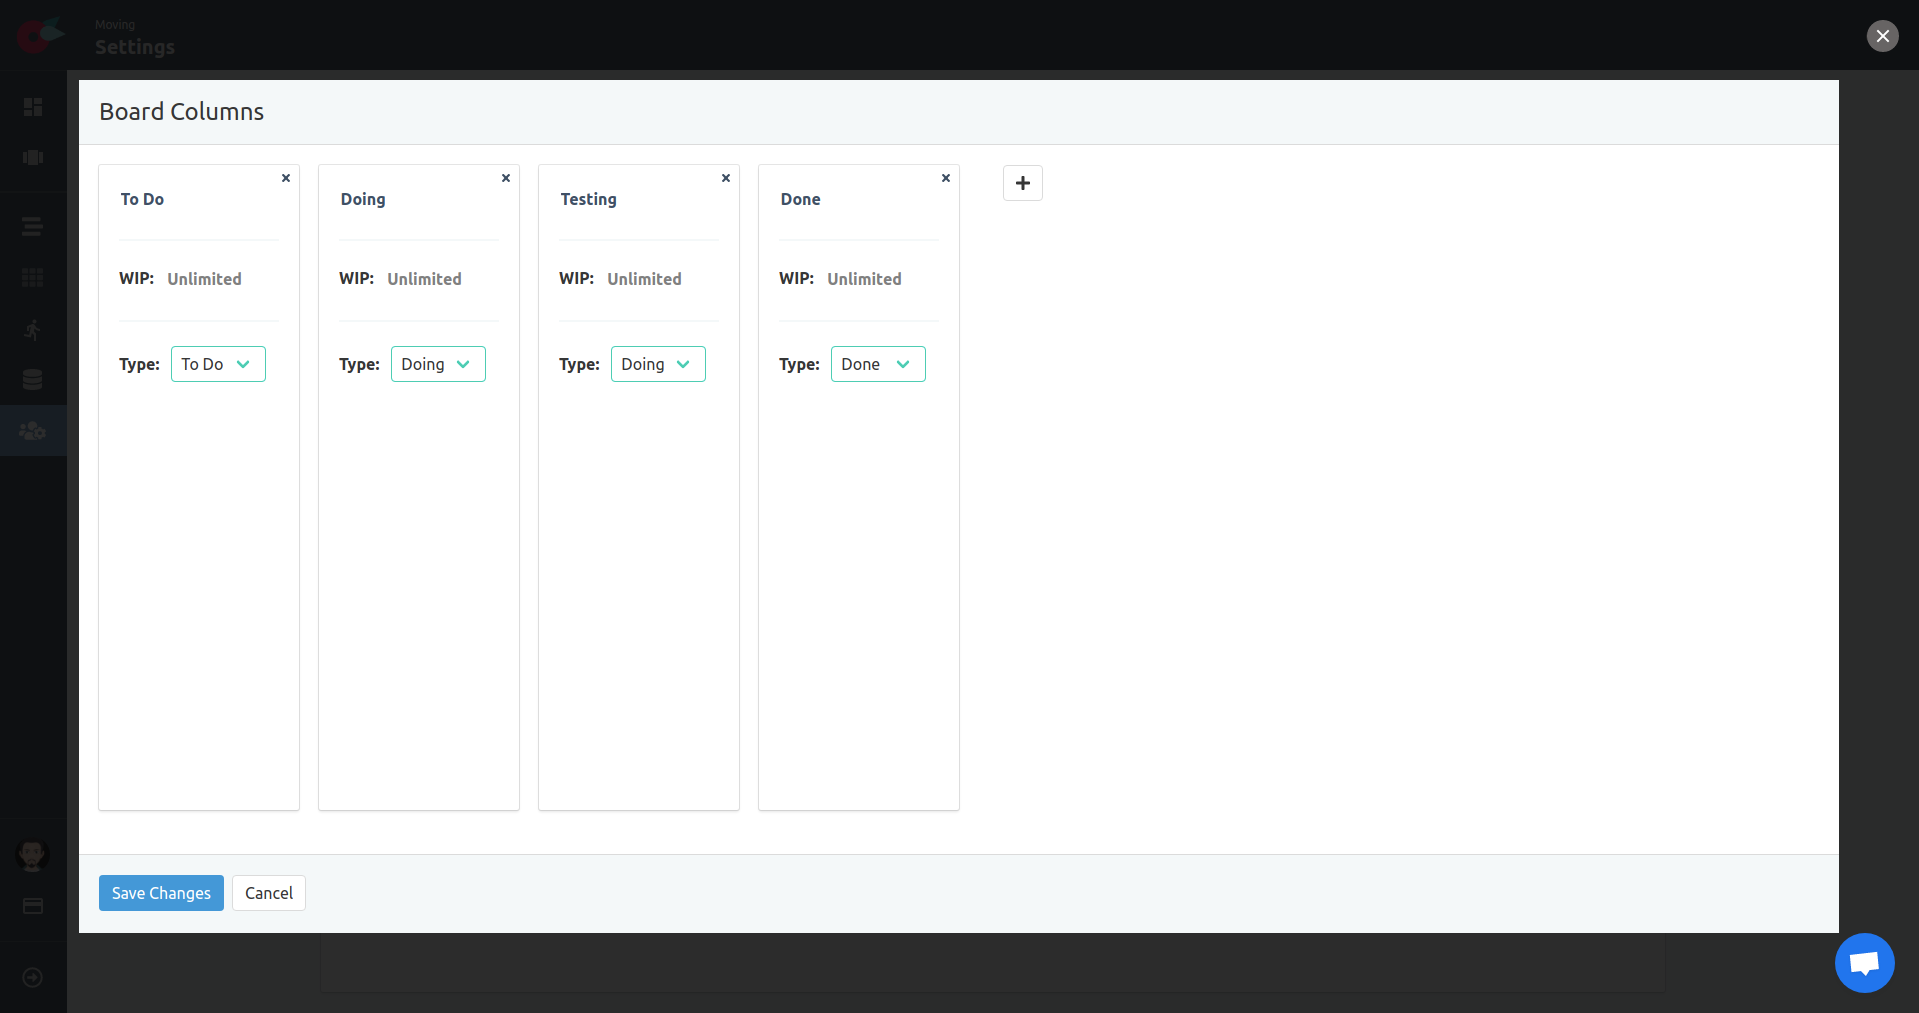
The edit board columns modal will be visible to do all necessary changes. As we see, we have by default 4 columns:
- To Do
- Doing
- Testing
- Done
Each column has the following properties:
- Name: The name of the column.
- WIP: Limiting Work In Progress in a kanban board encourages higher quality and more excellent performance. The act of restricting WIP helps you optimize work capacity by allowing you to pull new work only if capacity is available.
- Type: The type of the column. A column can be a
to do,doing, ordonecolumn. Cards in a column will get the status of the column, that is taken into account in the available counters and reports.
In our project we don’t have a Testing column so let’s delete it.
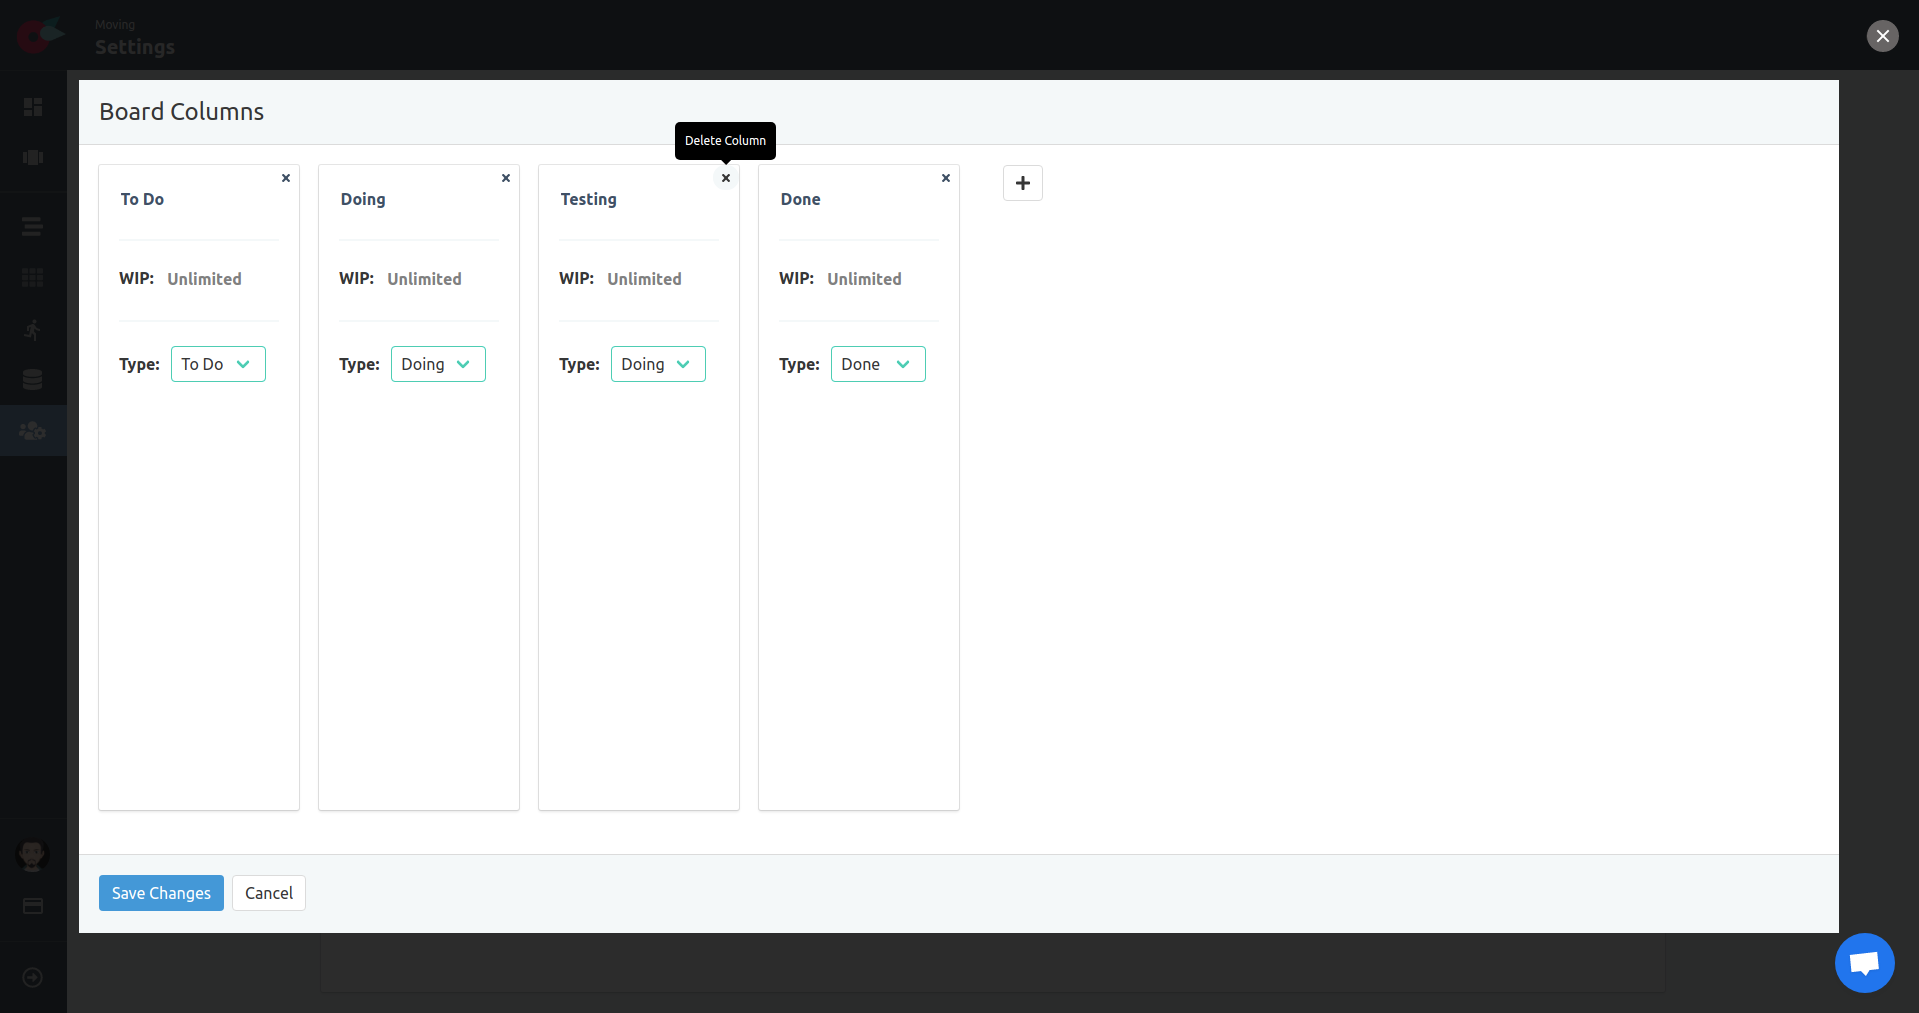
Until we hit the Save Changes button, the changes will not be applied to the project. Let’s save the changes to apply them to our board.
Scrumban Board
From the sprint list navigate to the sprint board. Now the board has the columns as modified.
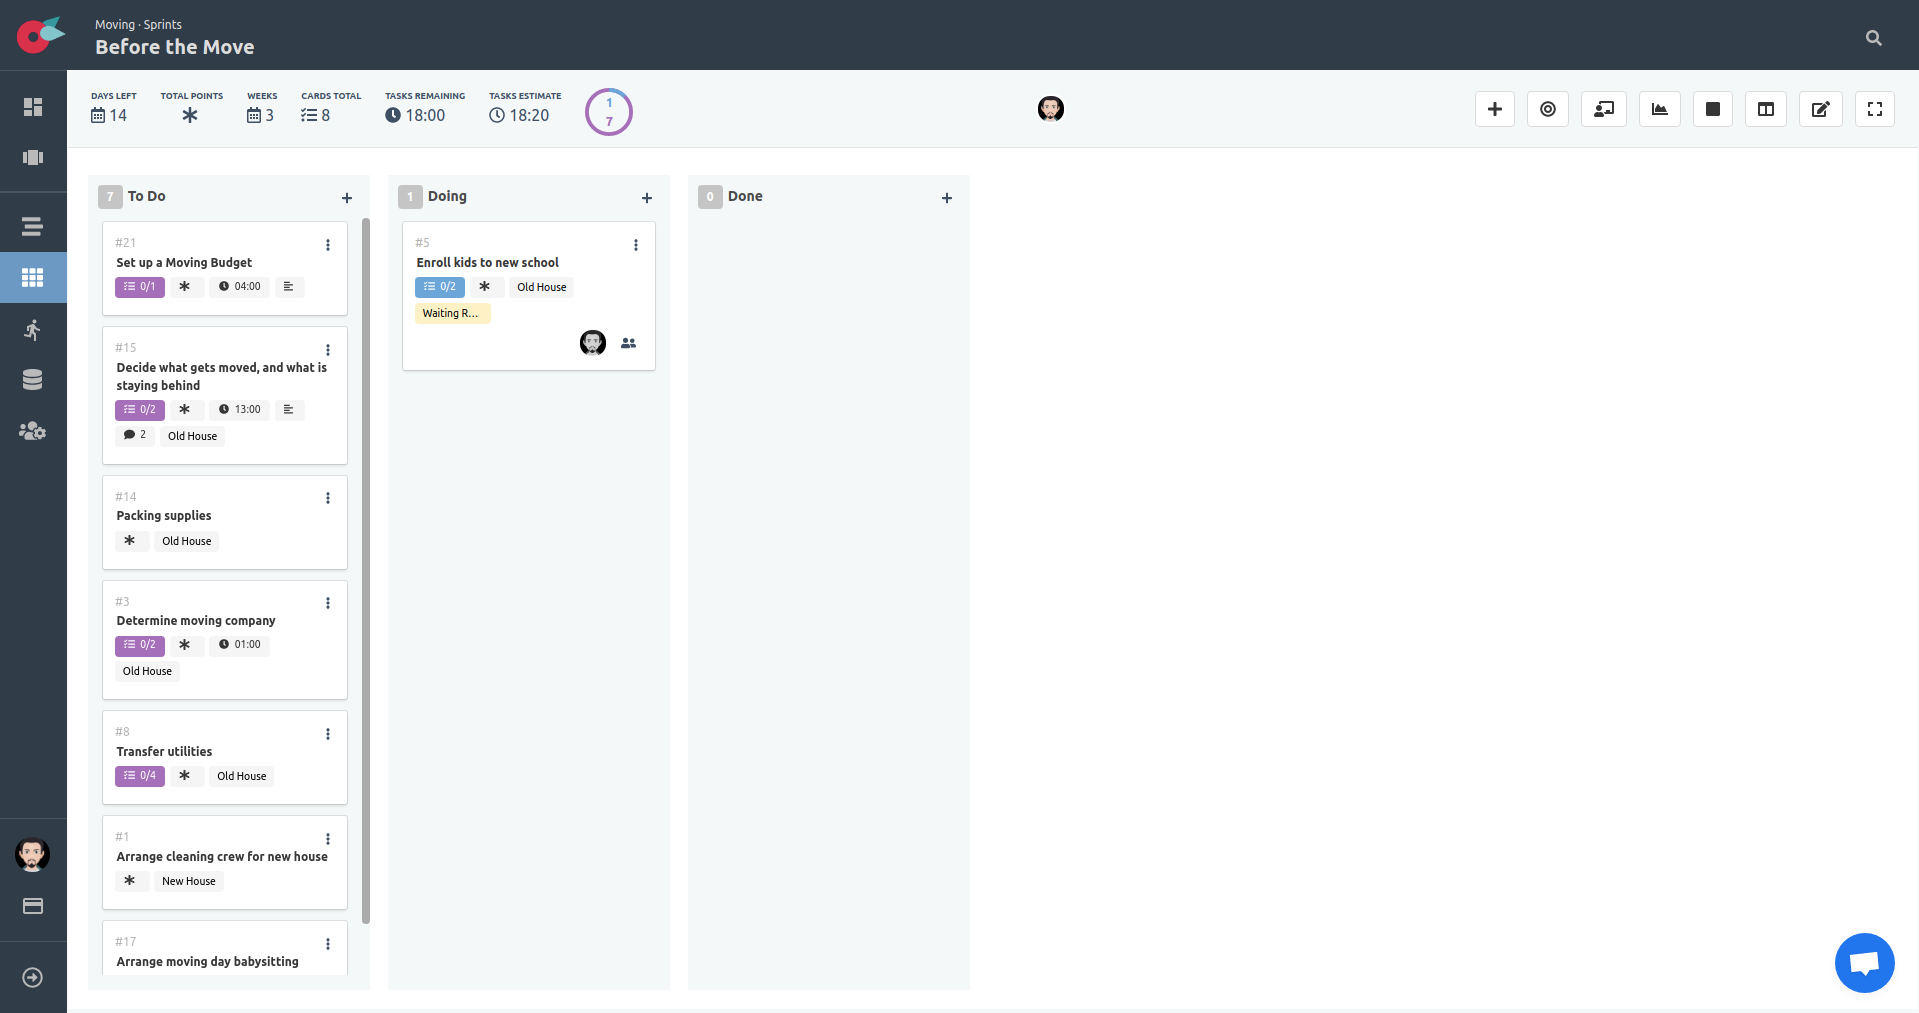
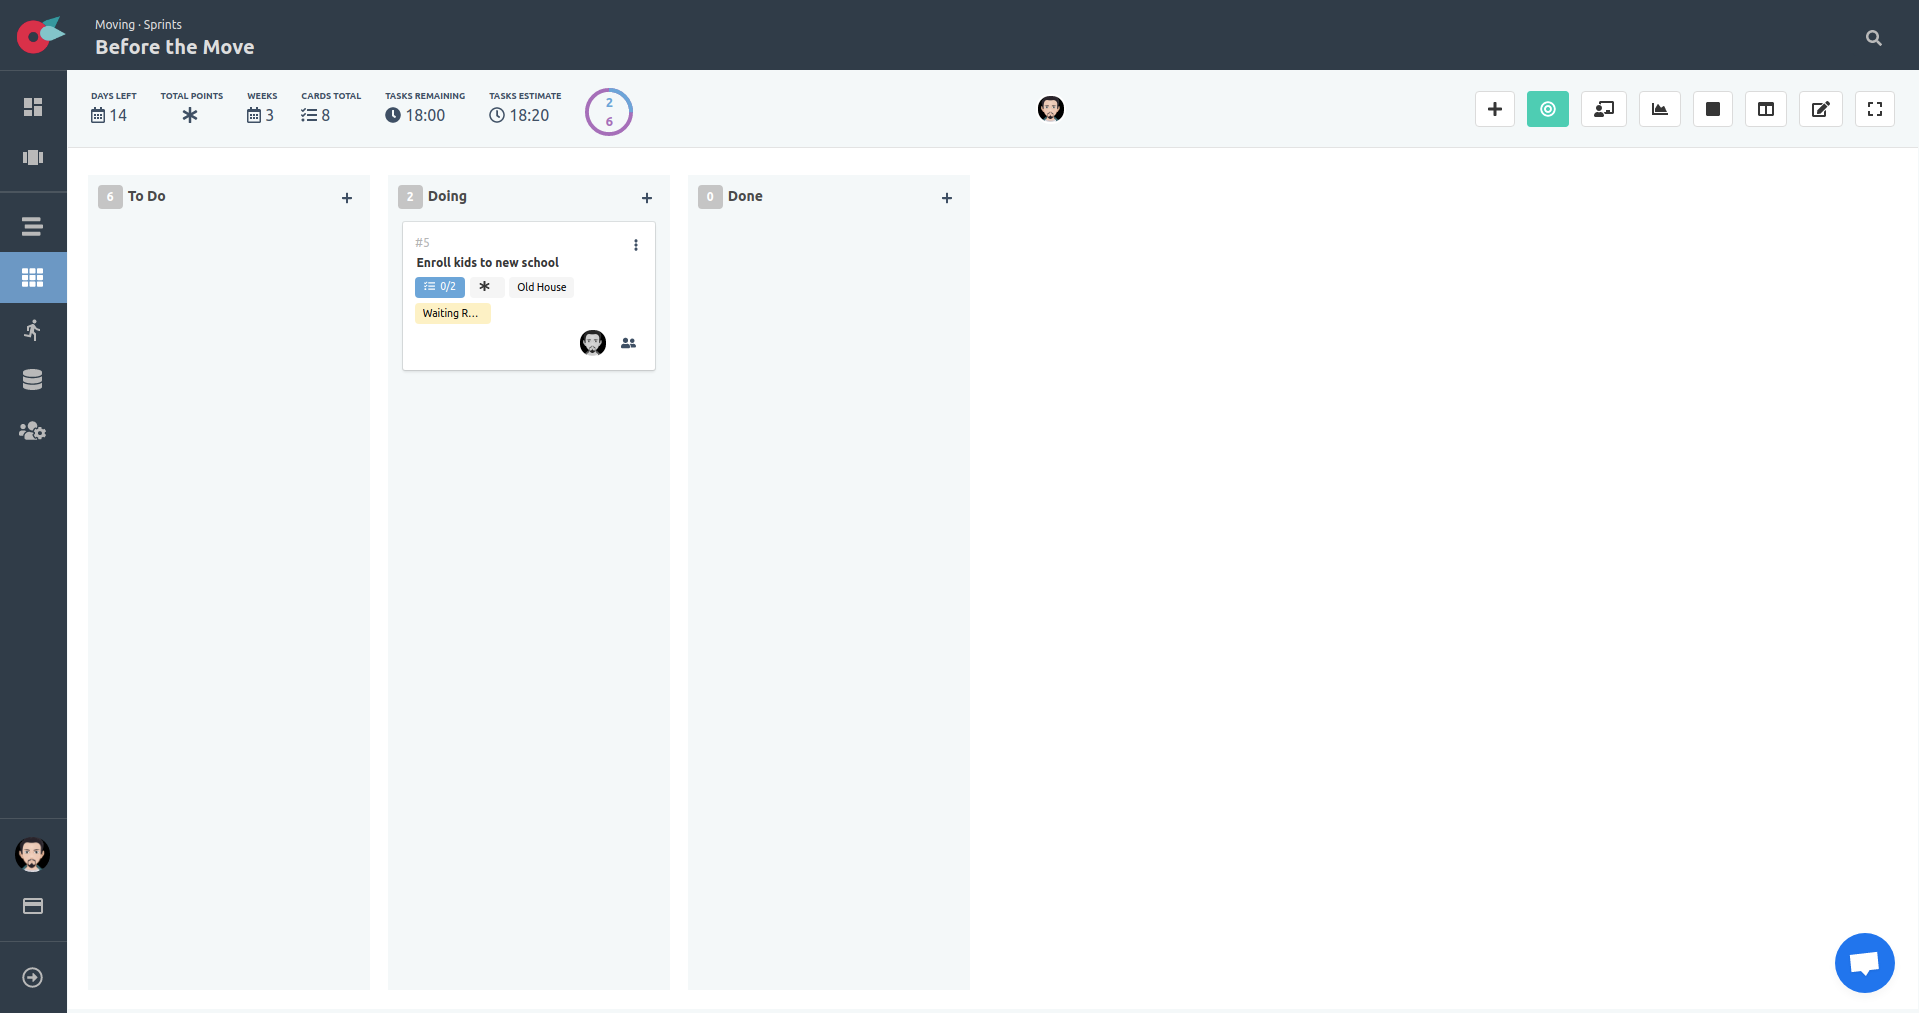
We start working on the “Moving Budget” card, so let’s add the card to the doing column. We will have 2 cards in the Doing column.
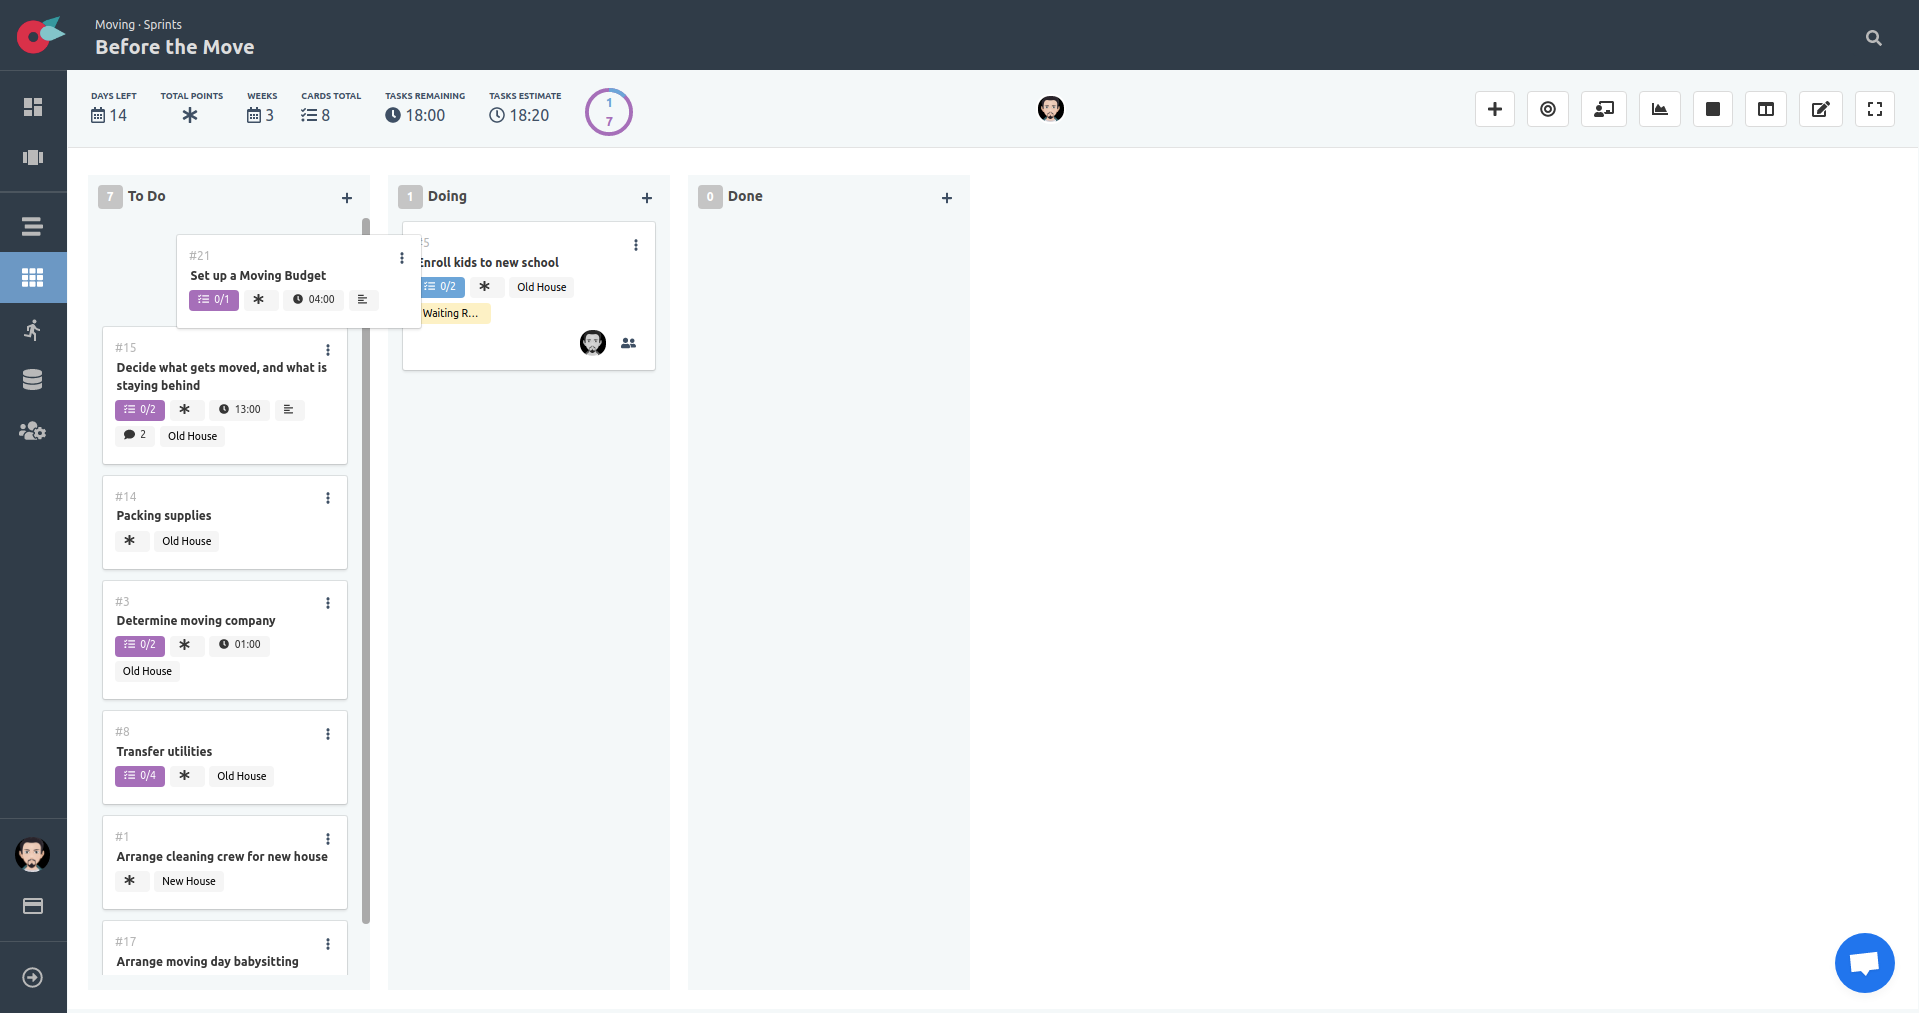
Let’s filter the board to show only the cards that I work on. Click on the Show only my cards toggle button.
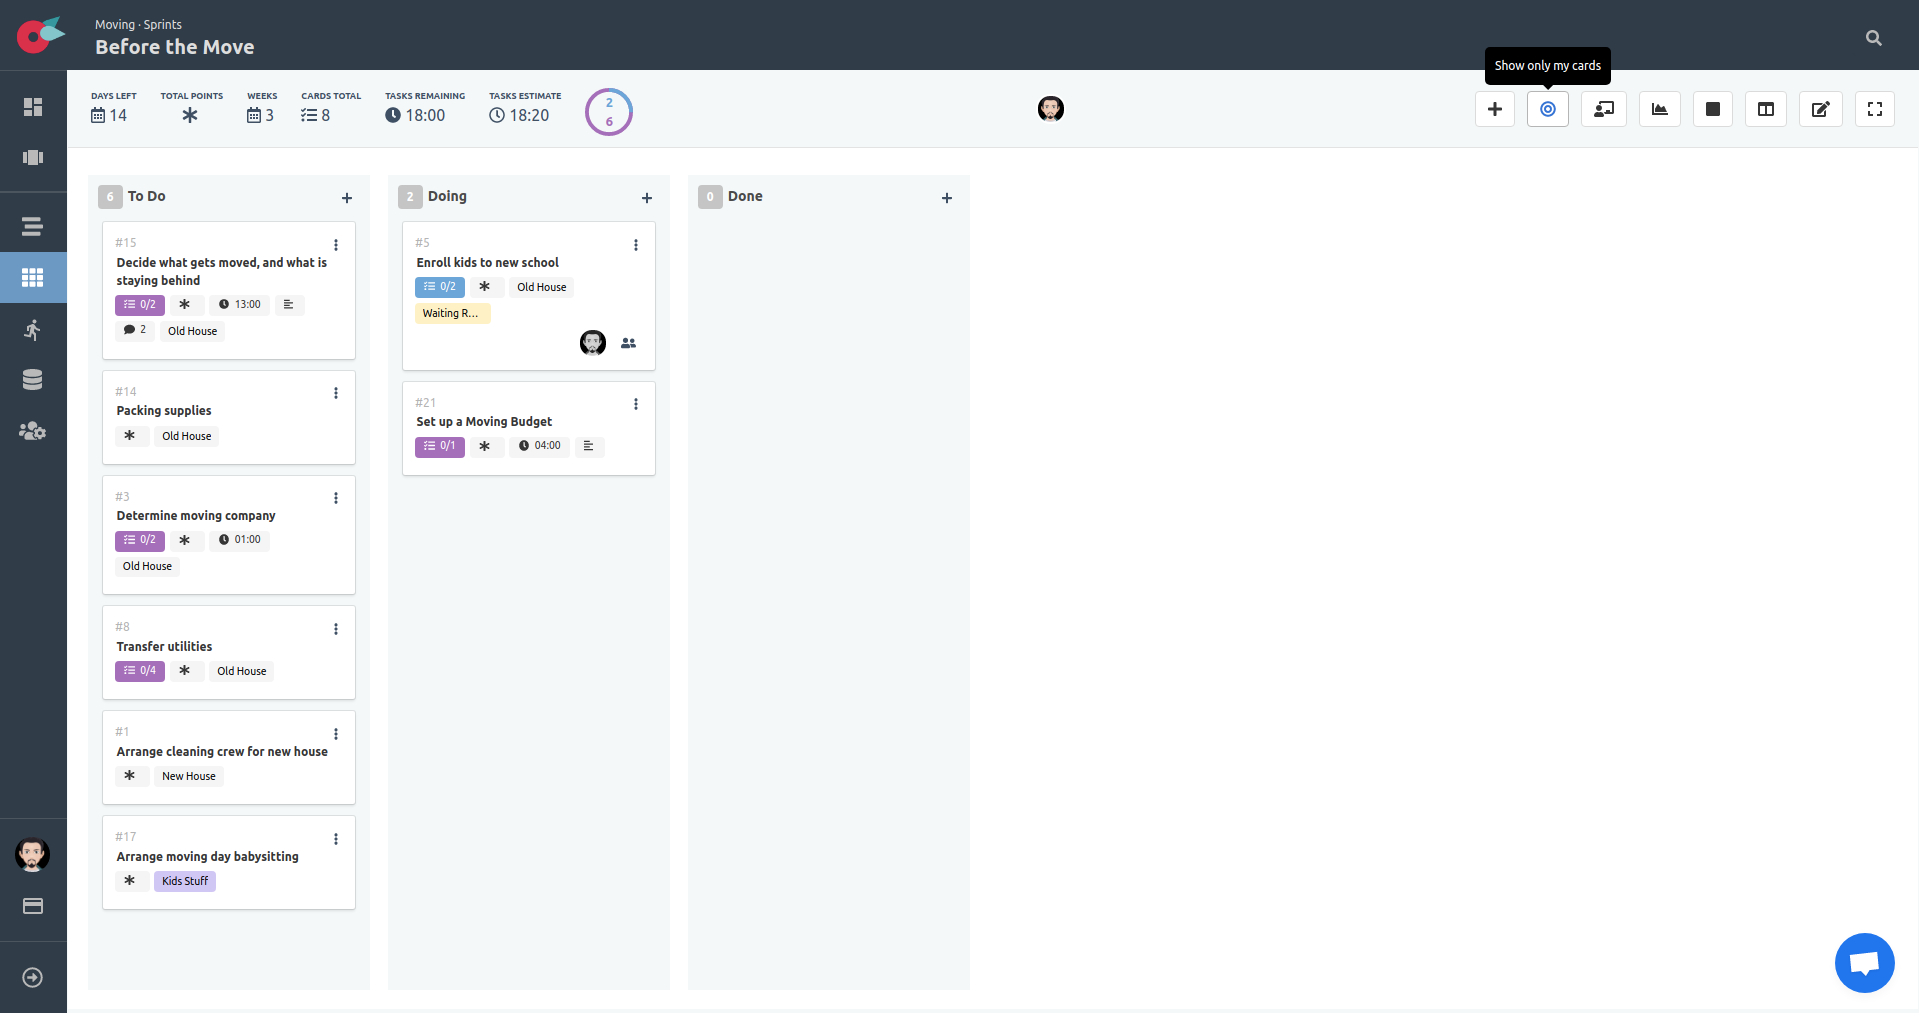
Only the cards assigned directly to me, or the cards having tasks assigned to me are visible. The rest of the cards are hidden. Click on the Show only my cards toggle button again to disable the filtering.
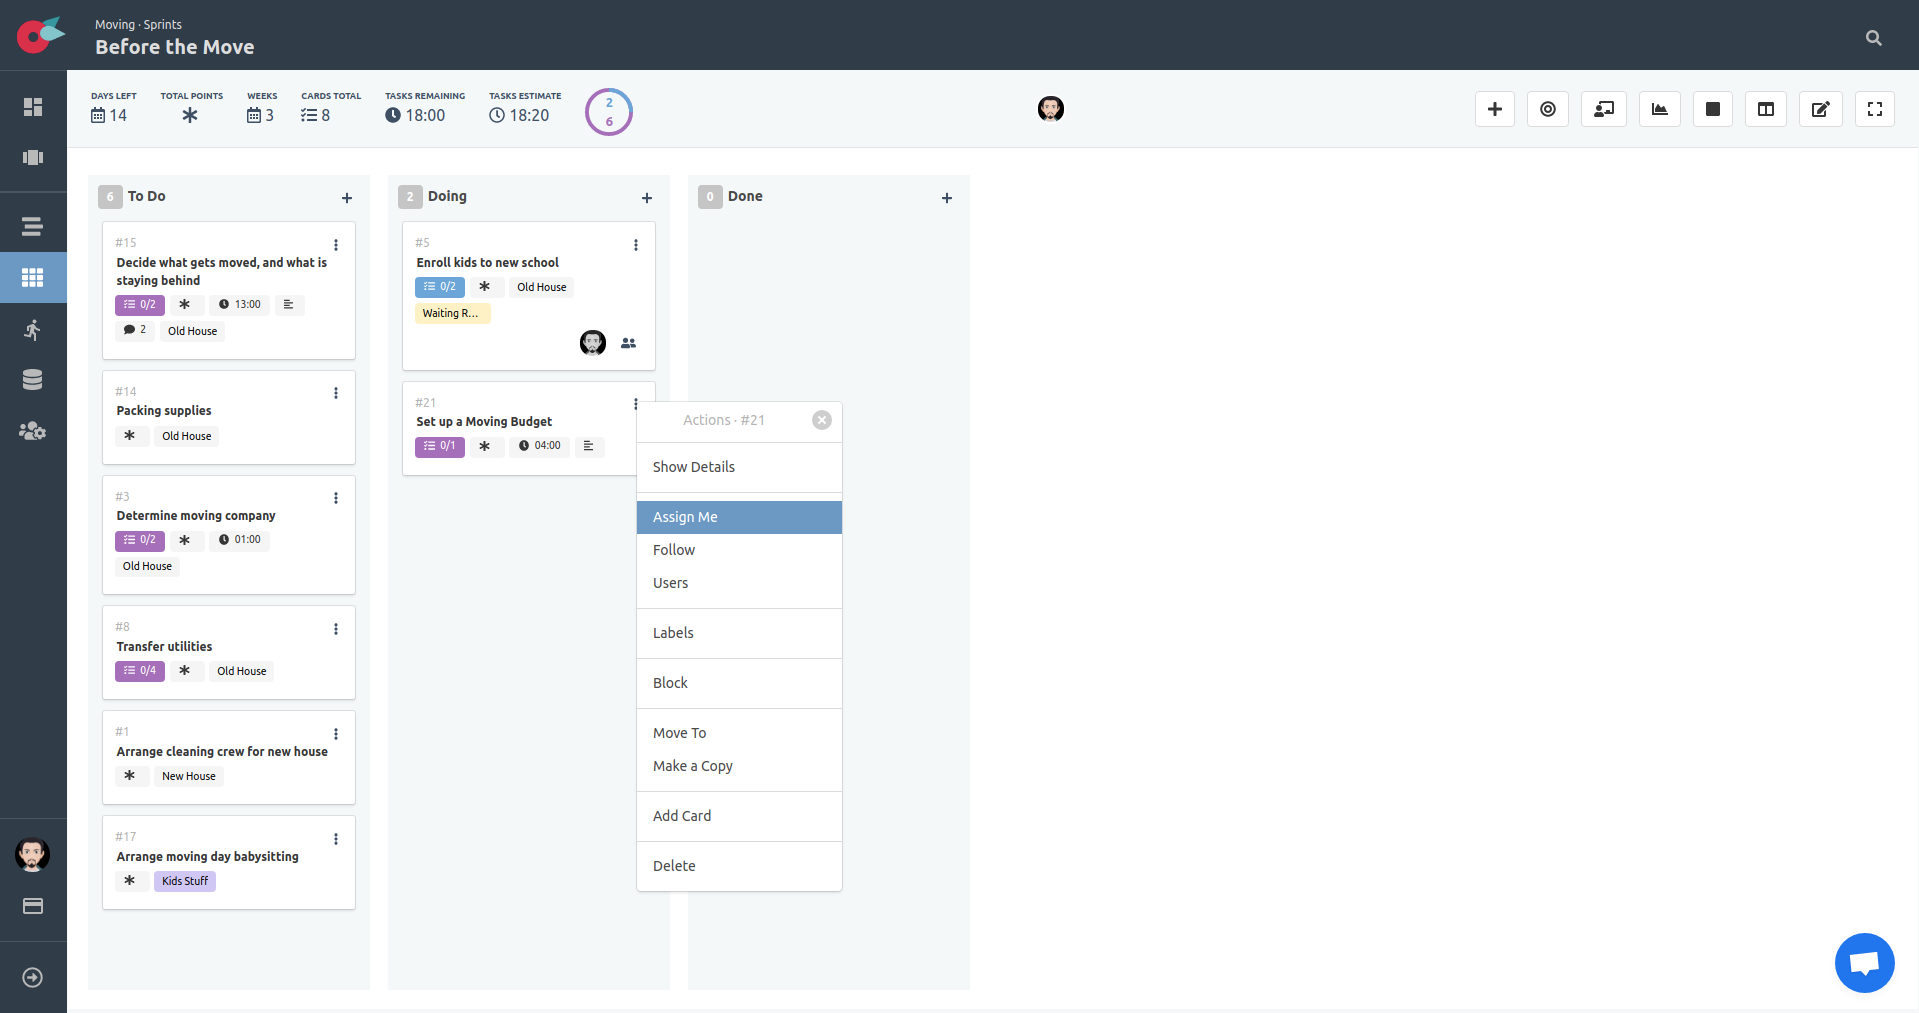
Assign Cards to users
From the dropdown menu of the card locate and click on the Assign Me action, to assign the card to yourself. Alternatively you may select the Users action to assign other project members.
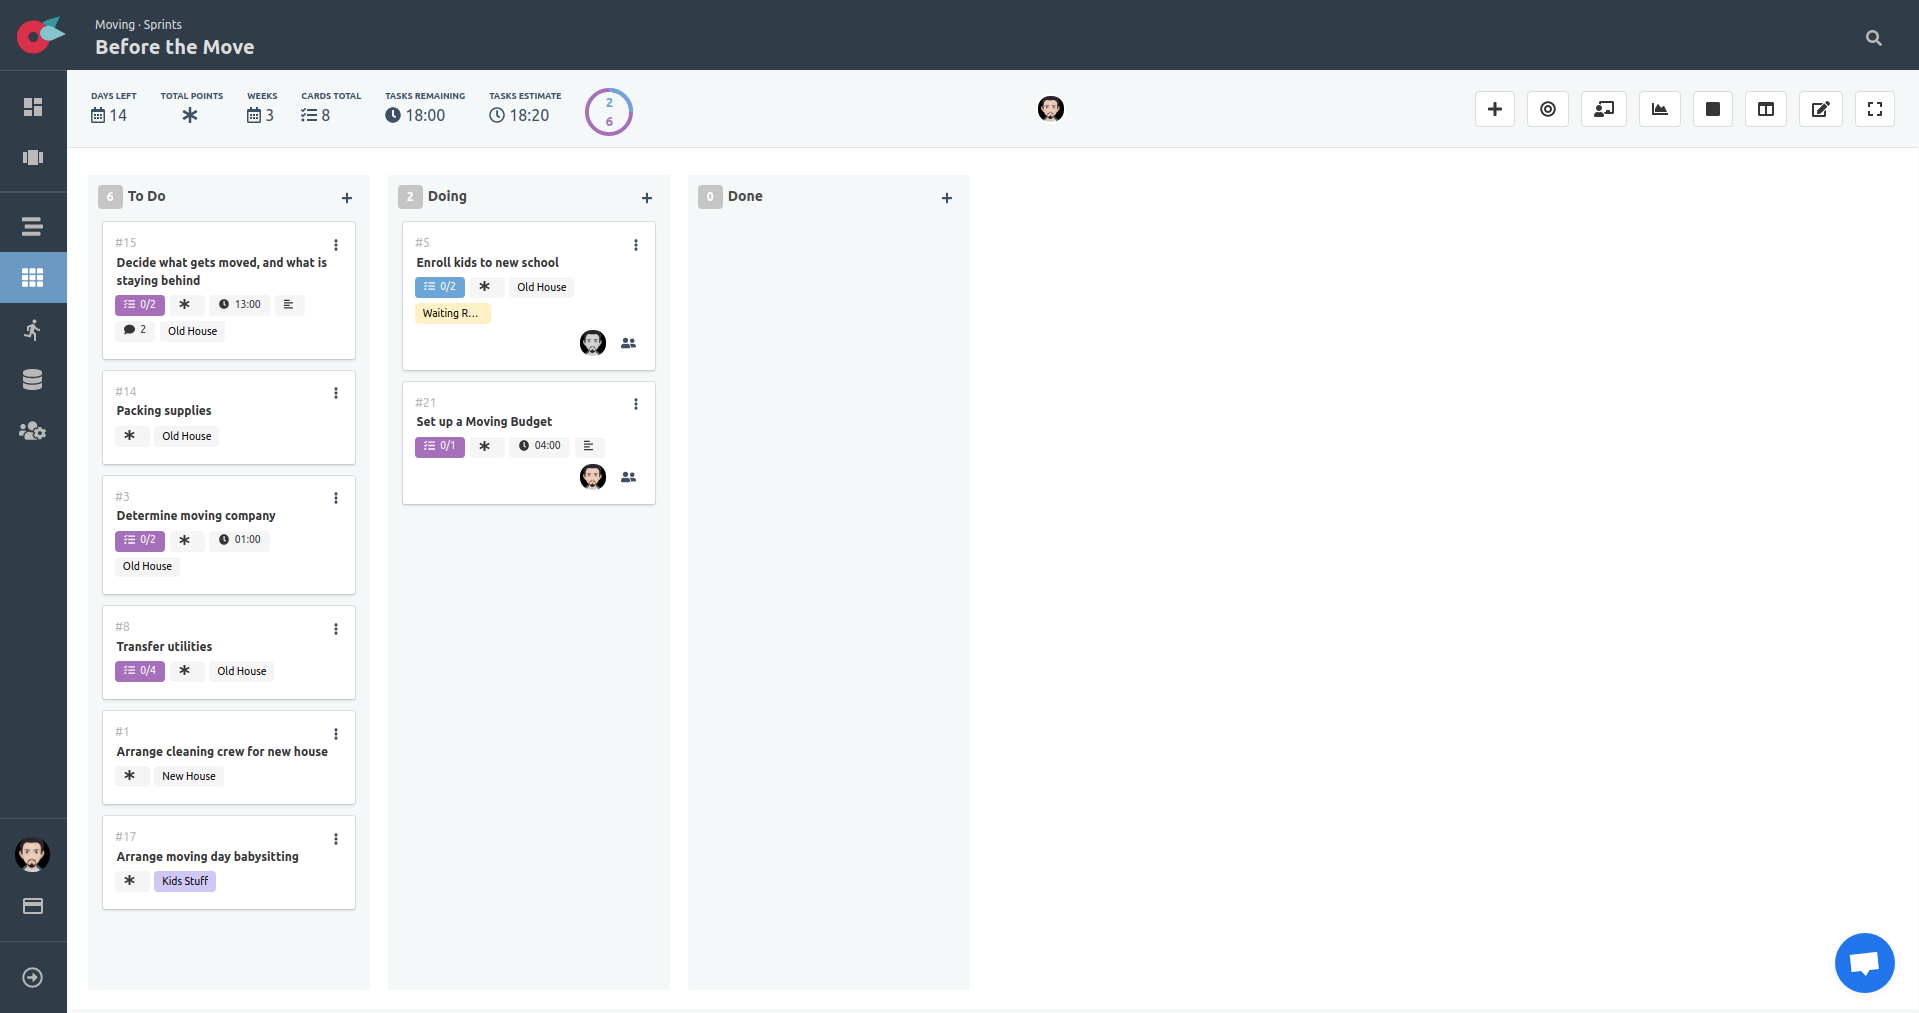
When assigned, the user avatar is added to the card.
KANBAN Board
Let say that we changed our mind, and we want to use KANBAN instead. We need to chang the project type.
Change Project Board Type
Locate the project Settings button at the left-side menu and click on it. Then select the Admin tab. The Admin tab is only available to project administrators or the project owner.
Locate the change board type option and click on the Change button.

We see what is selected, and the available options we can choose of.
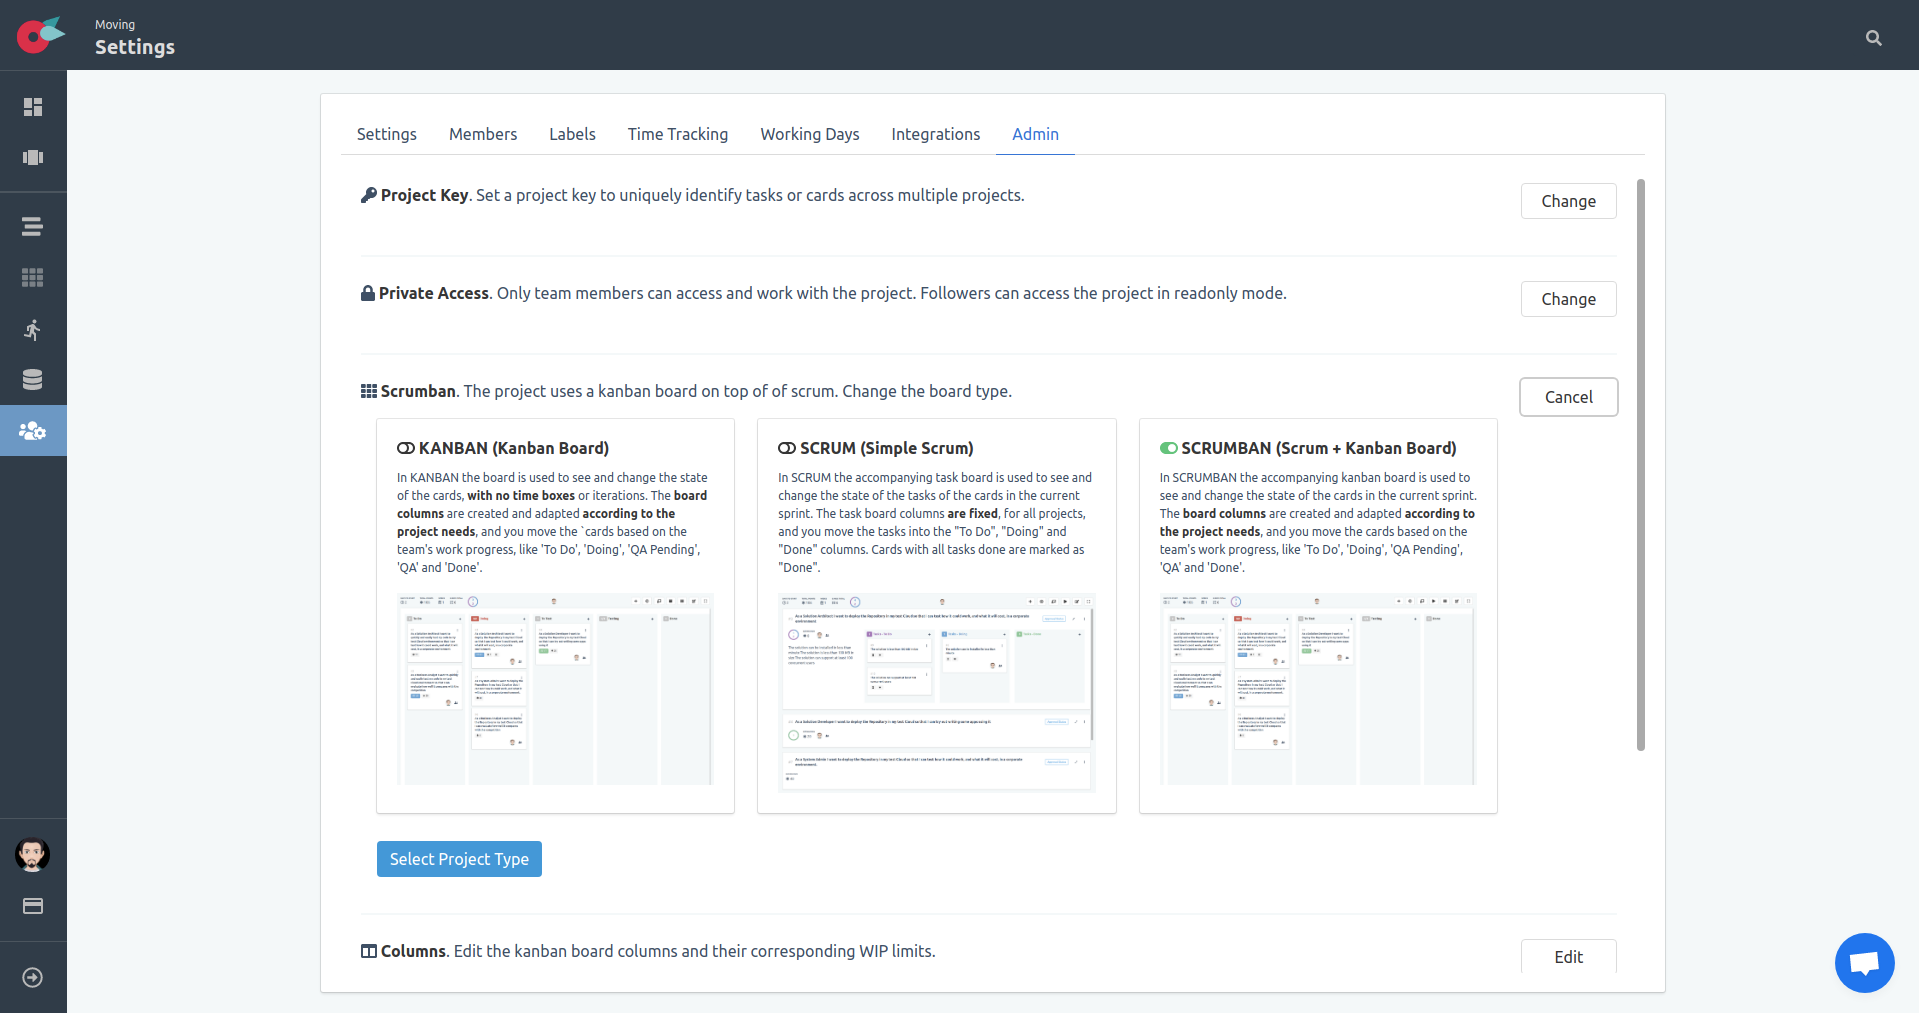
Let’s select the KANBAN option to change the project board type. In our project we get a message that we have multiple active or pending sprints. When converting to kanban all completed sprints will be marked as archived sprints, and the active sprint will be used as the active kanban board.
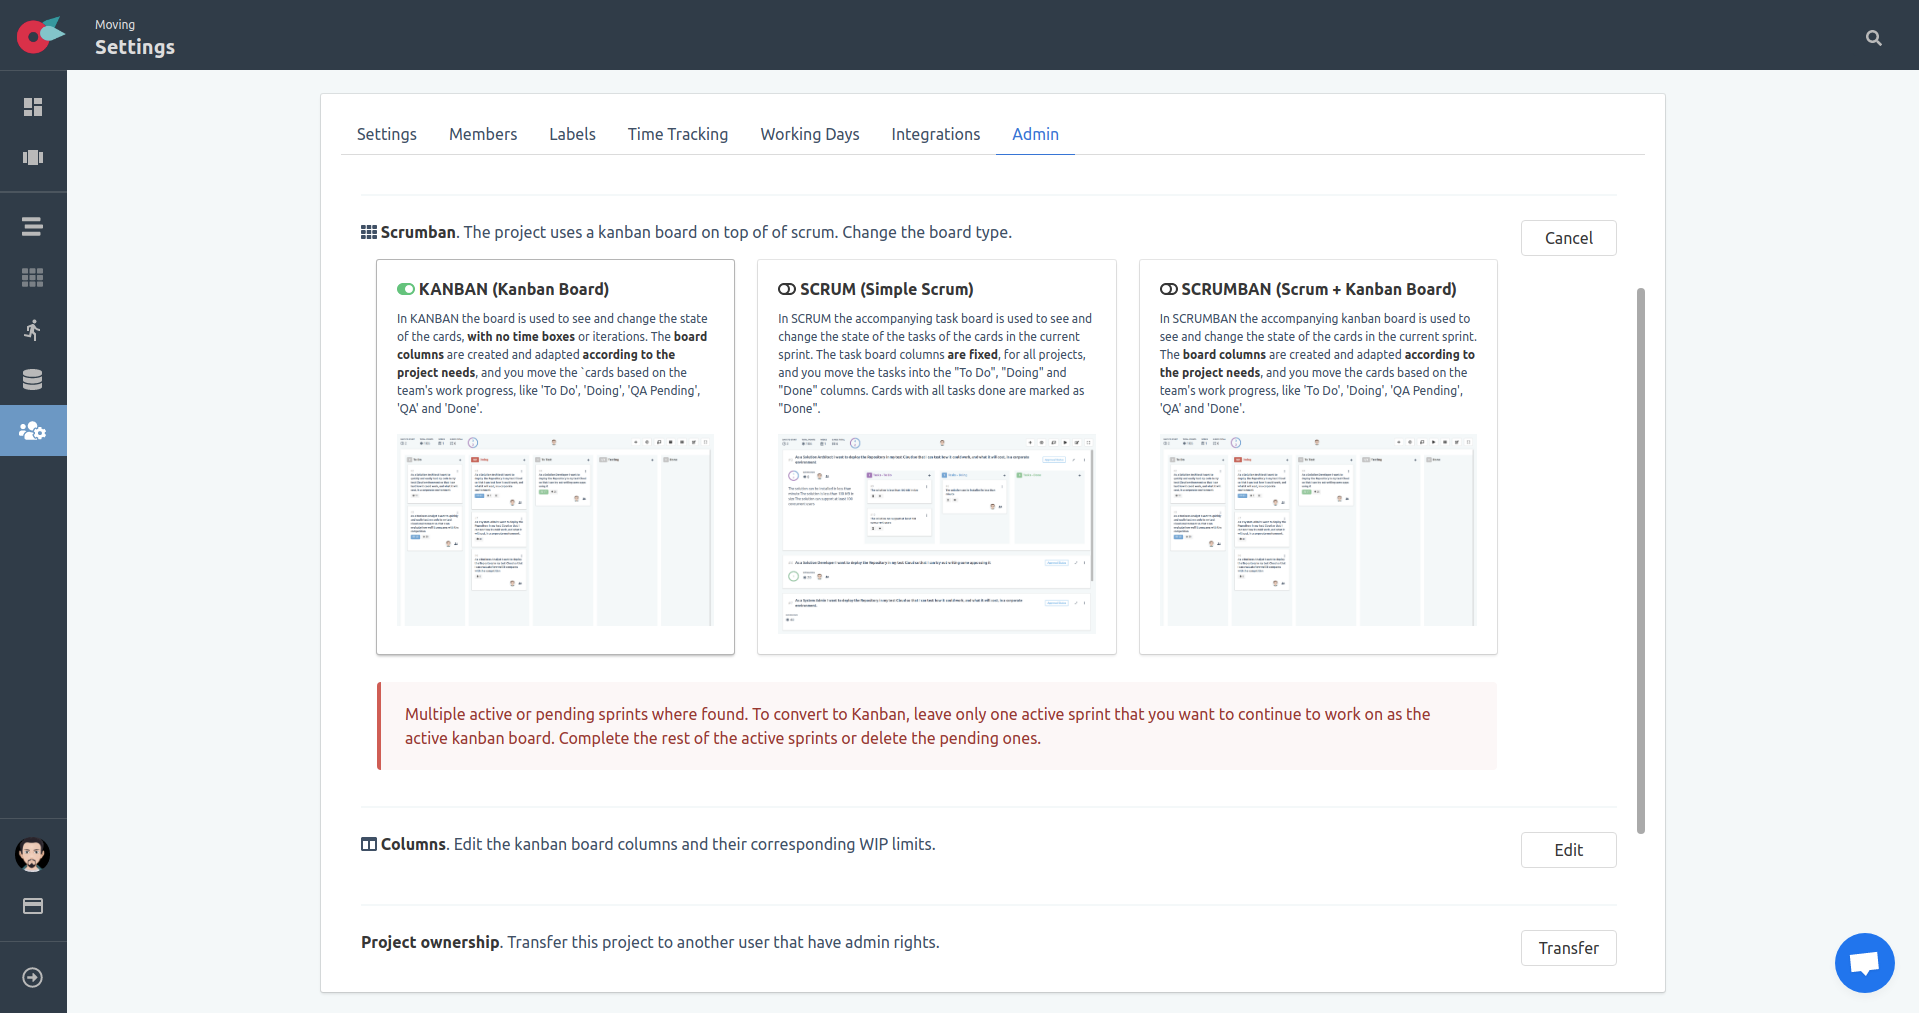
Let’s delete the planned sprints that we will not use in our project. Navigate to the project sprints. Locate the Delete button at in the sprint toolbar and click it. The delete button is available only for empty sprints.
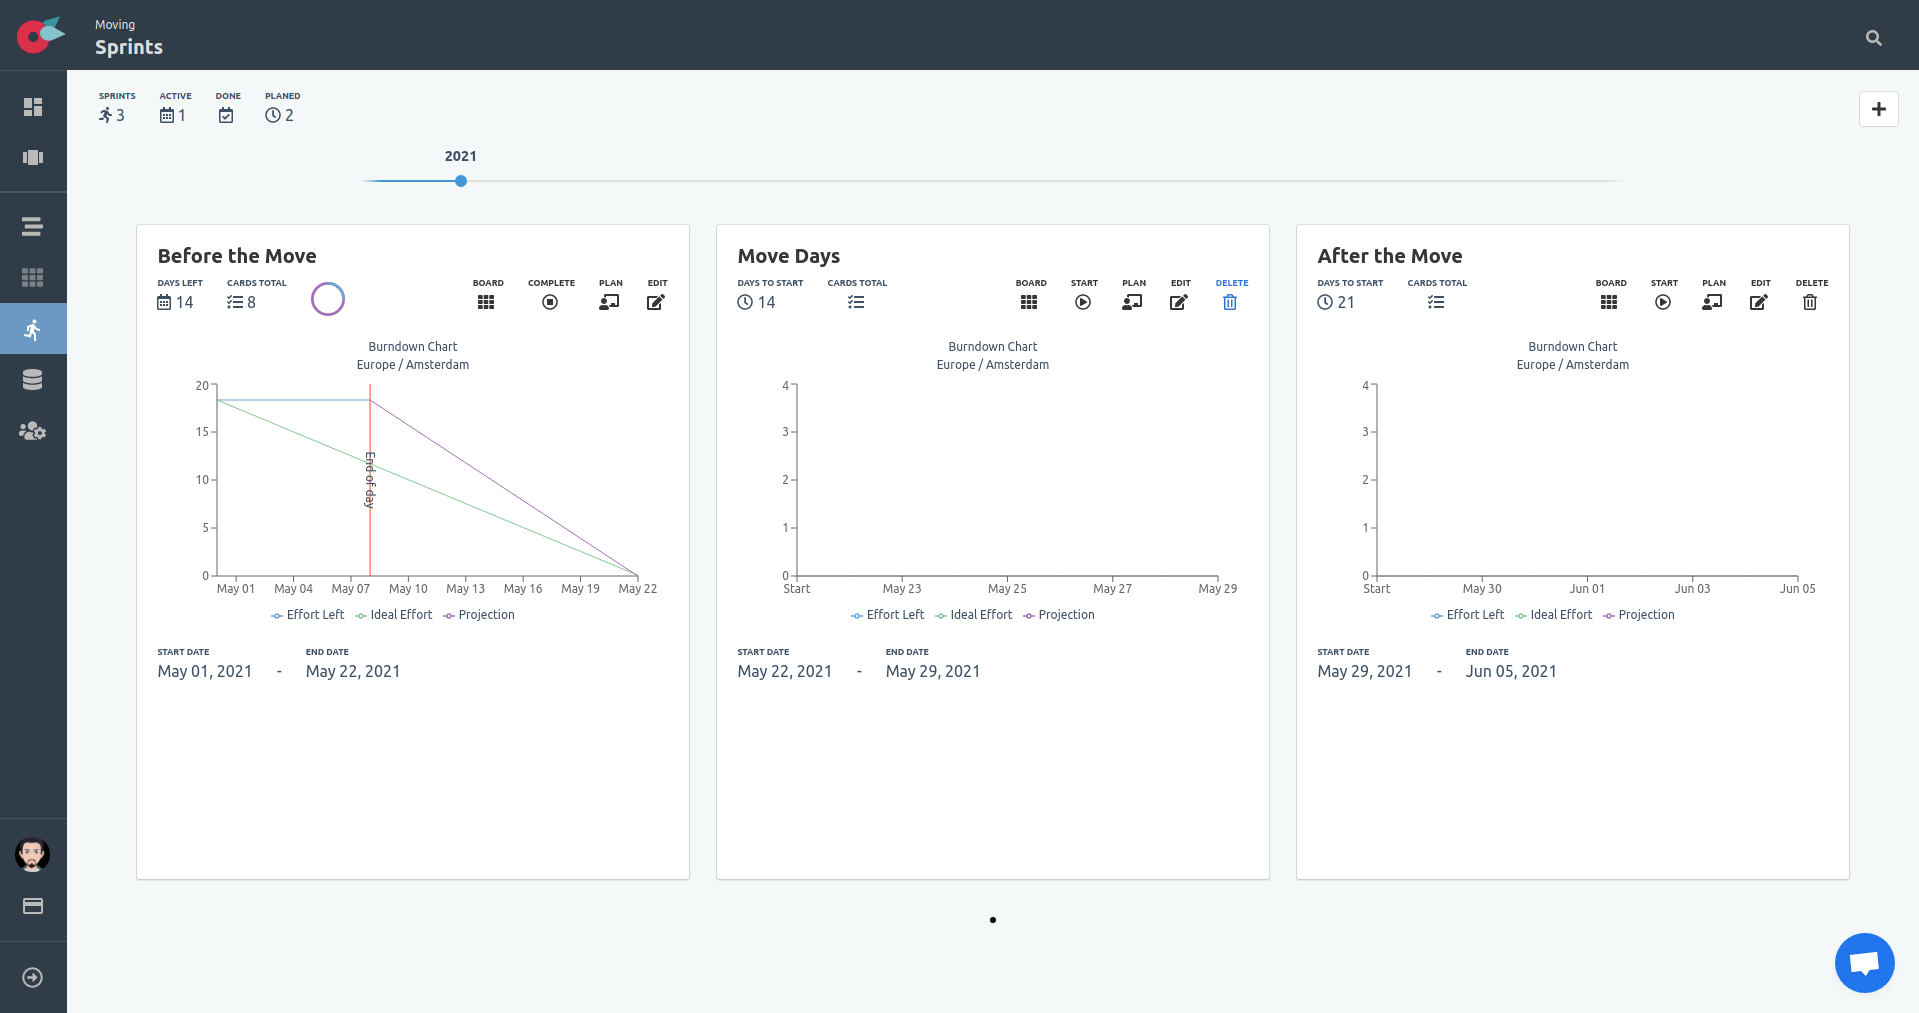
Approve the deletion of the sprint.
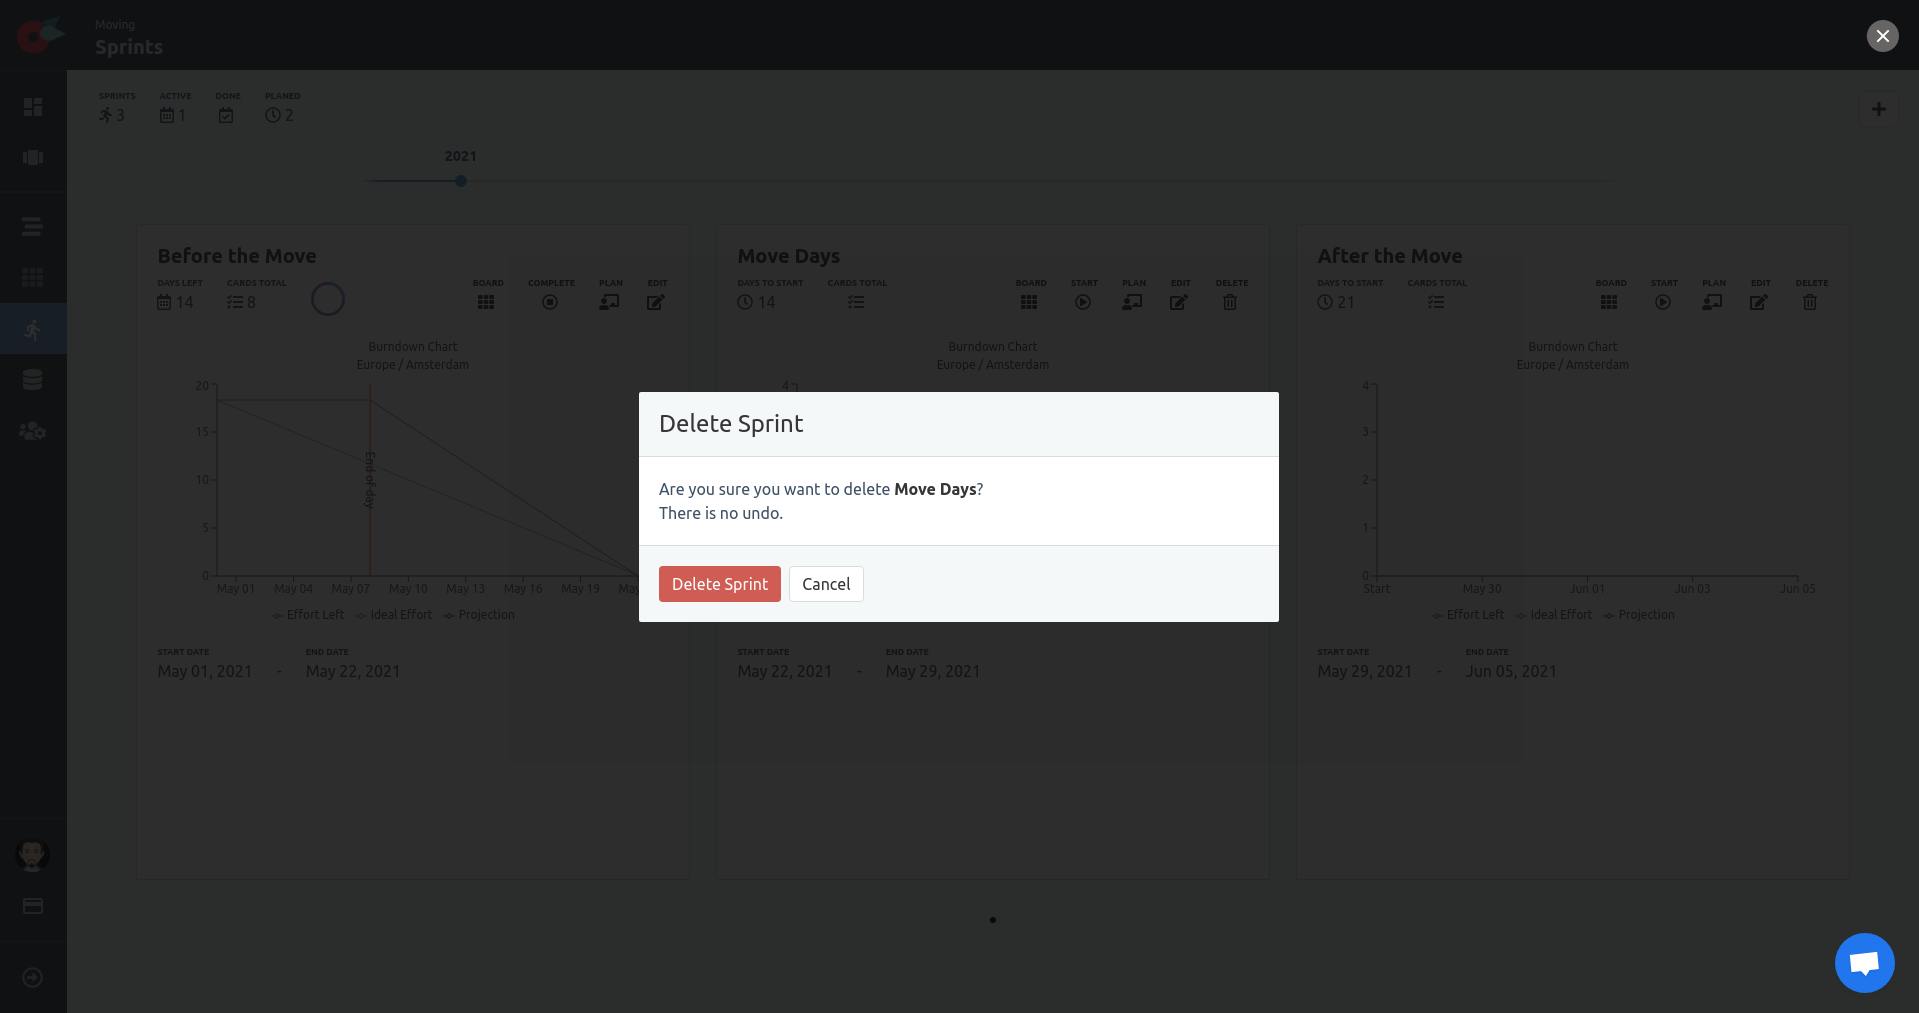
Navigate back to the admin section of the project settings to change the project board type.
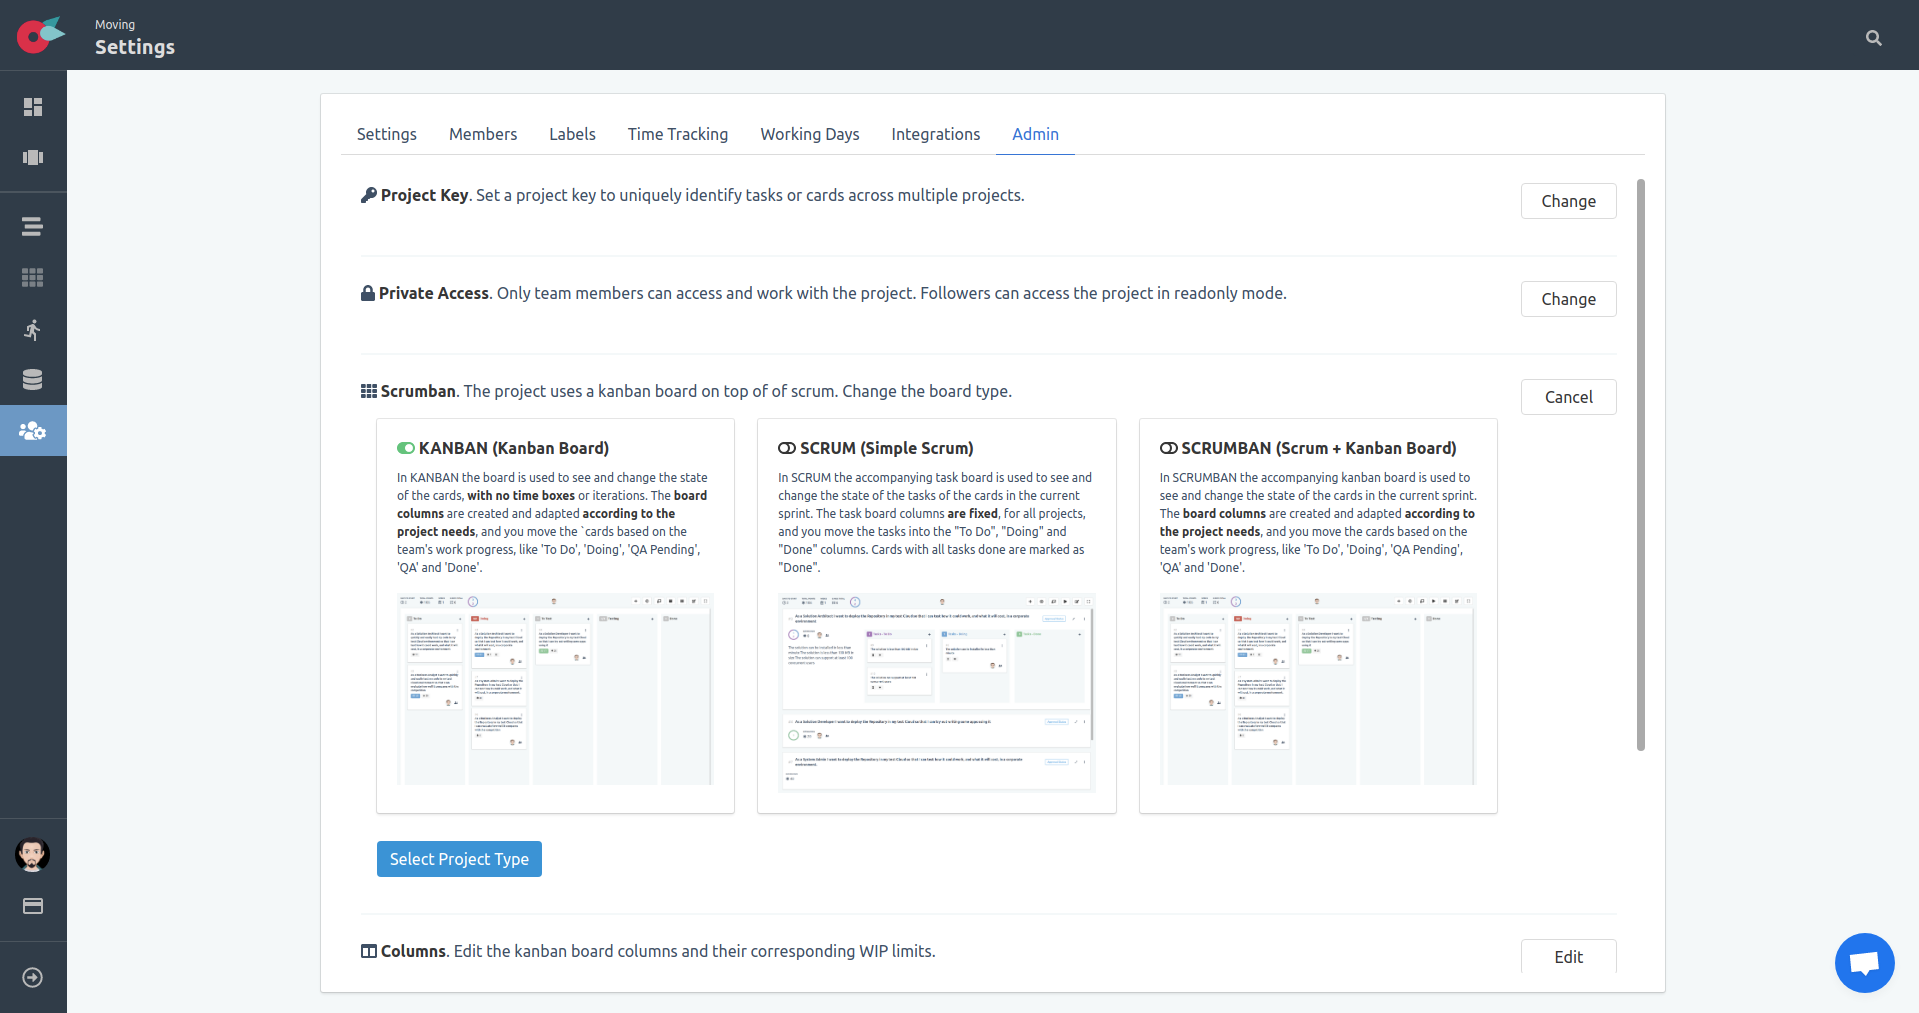
Once the project type is changed, we have the option to edit and modify the columns of our board. Locate the Columns section, just bellow the Board Type, and click on the Edit button.

The edit board columns modal will be visible to do all necessary changes. As we see, we have by default 3 columns:
- To Do
- Doing
- Done
Each column has the following properties:
- Name: The name of the column.
- WIP: Limiting Work In Progress in a kanban board encourages higher quality and more excellent performance. The act of restricting WIP helps you optimize work capacity by allowing you to pull new work only if capacity is available.
- Type: The type of the column. A column can be a
to do,doing, ordonecolumn. Cards in a column will get the status of the column, that is taken into account in the available counters and reports.
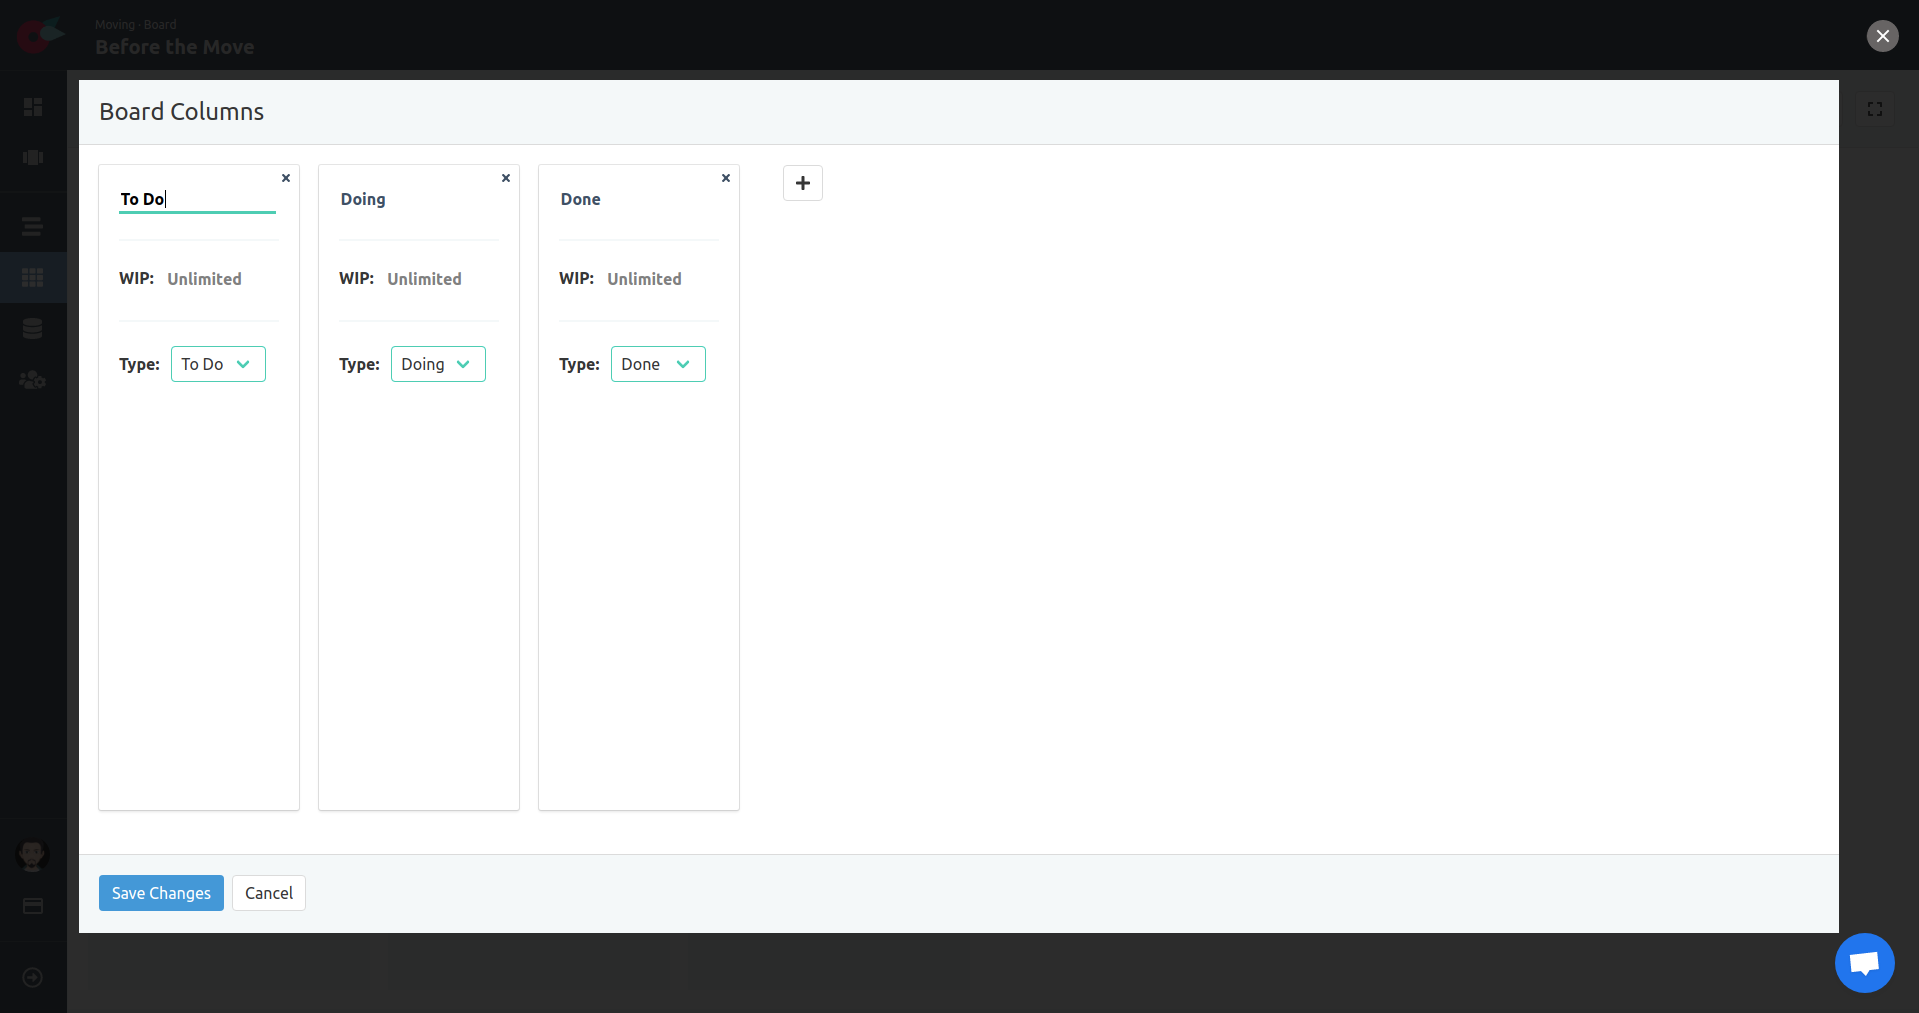
Since we are running a kanban board, we will create the workflow of our project in our board instead of using sprints. Let’s rename the To Do column into Before the Move.
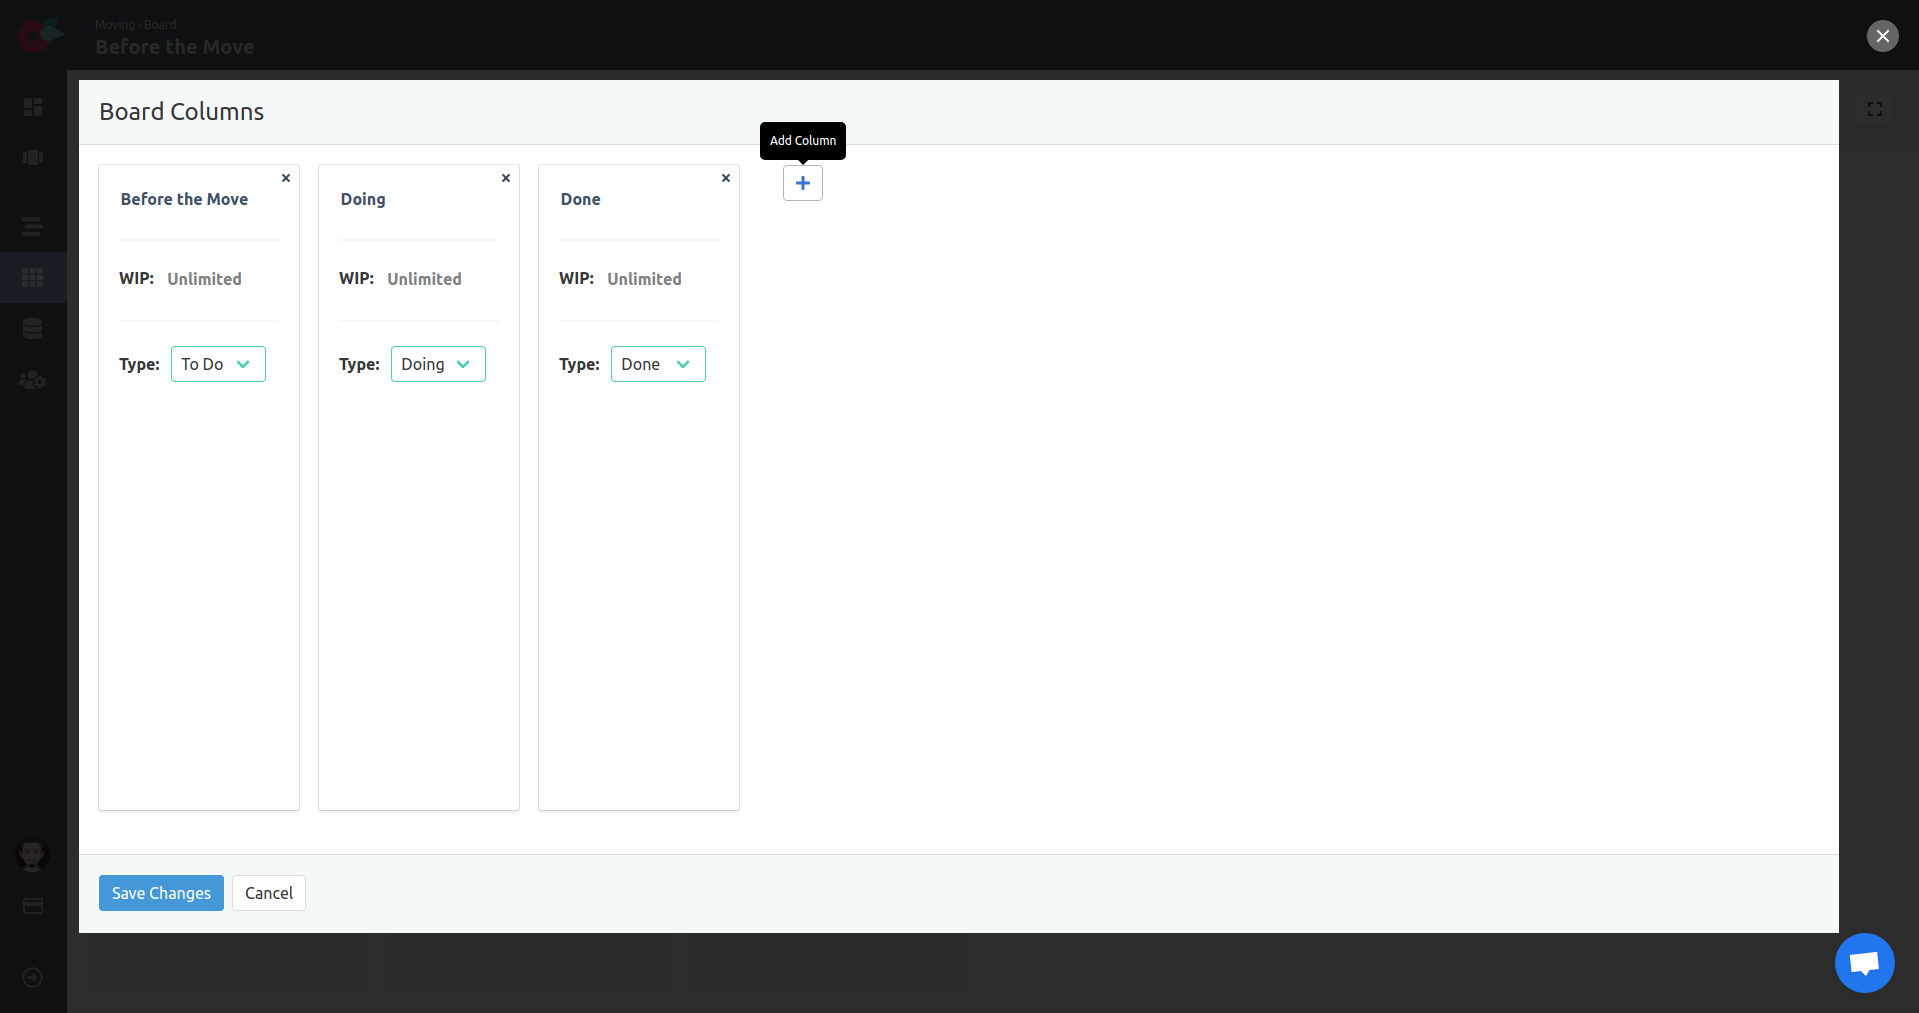
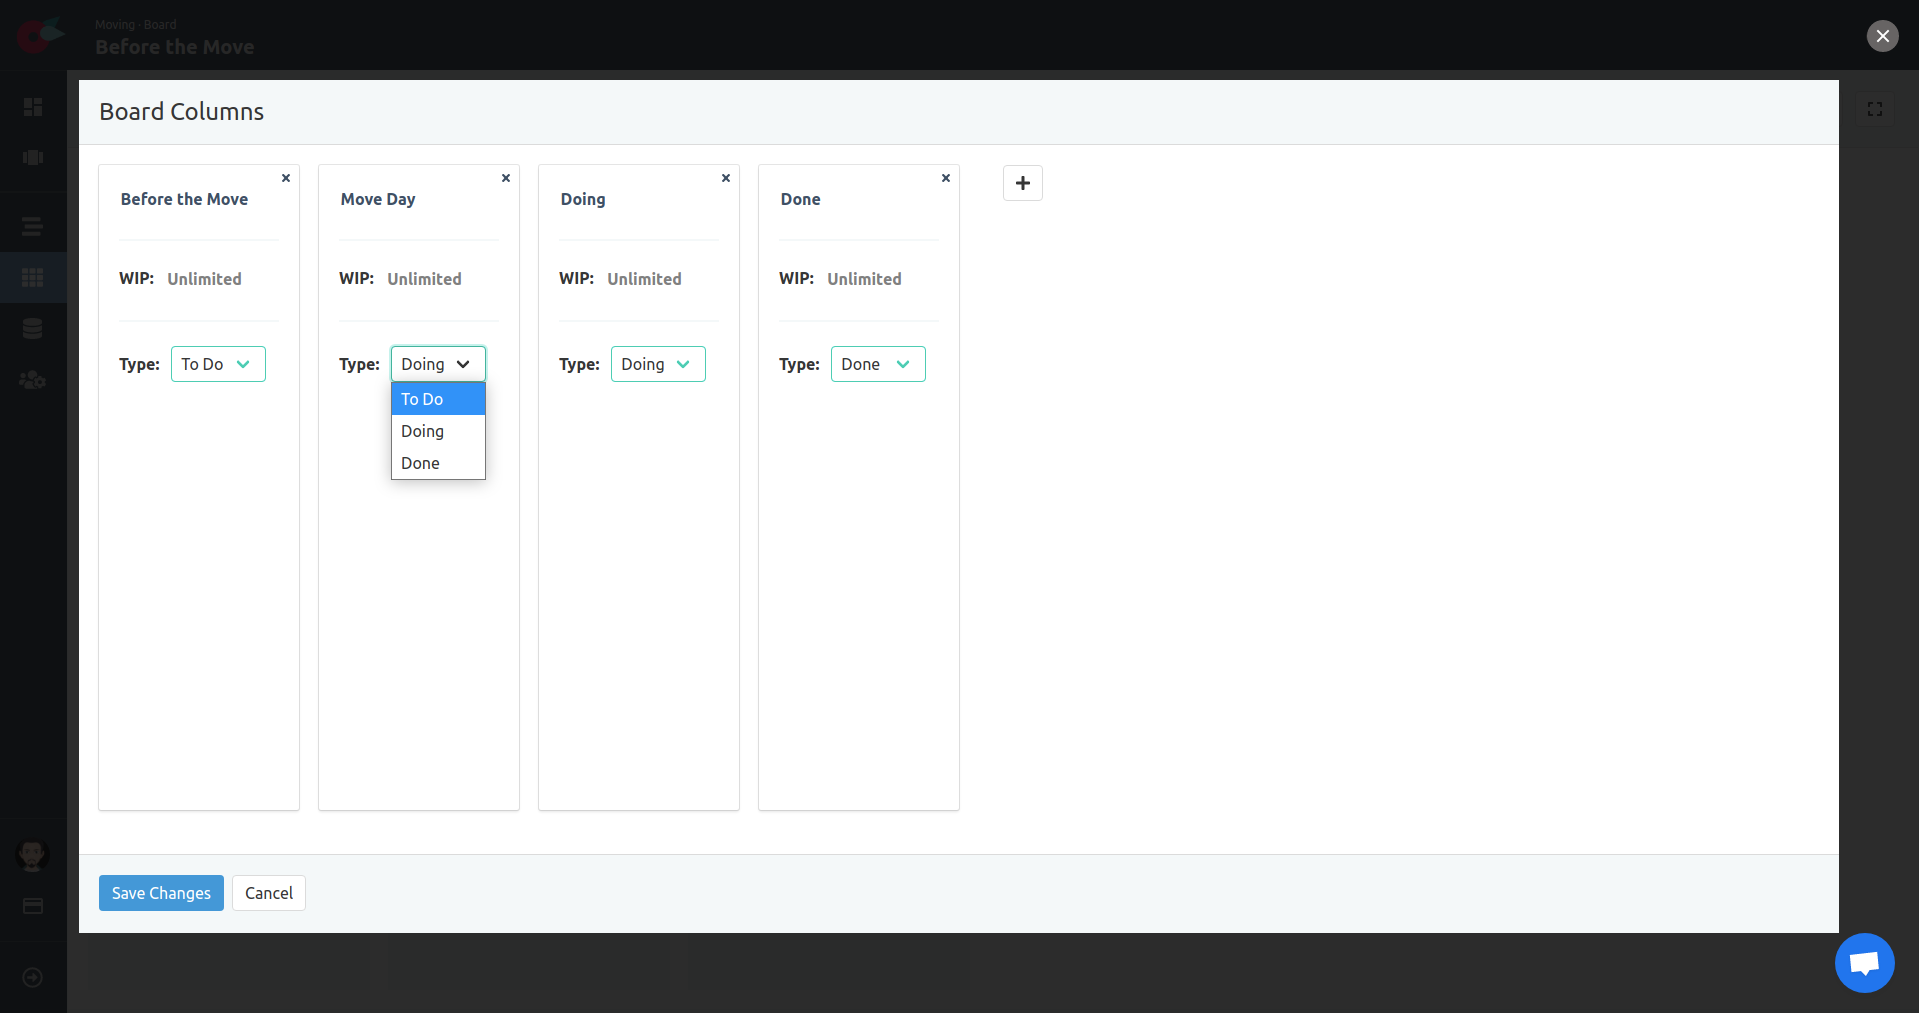
Create a column Move Days.
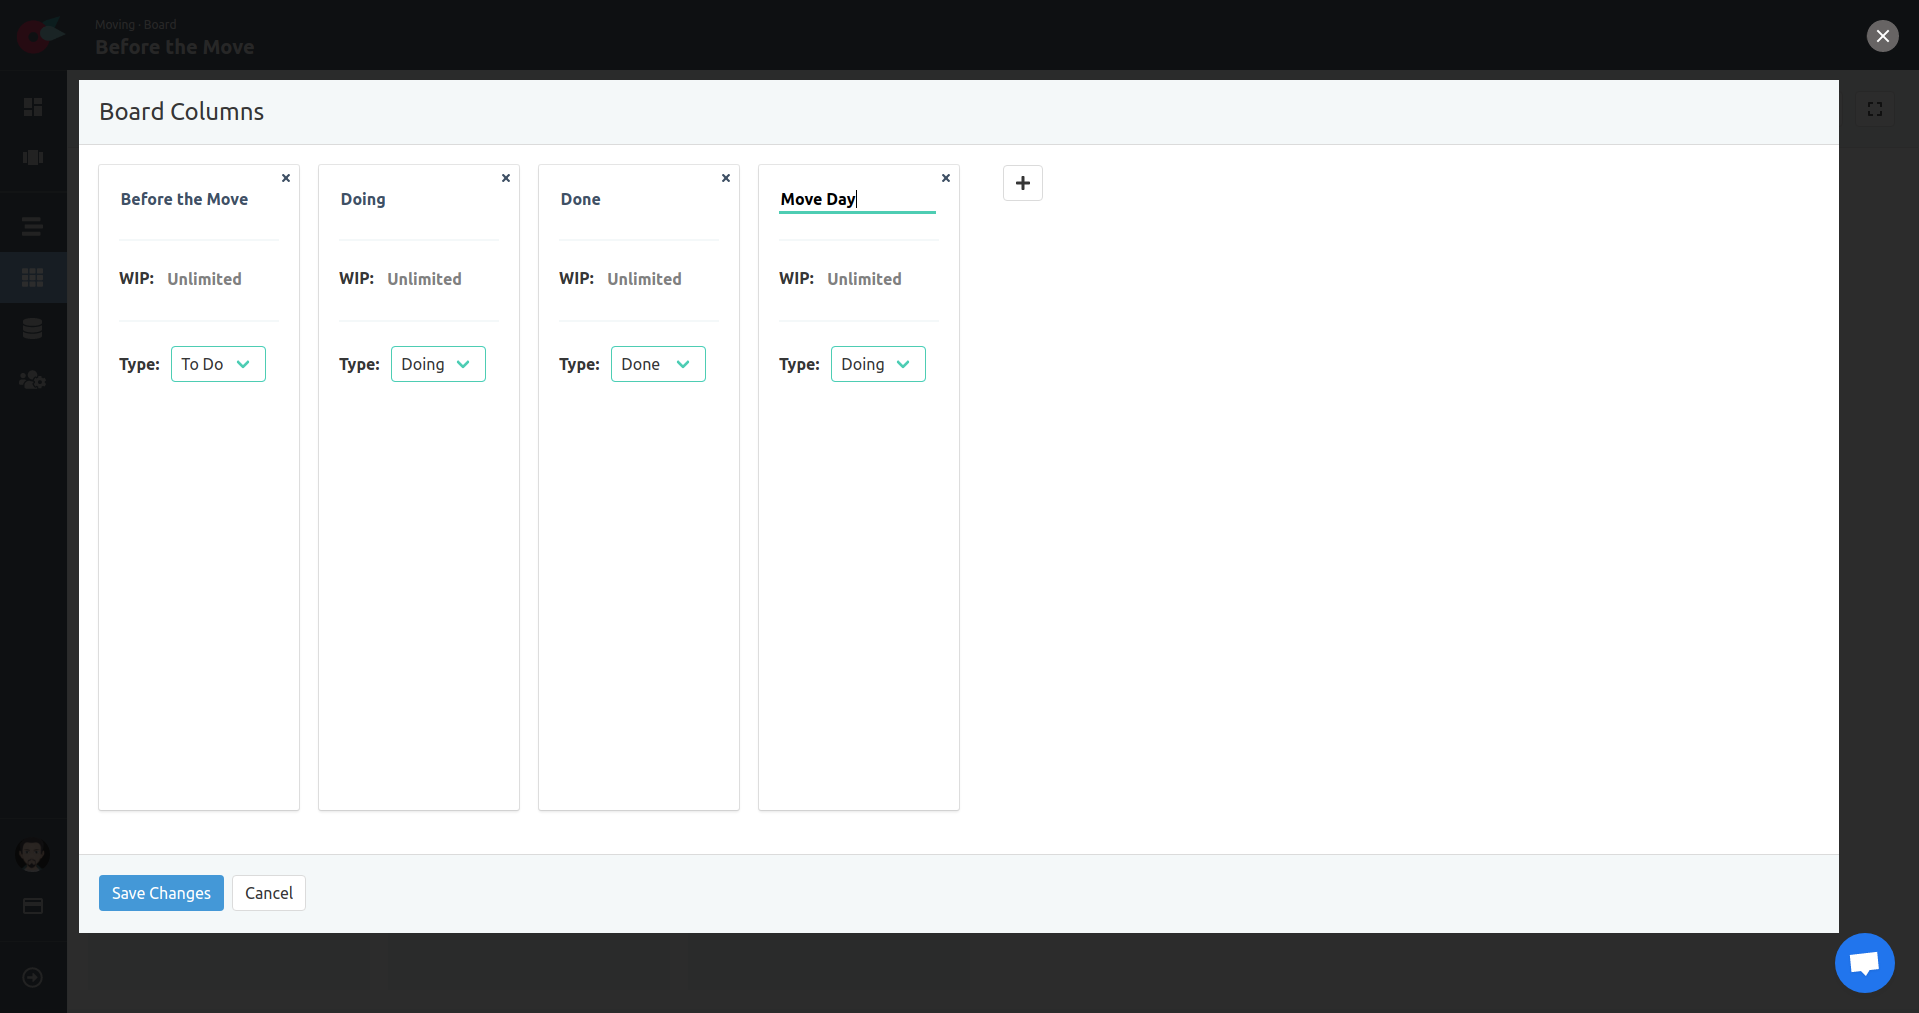
Move it after the Before the Move column. We will keep it before the Doing column.
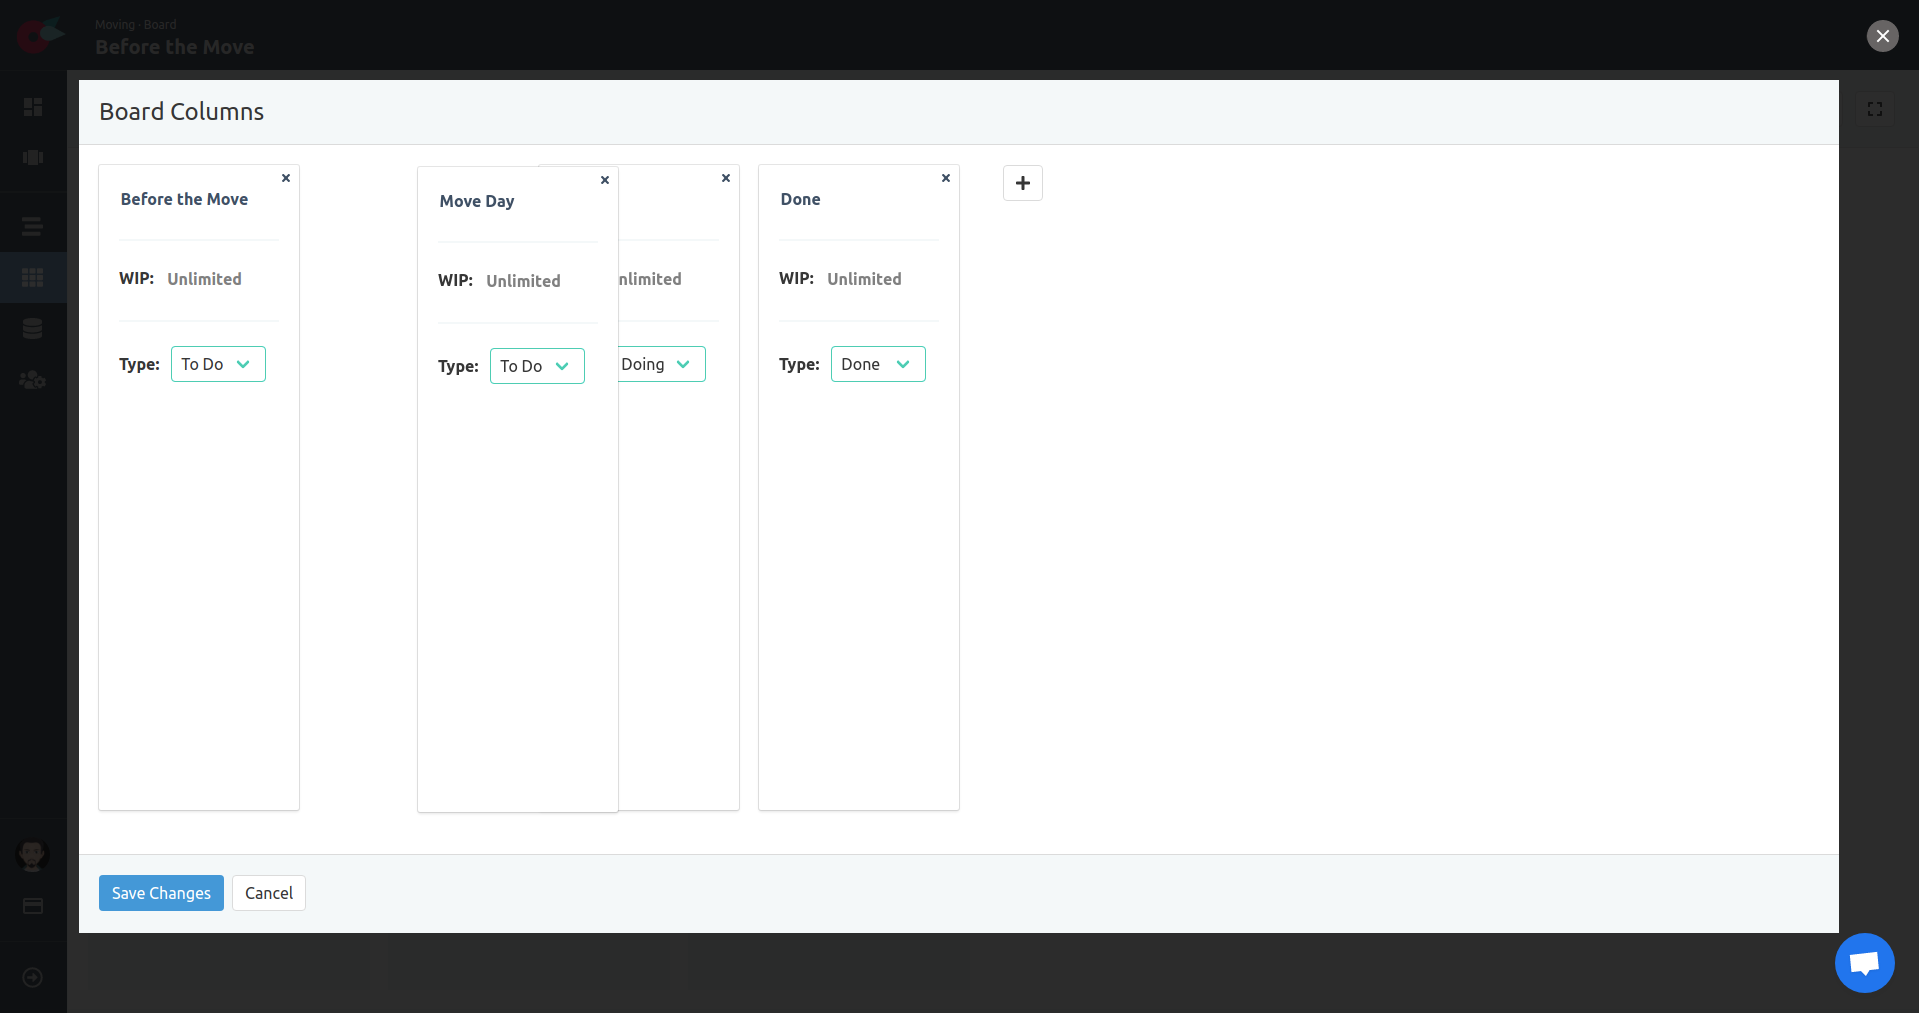
Change the Type to To Do. This way we will know that every card in this column is in a to do state.
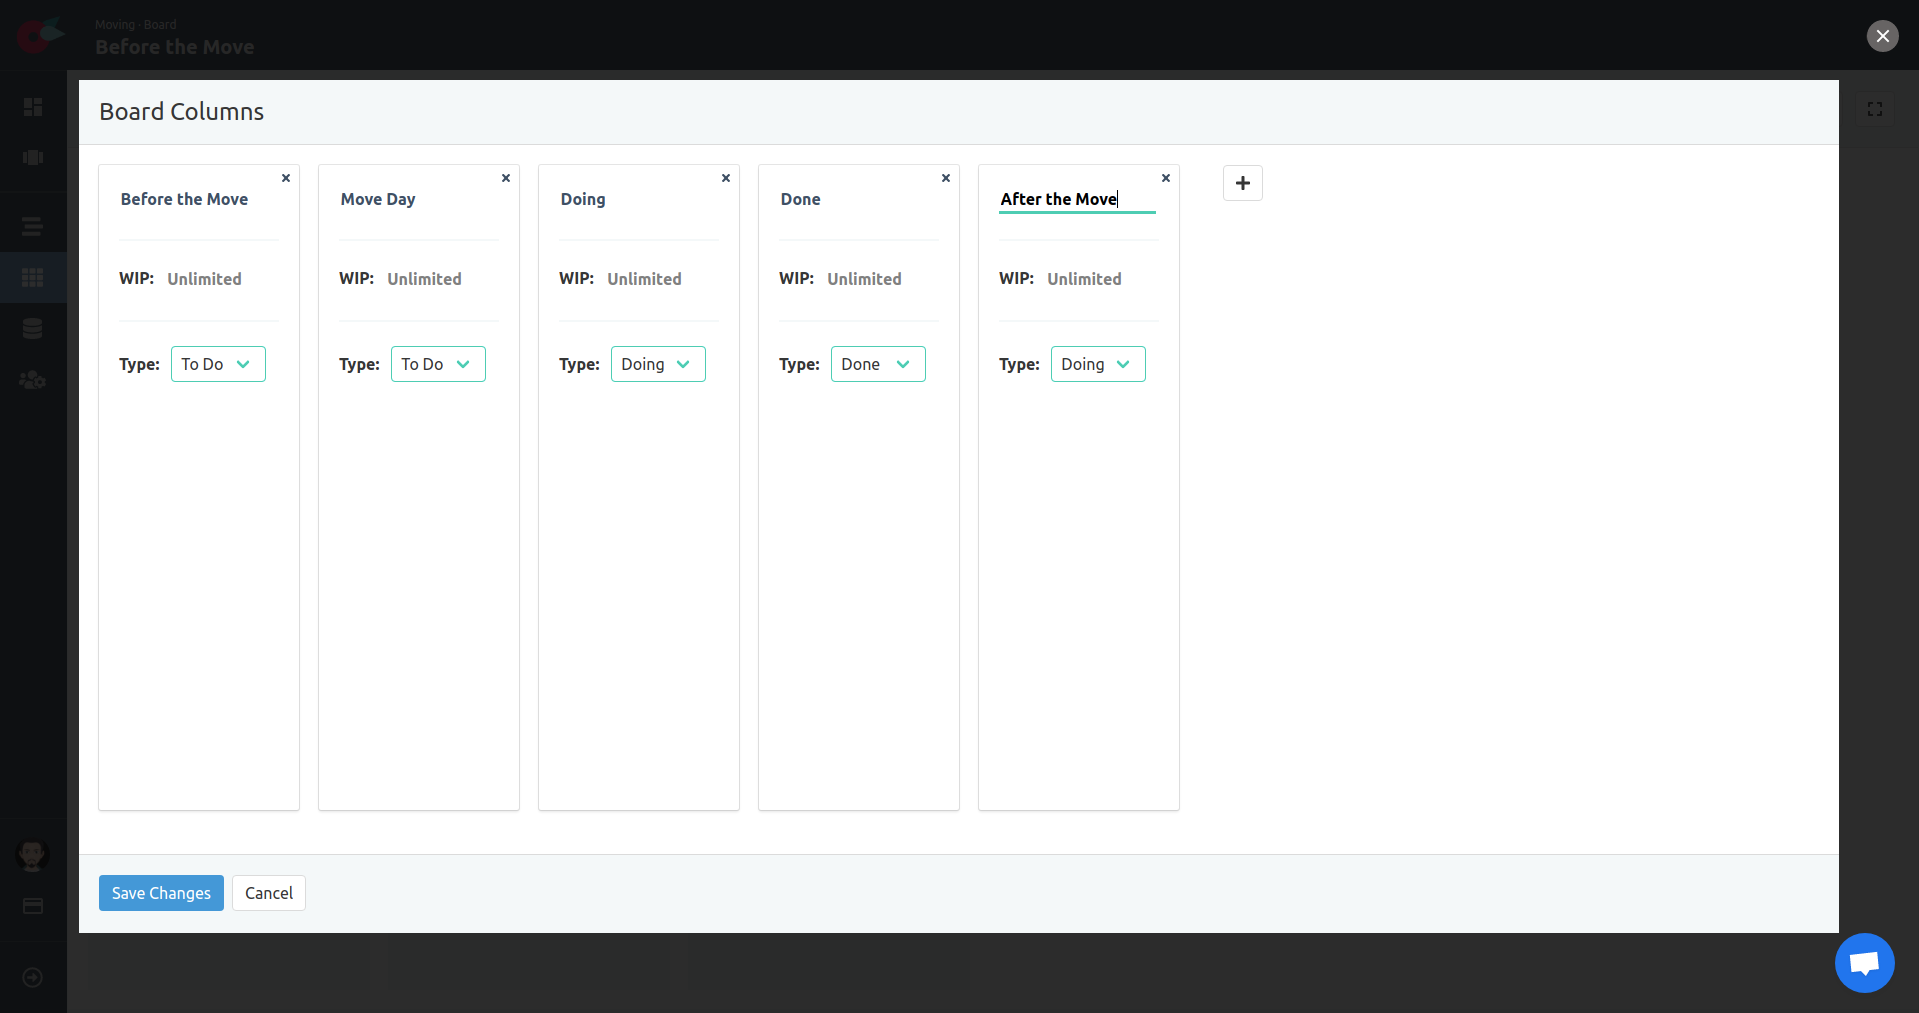
Create a column After the Move, and change the Type to To Do.
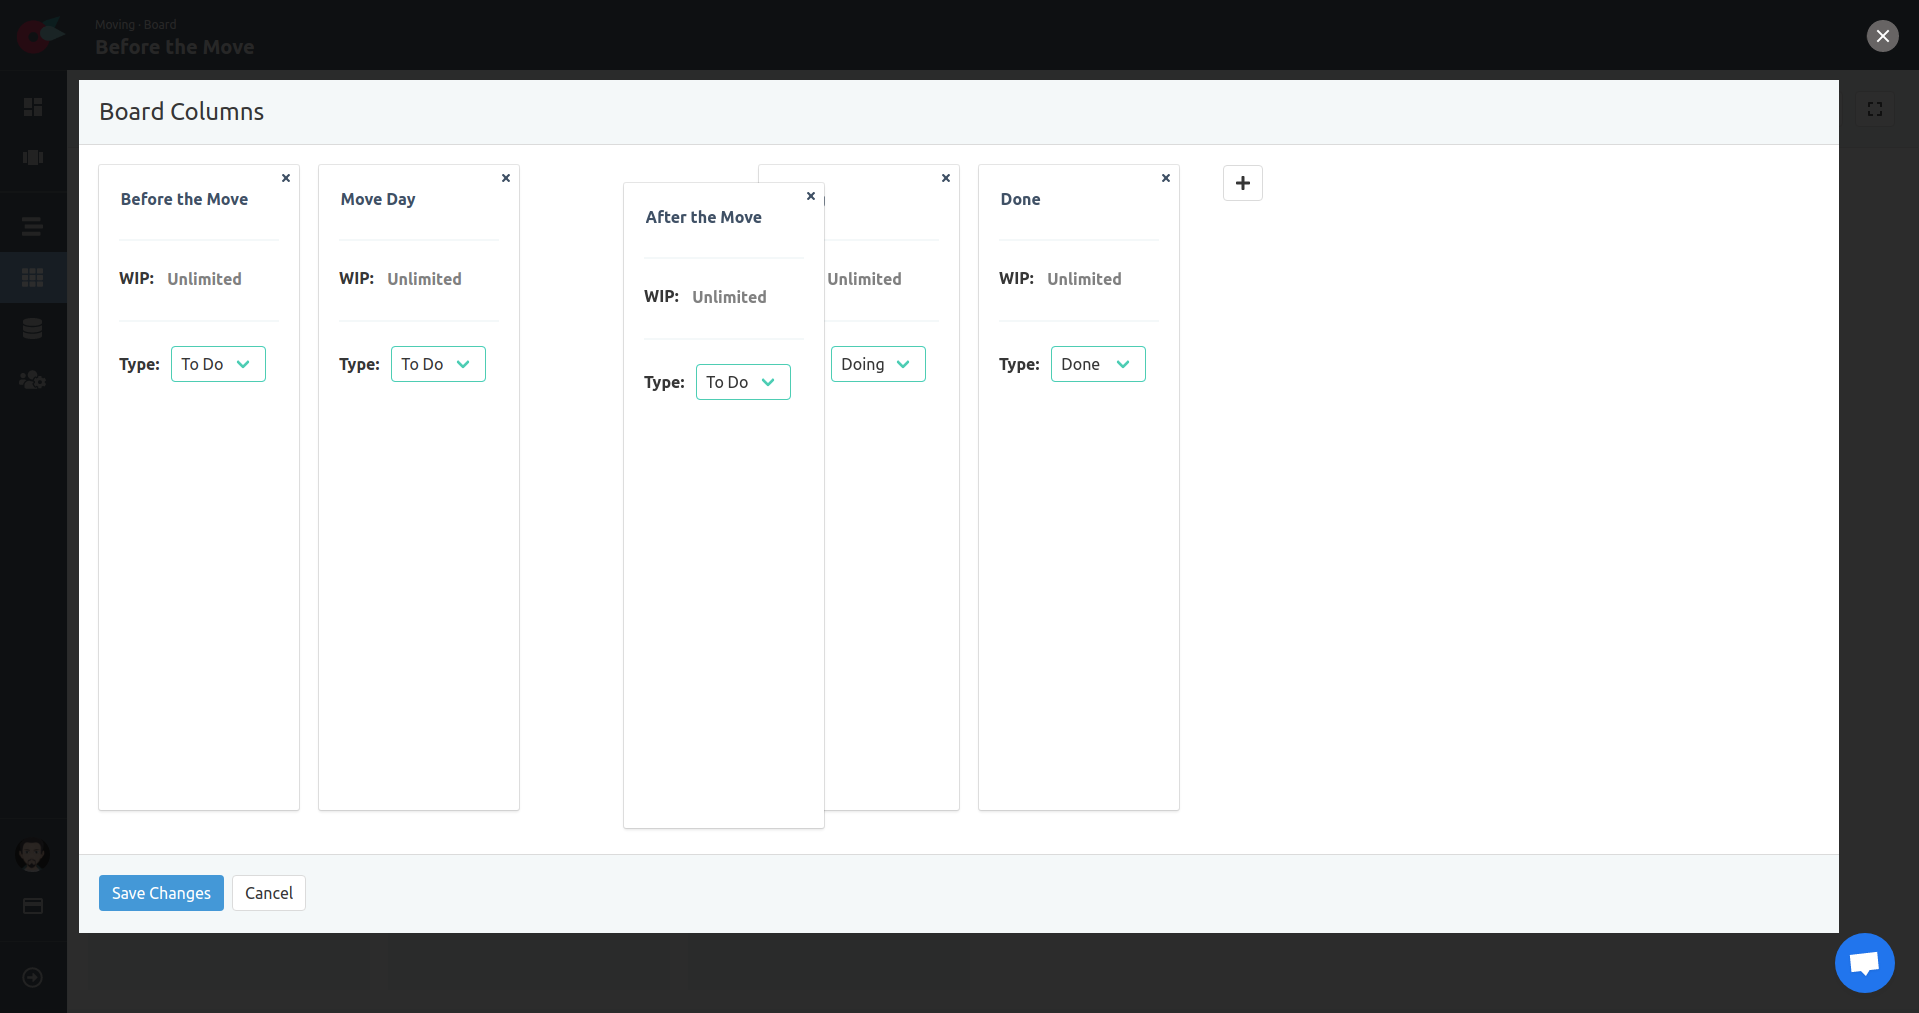
Move it after the Move Days column. We will keep it before the Doing column.
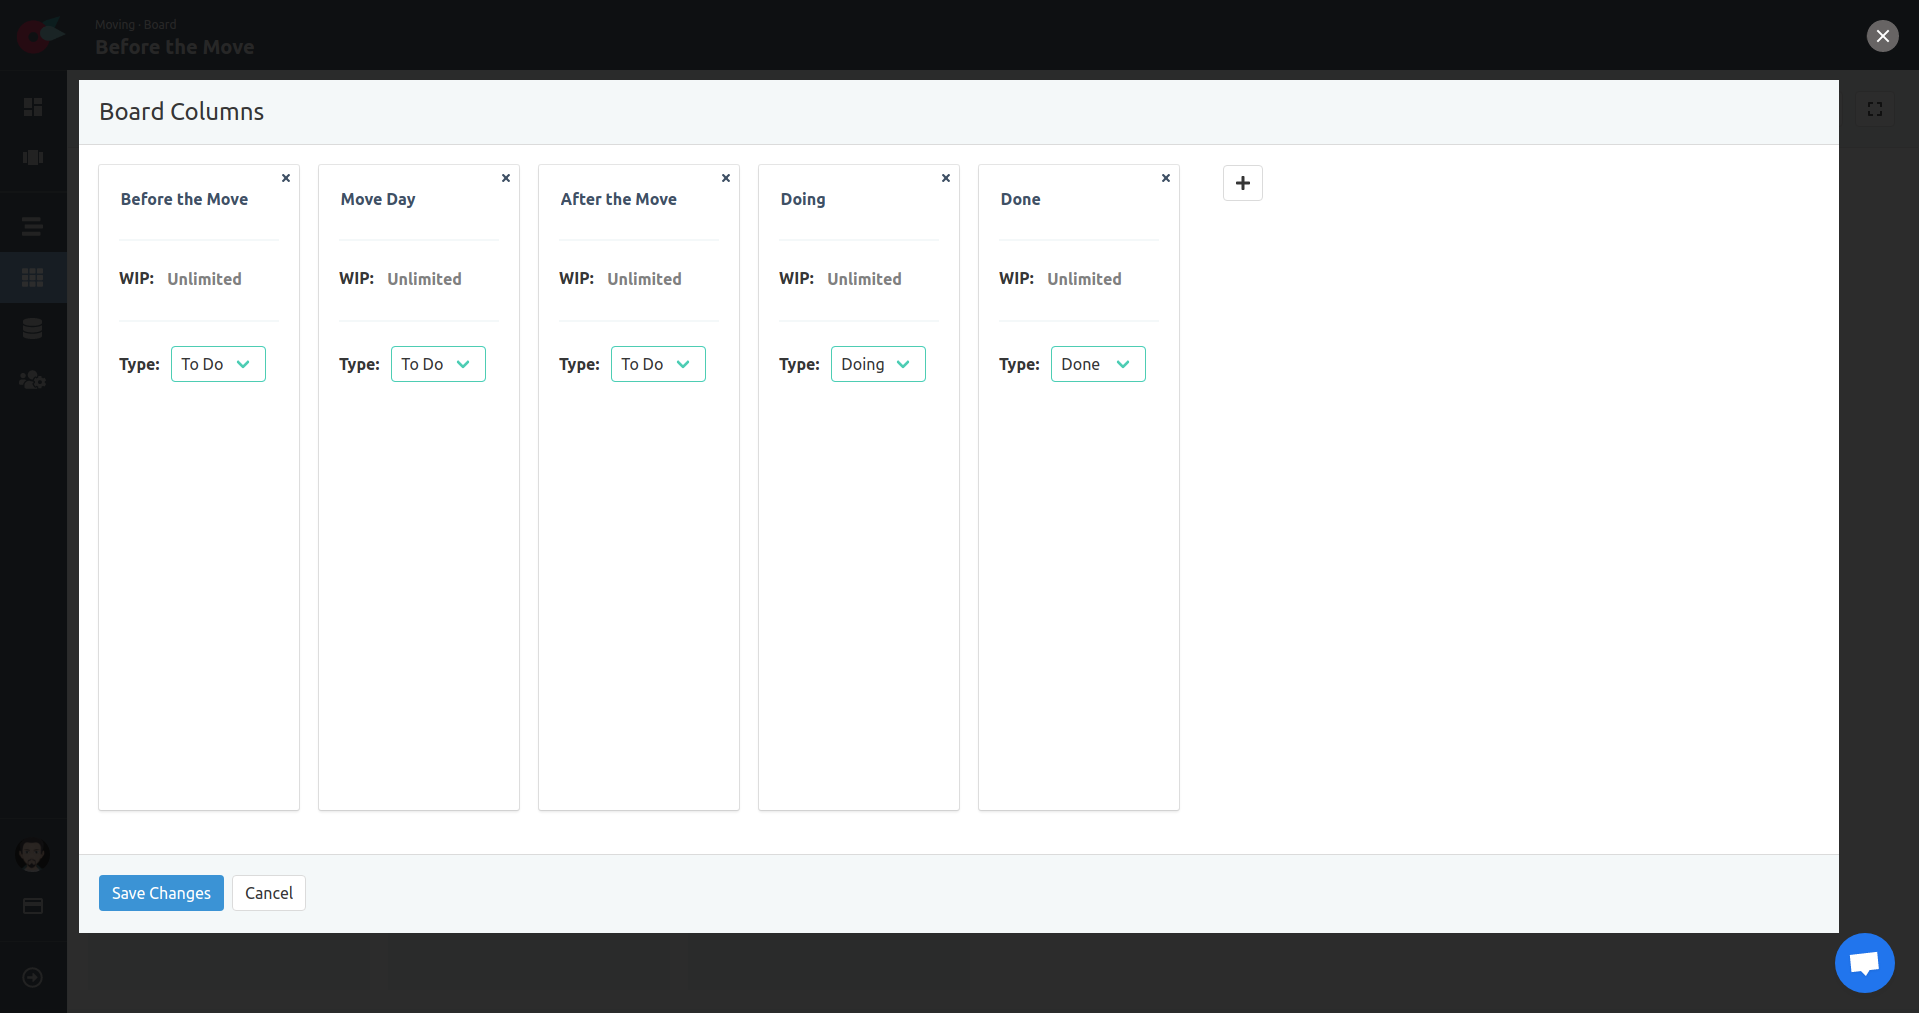
Now we have a board with all the phases in place to start working. Save the changes to apply the new board layout to the project.
Kanban Board
From the left-hand side menu, navigate to the project board. The board has the columns as modified.
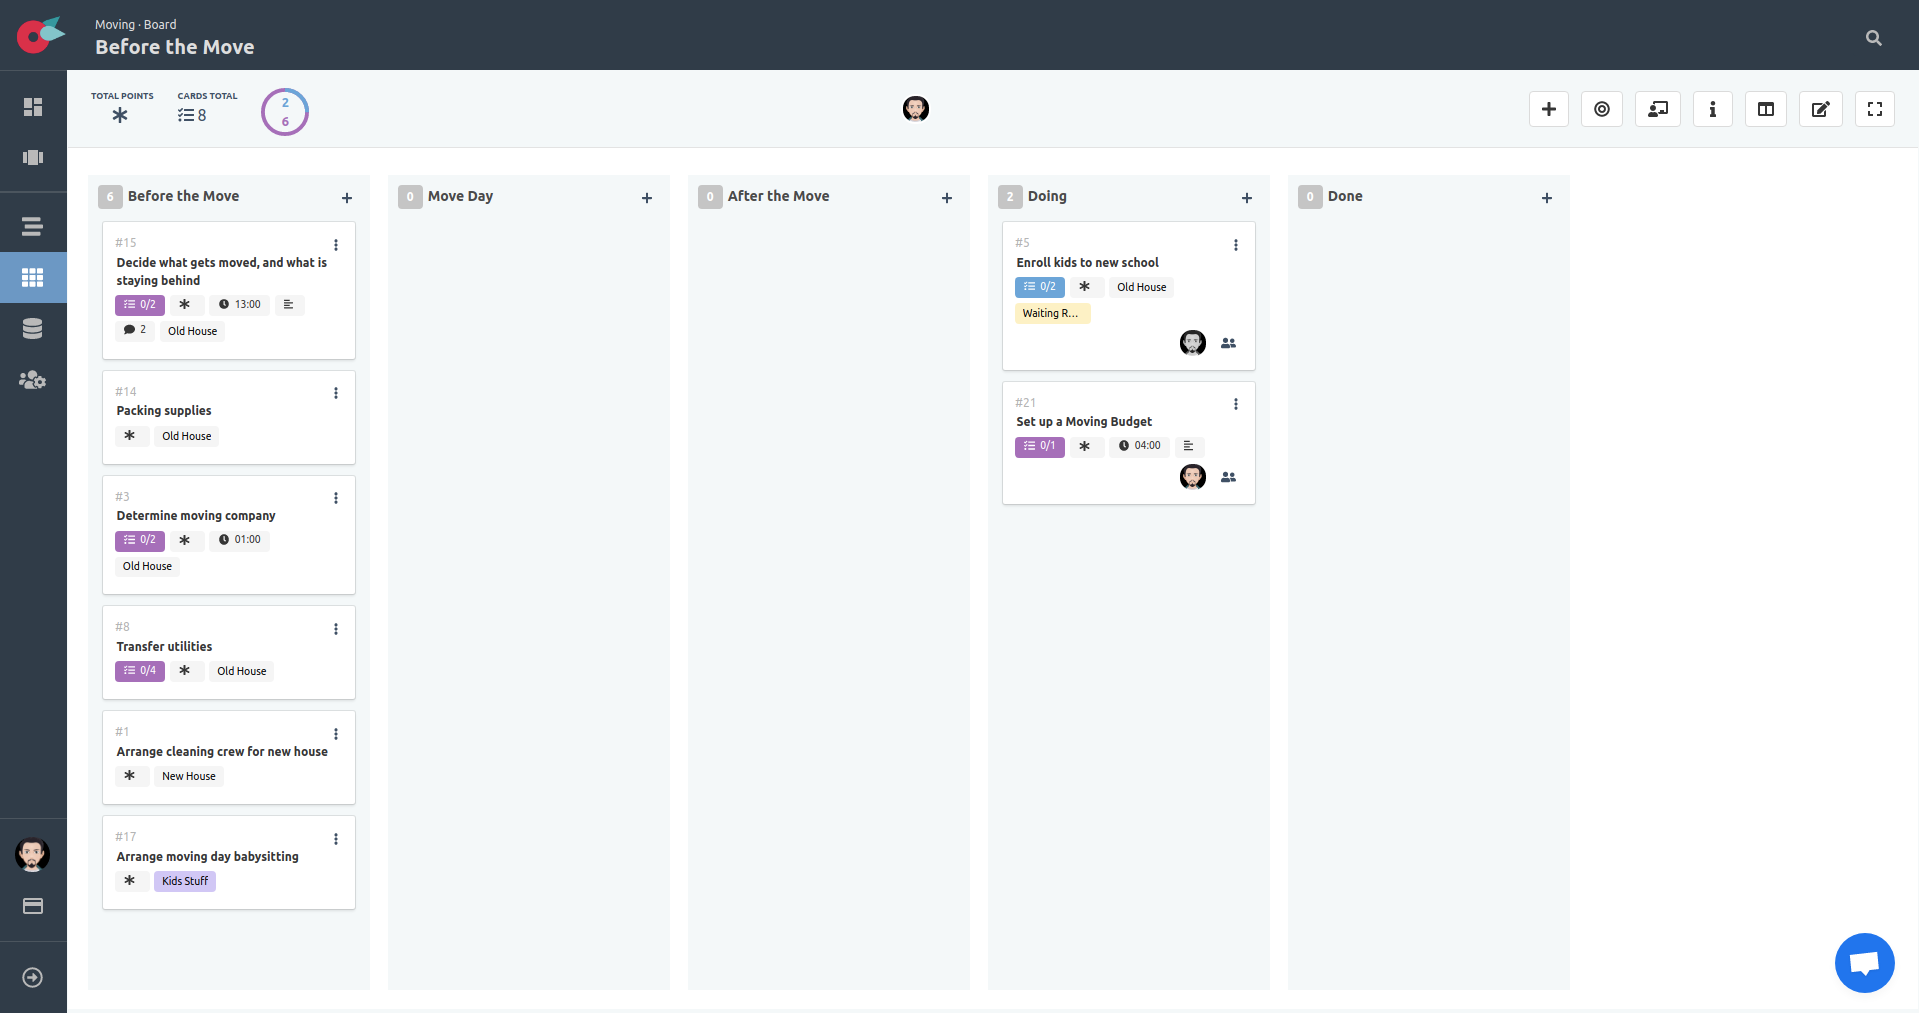
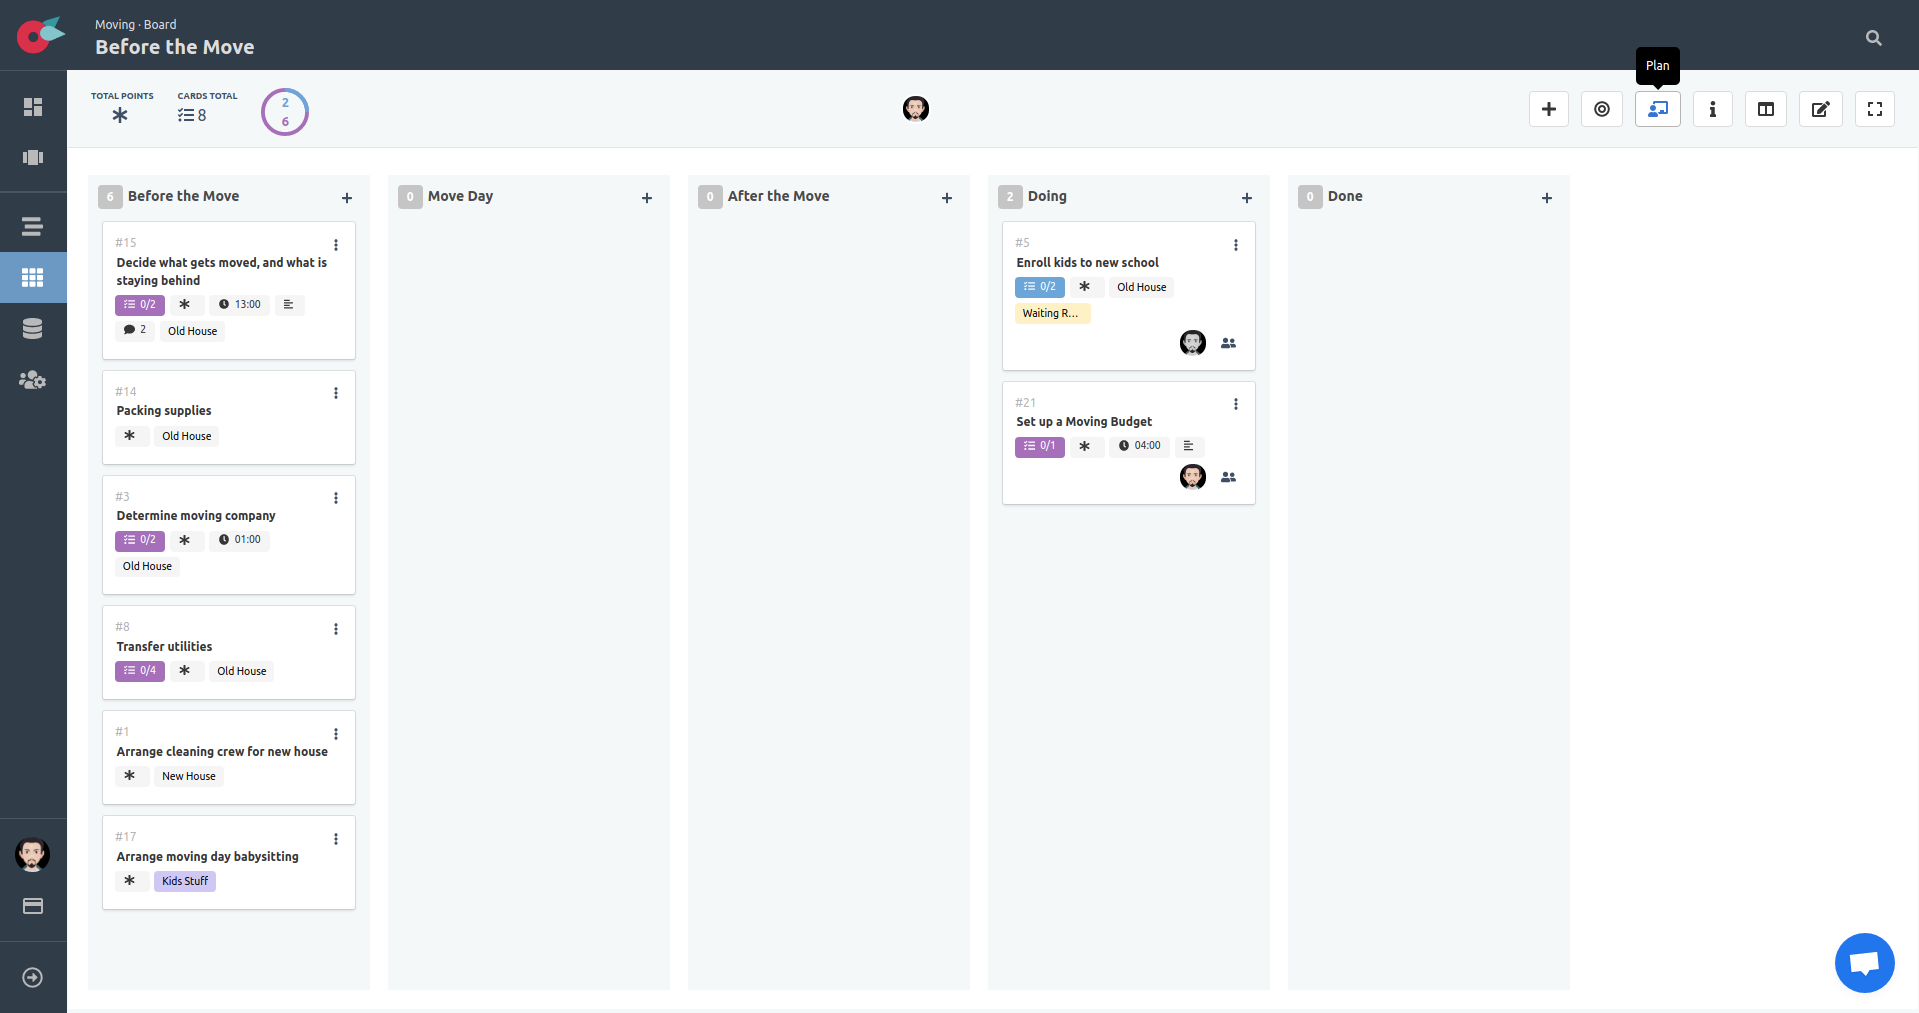
Let’s bring the cards we want from the backlog in our board. Click on the plan button located at the right-hand side of the top menu.
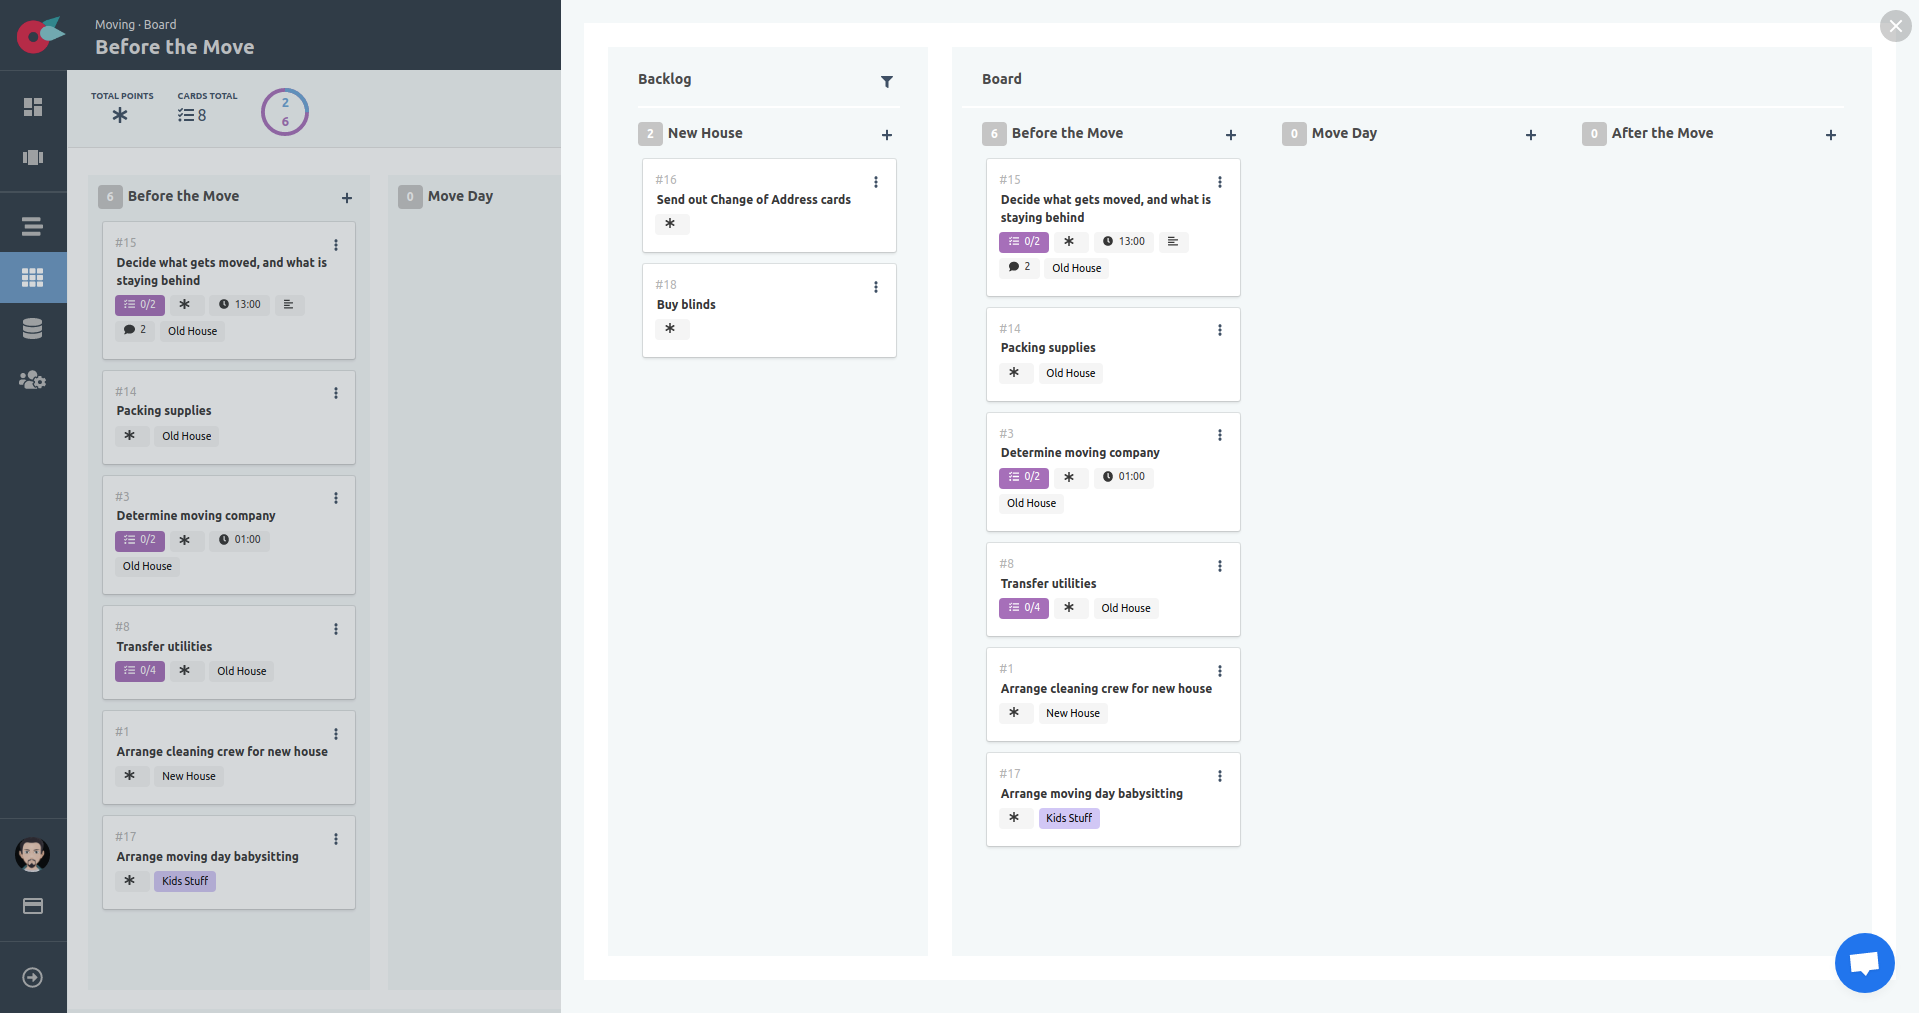
In the planning view, you see two distinct areas:
- Backlog.
- Board with all
To Docolumns available.
Drag ‘n drop the cards from the selected backlog bucket into the board.
Card is Blocked (Impediments)
Anything that stops or slows down the delivery, or acts as a hurdle can be termed as a blocker or impediment. Blockers can manifest themselves at any time, and pretty much anything gets blocked sooner or later, especially in the software development life cycle.
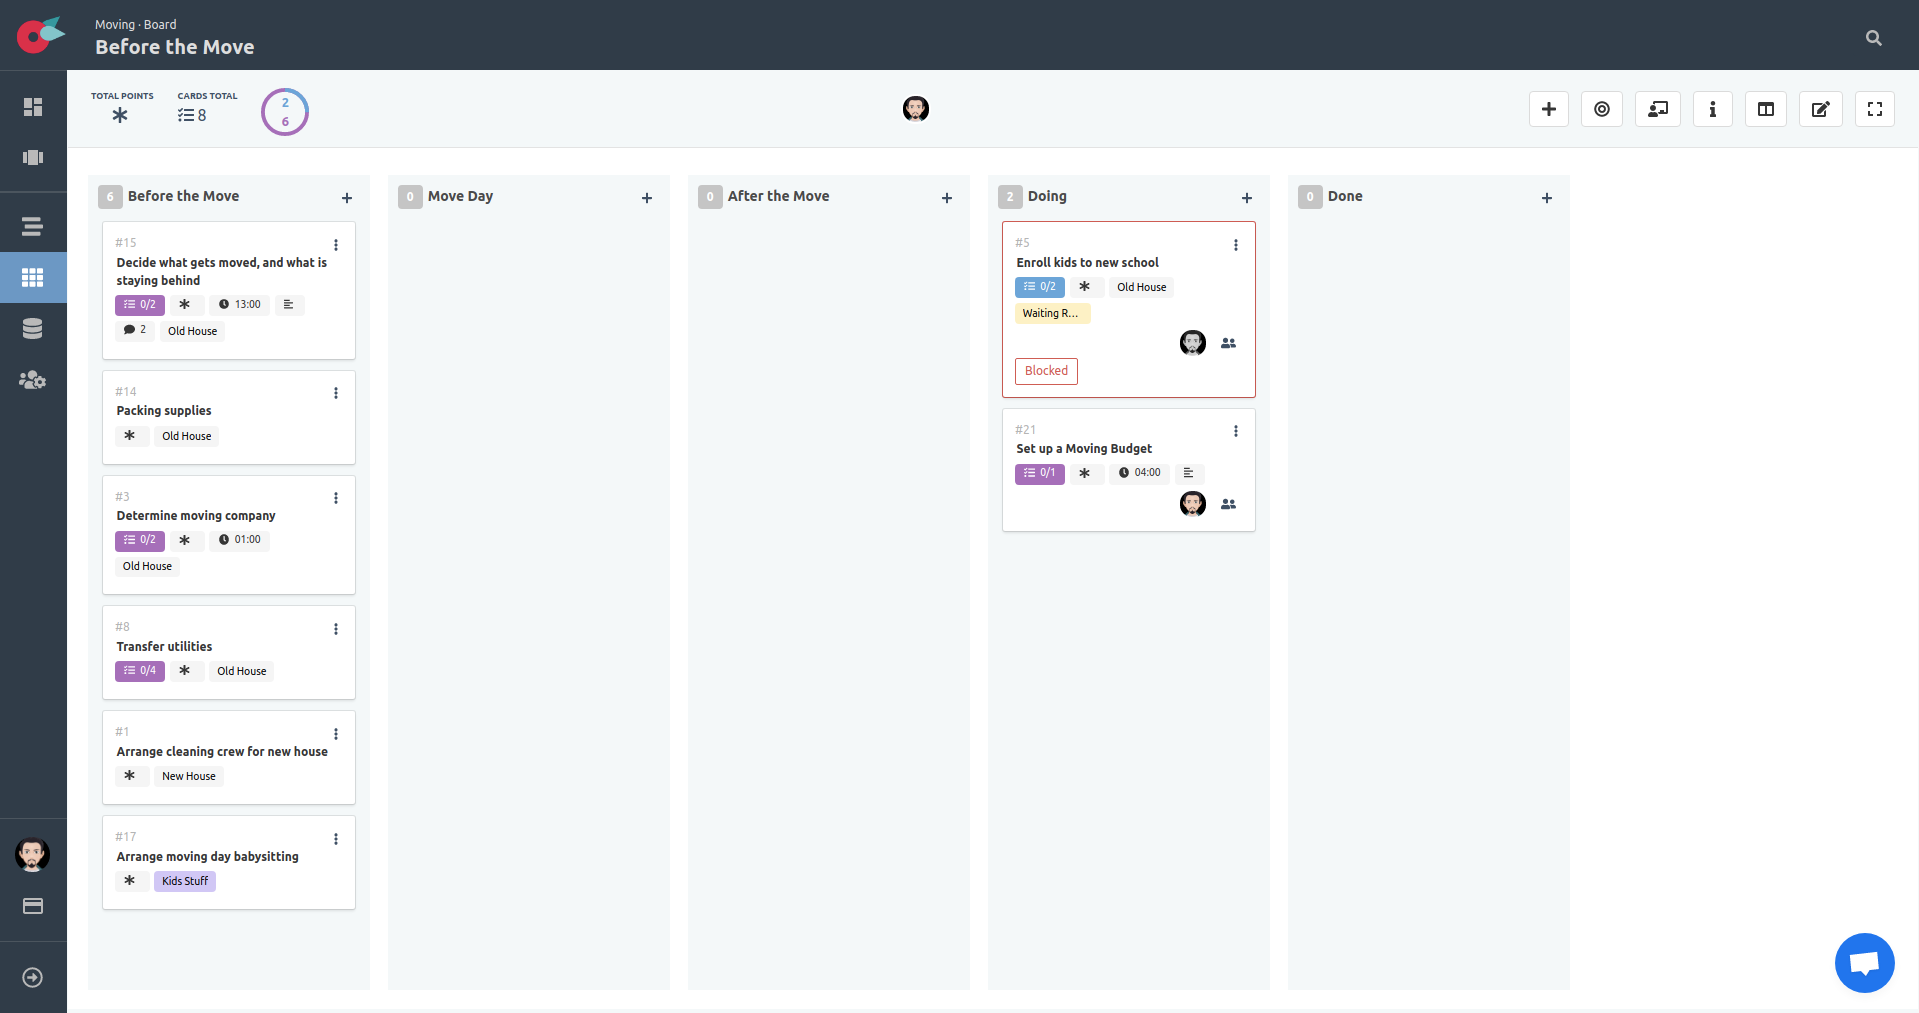
In Flying Donut we have the option to mark a card as blocked. It’s visible in the board and therefore transparent for everyone involved. From the dropdown menu of the card locate and click on the Block action.
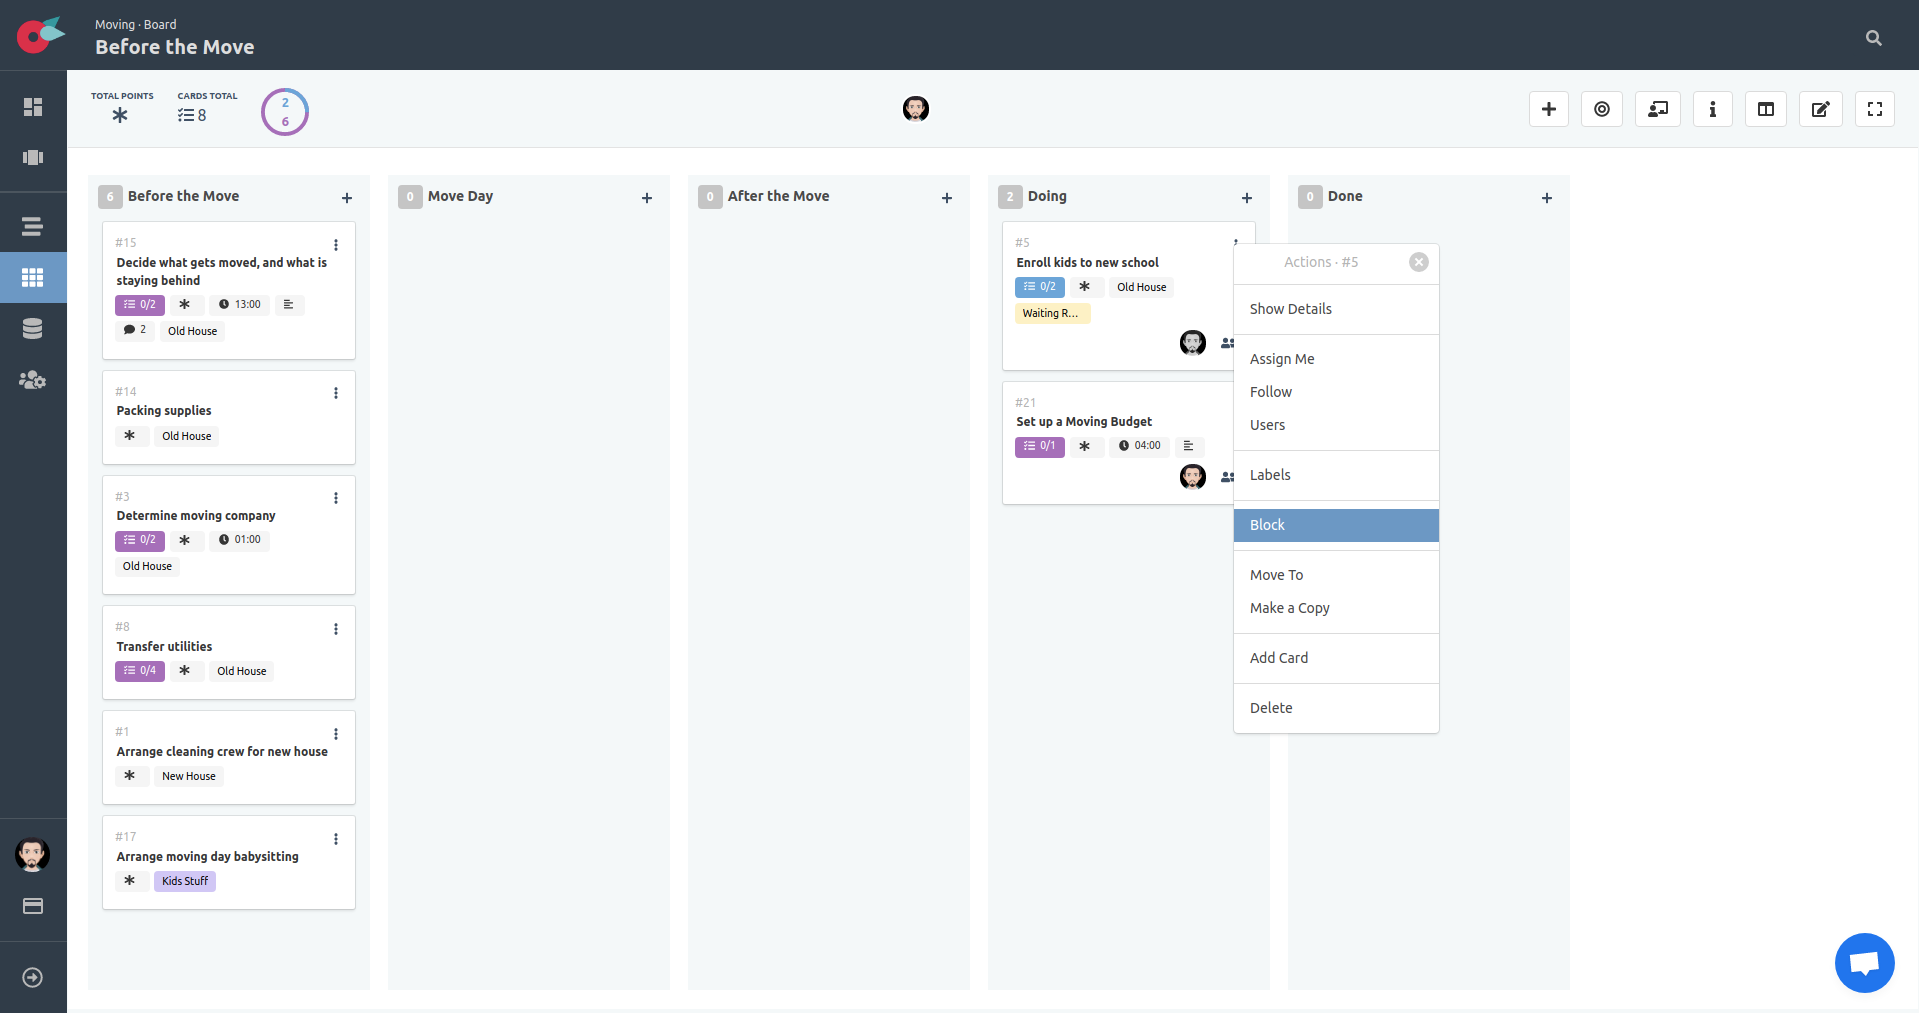
The card will be marked as blocked, with a red border around the card, and a special ‘Blocked’ label.
Labels
One of the simplest ways to add structure, and clarity to your boards, is by adding labels to the cards. With the use of labels, you get an extra layer of information at a glance.
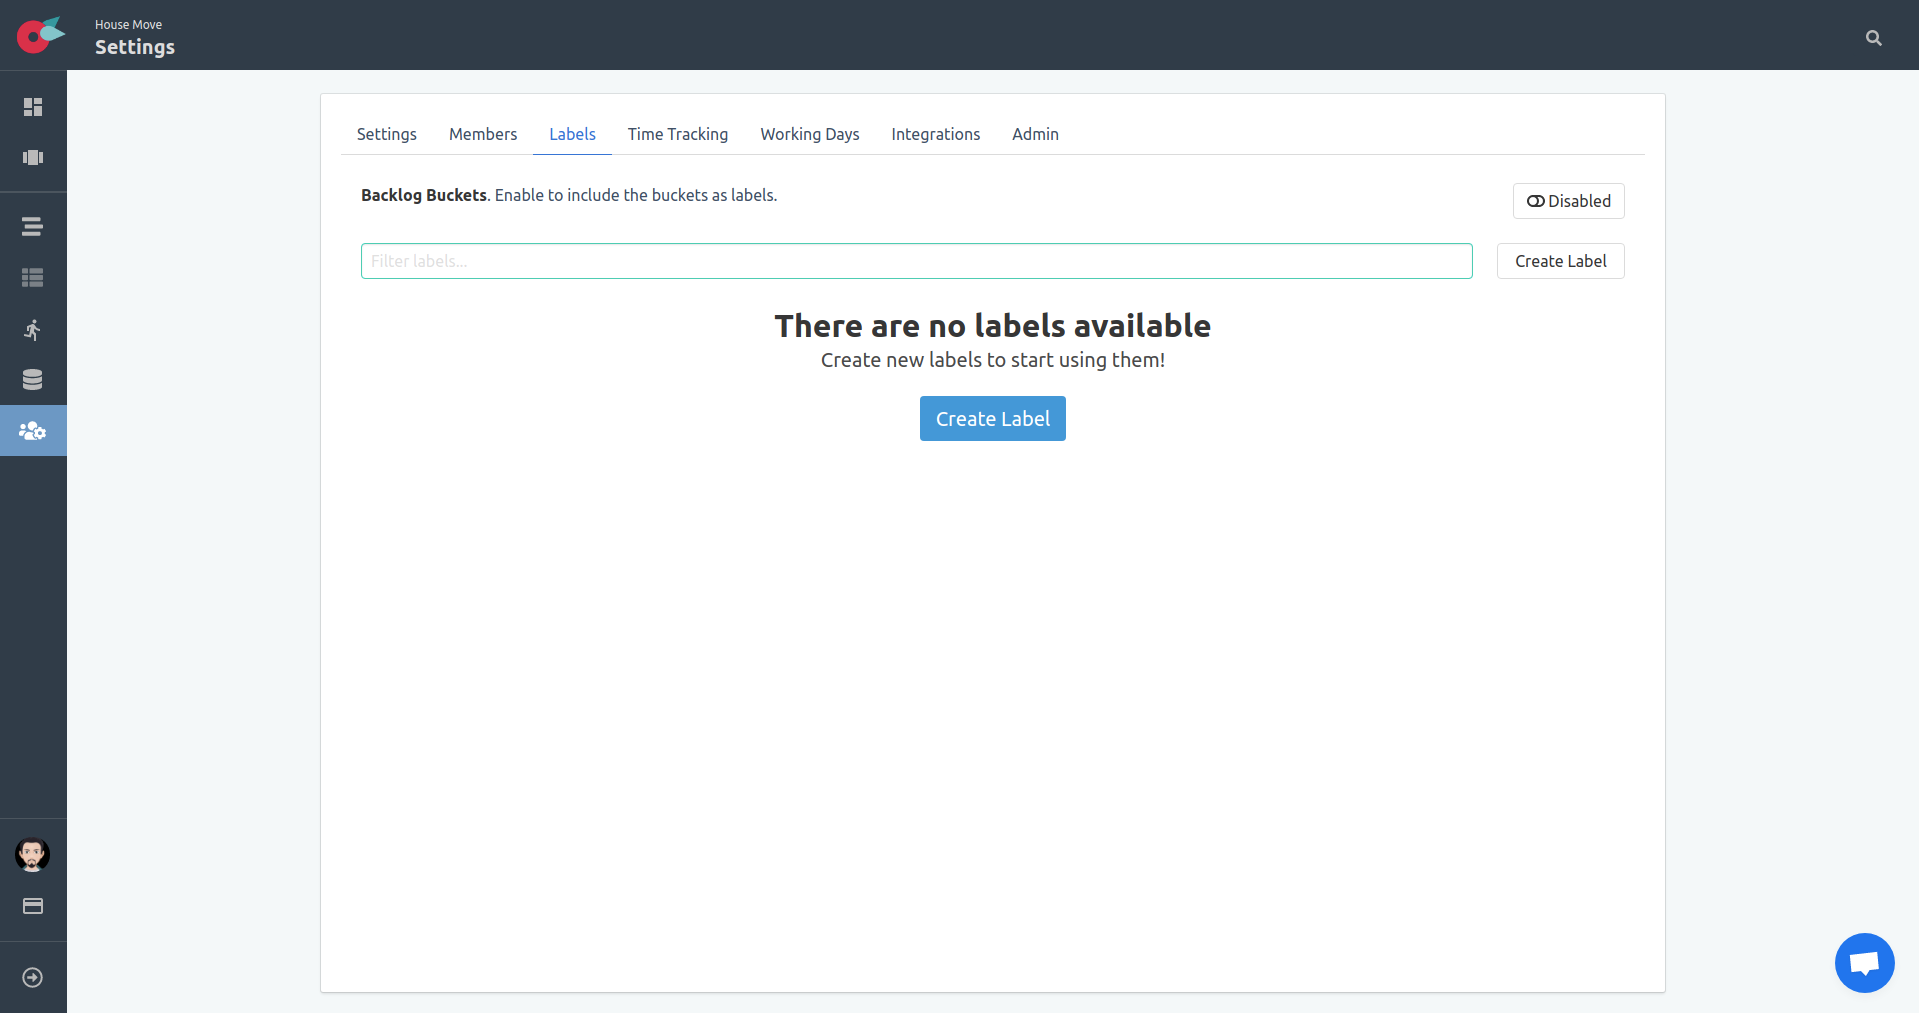
Locate the project Settings button at the left-side menu and click on it. Then select the Labels tab. The Labels tab is available to all project members.
Create Label
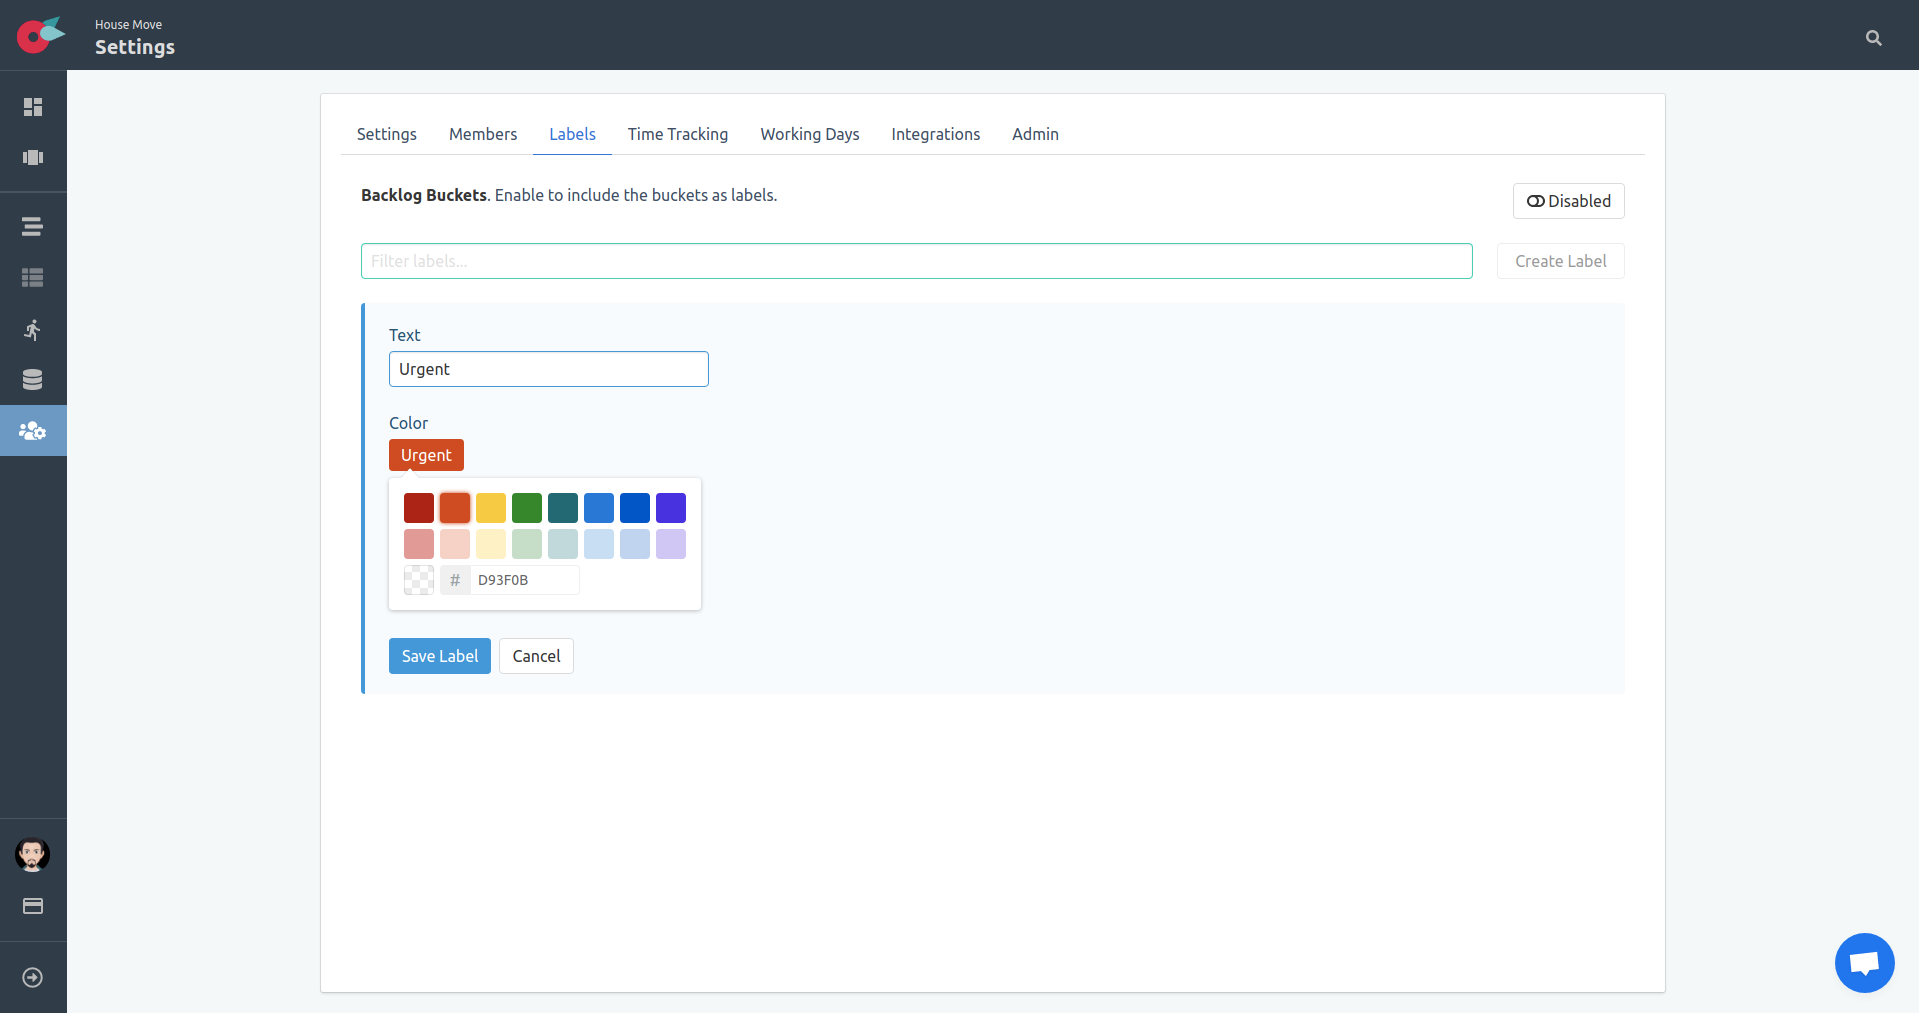
Click on the Create Label button. A label form will be available to add the new label. Type in the name of the label and select the color of the label. Click on the Save Label button to apply the changes.
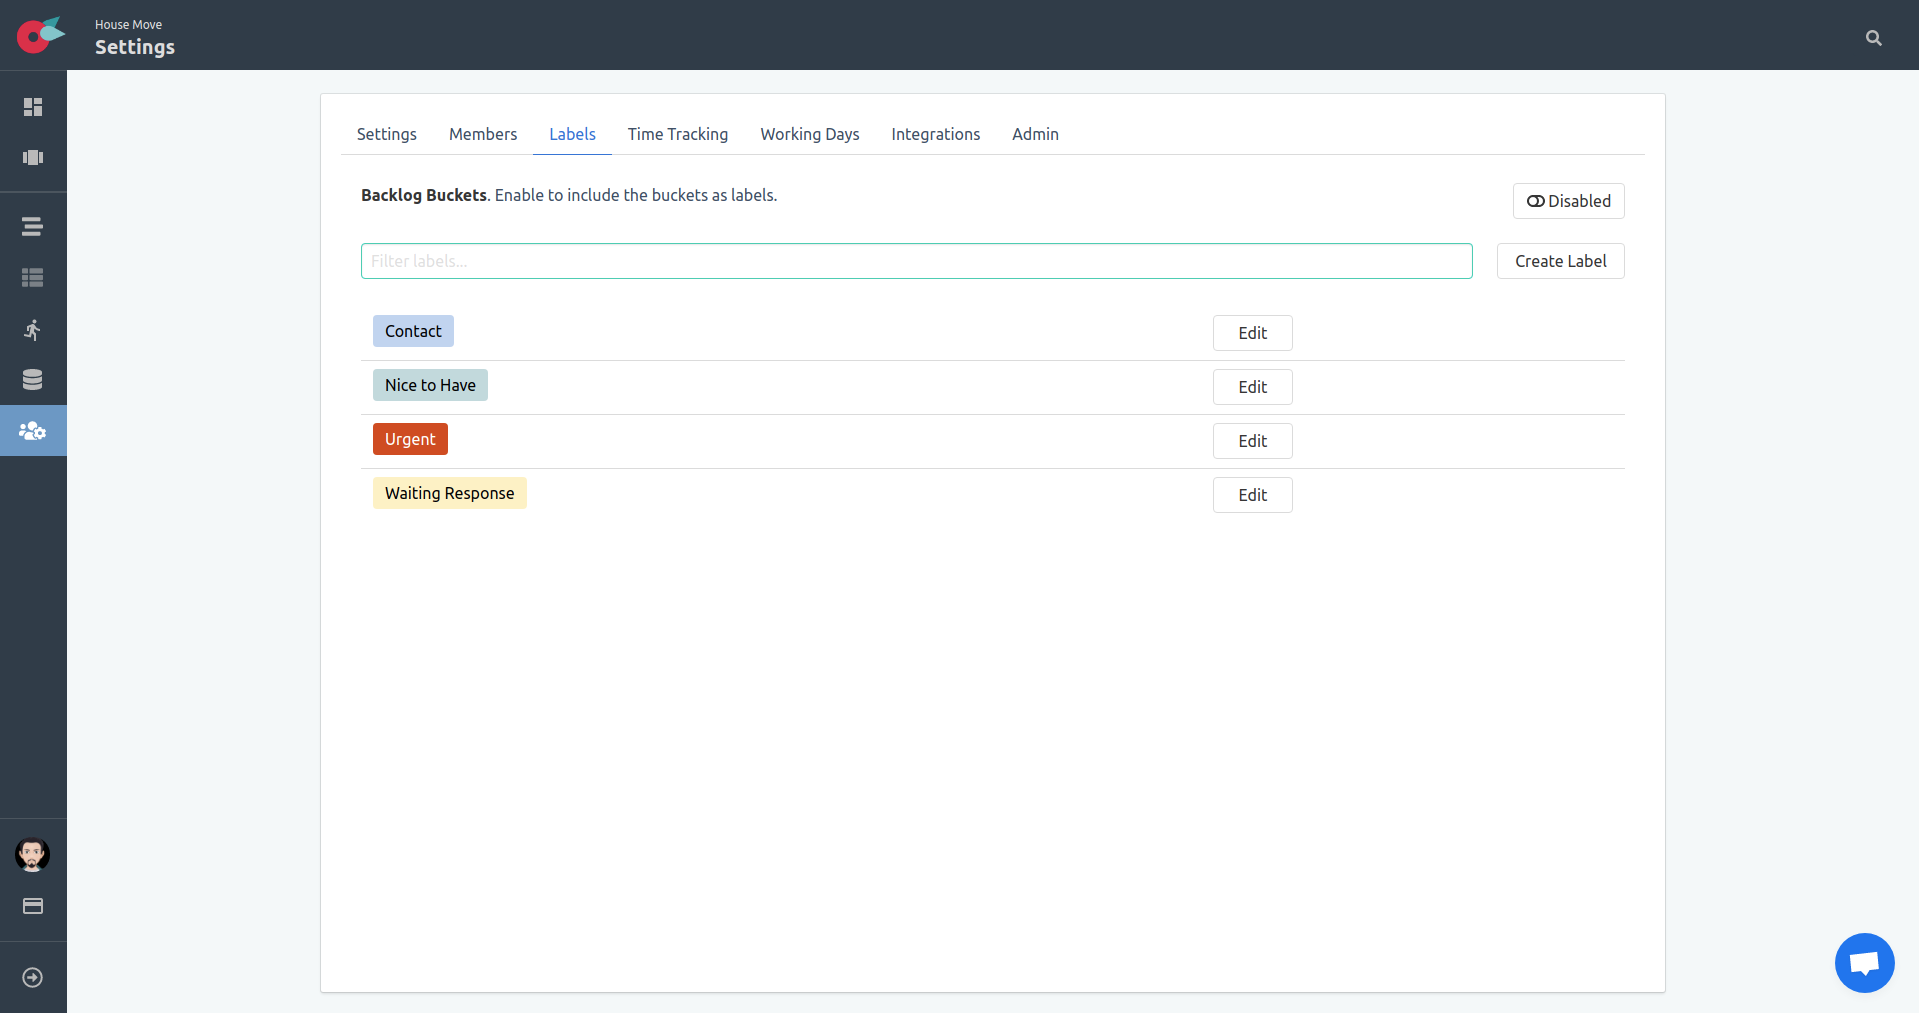
Let’s create the labels we need for our project.
Backlog Buckets as Labels
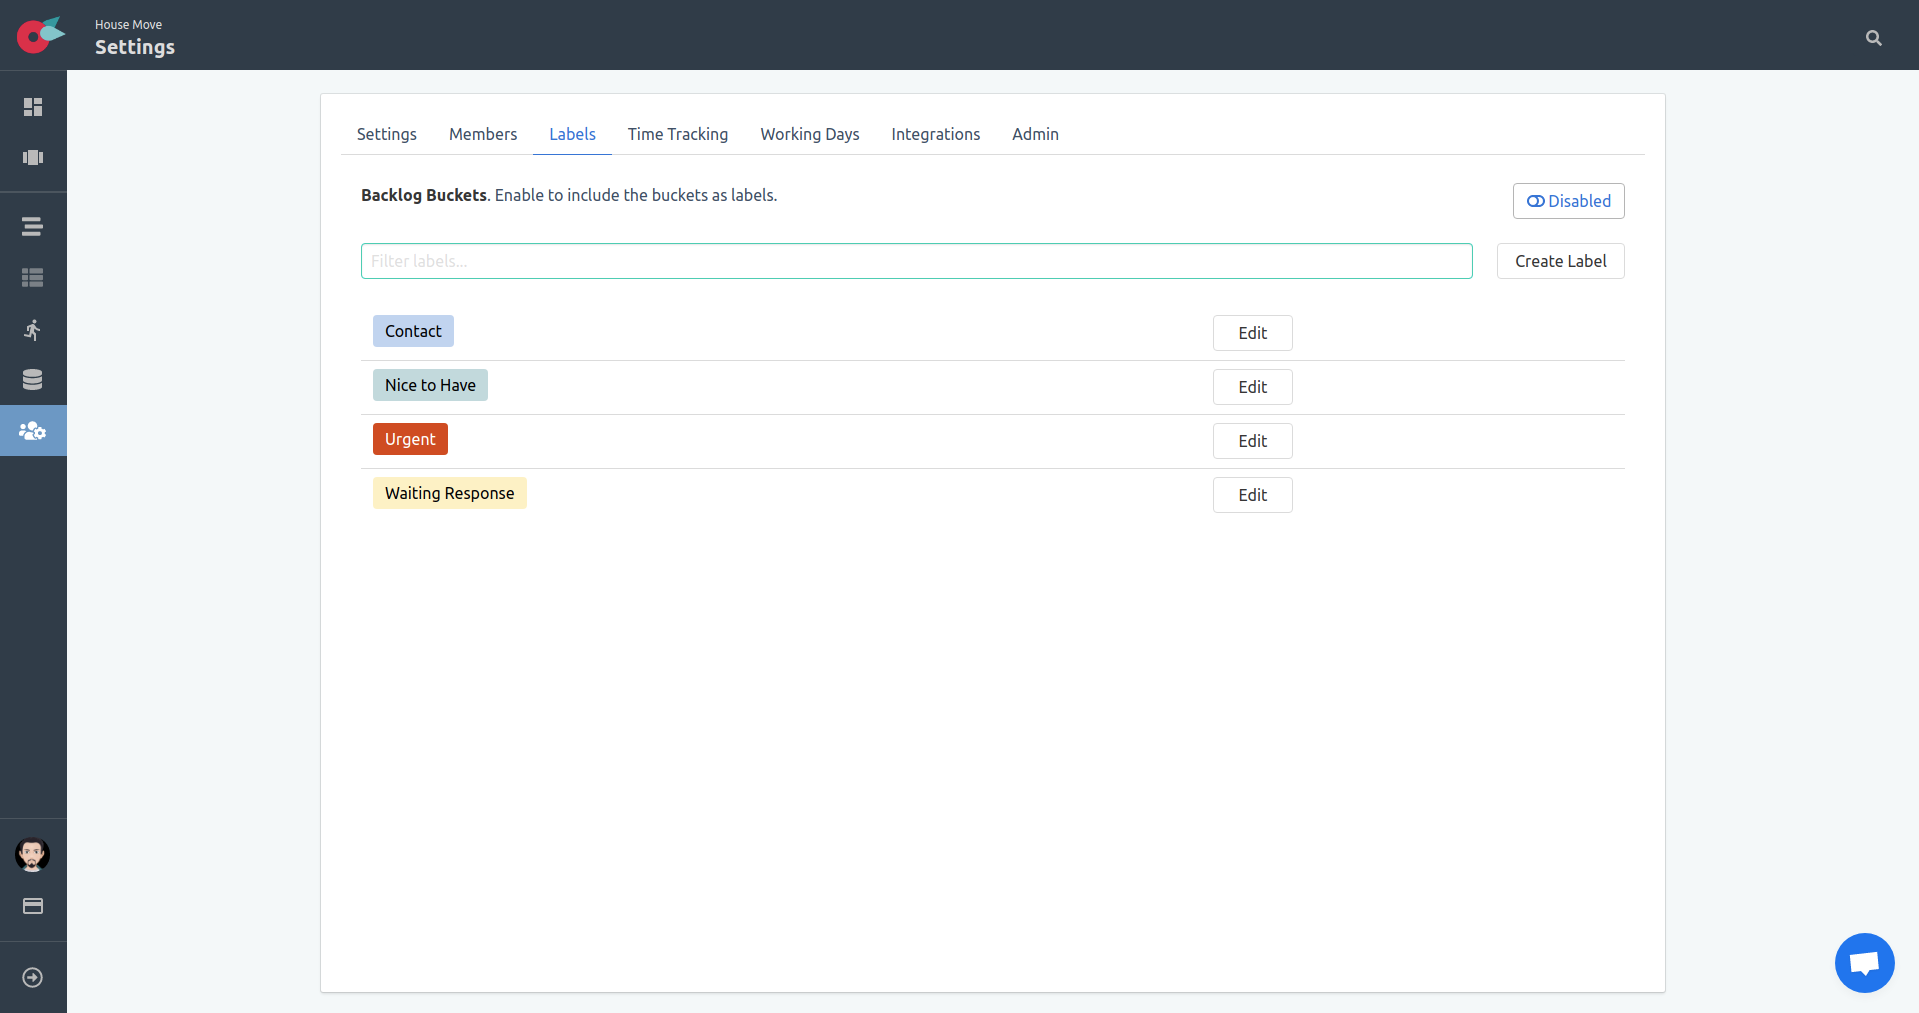
In case we want to know from which backlog bucket card was added in our board (scrum or kanban), then we have the option to enable it from the labels section. Locate the Backlog Buckets section at the top of the labels and click on the toggle button Disbled to enable it.
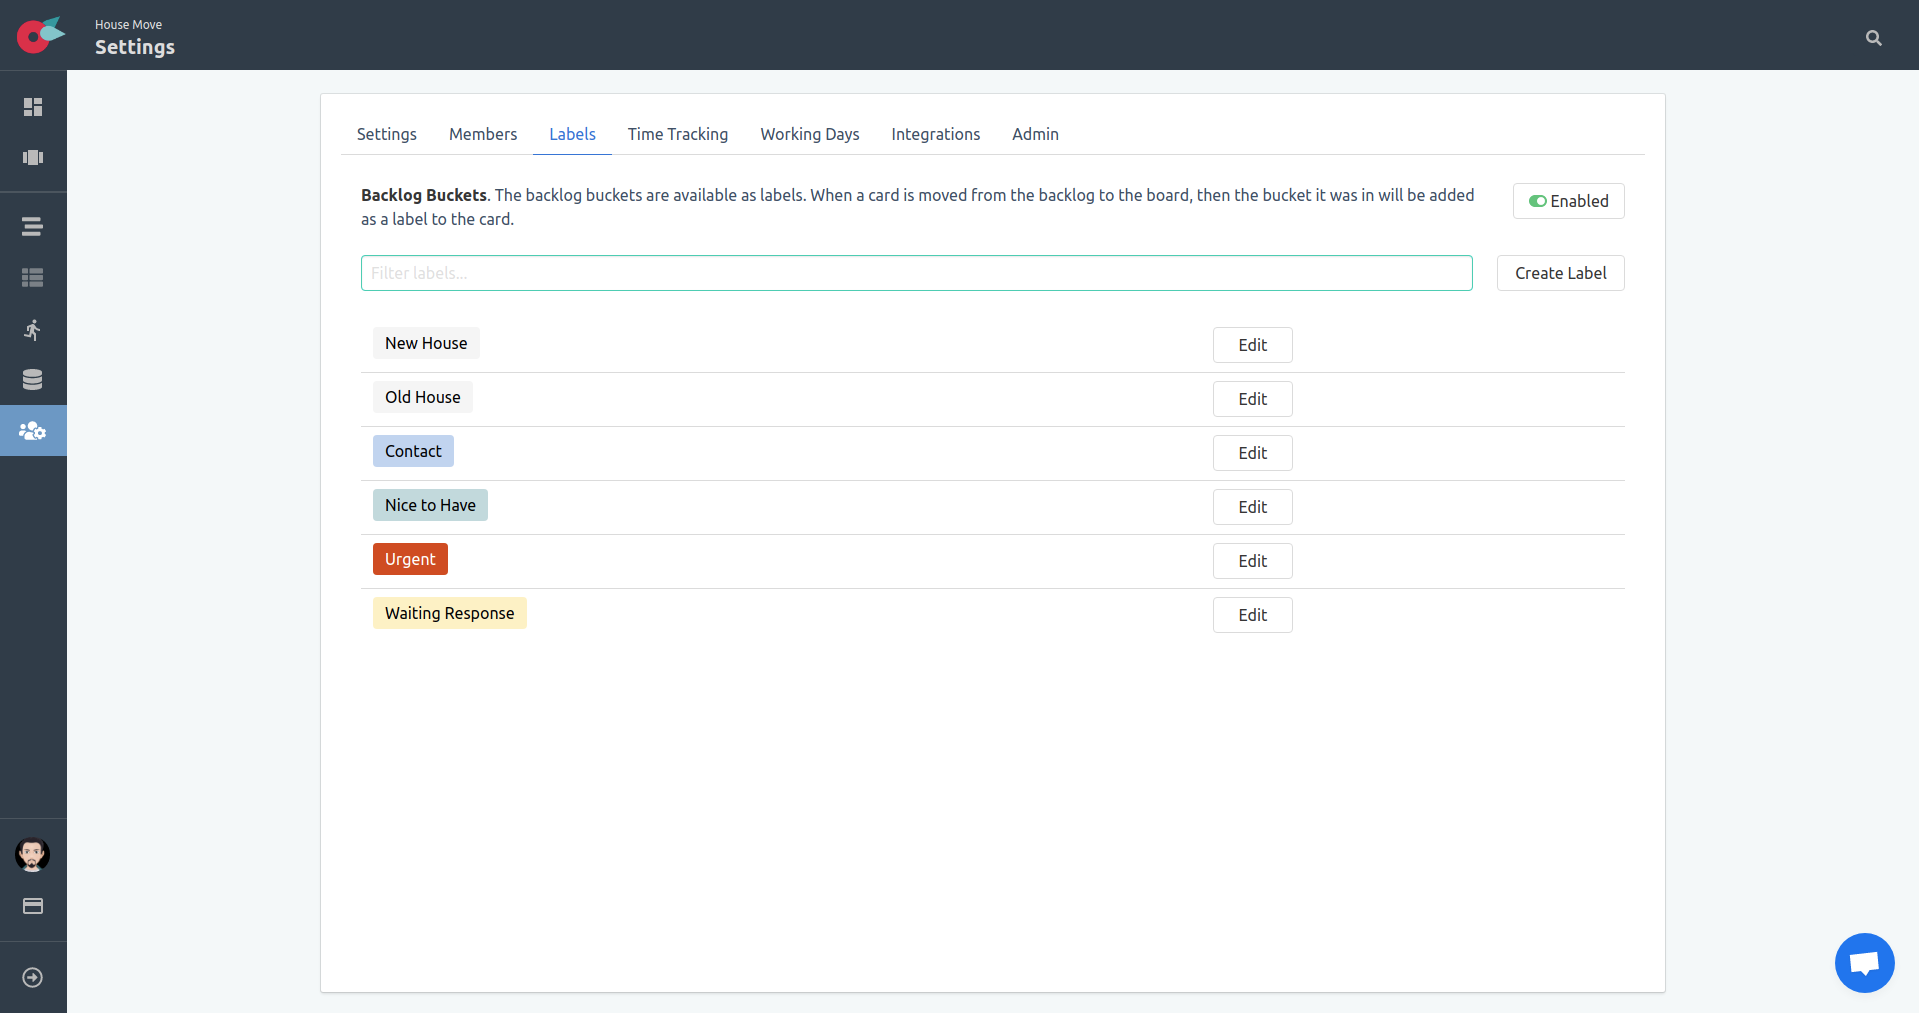
When enabled we see the backlog buckets in the labels list. We have the option to edit the color of these labels just as we would with any normal label.
The Dashboard
After you start working on a project, and assign tasks to yourself to work on, the project Dashboard gives you a quick glimpse into your activities, and your work in progress. The dashboard shows the active sprints, and the kanban boards
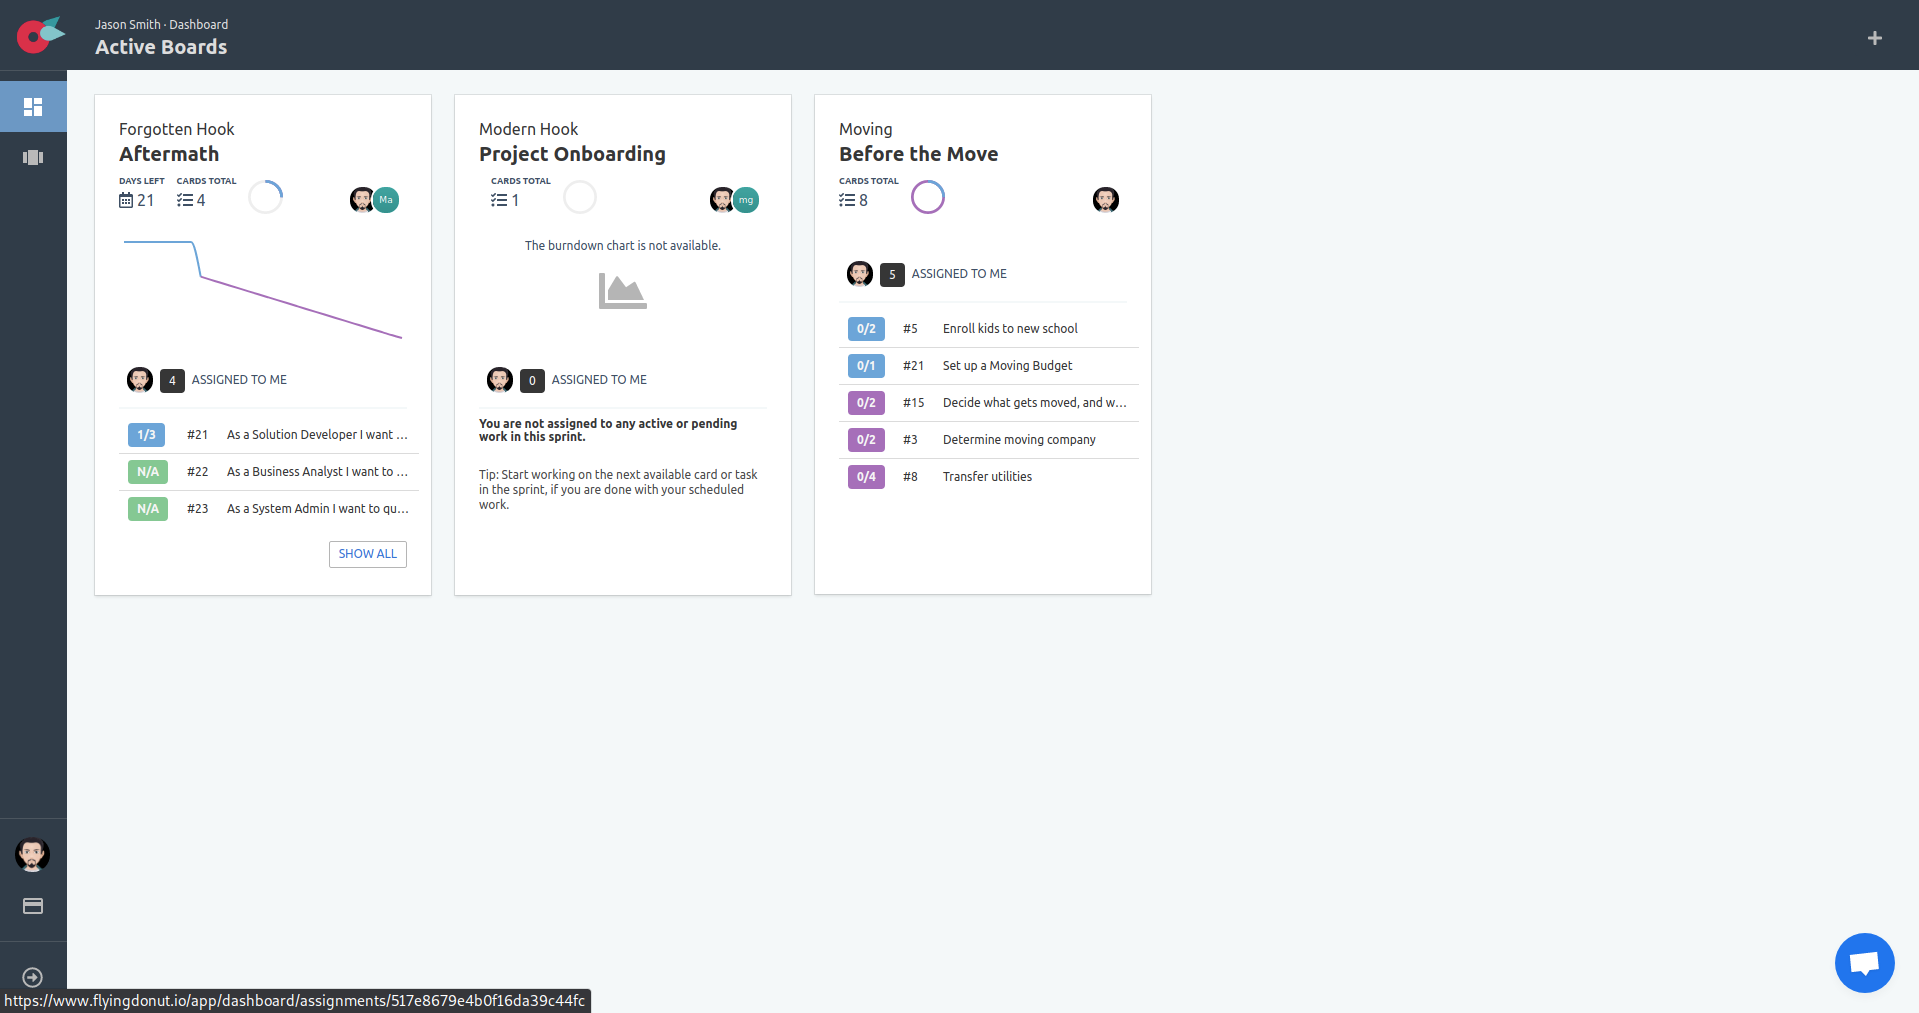
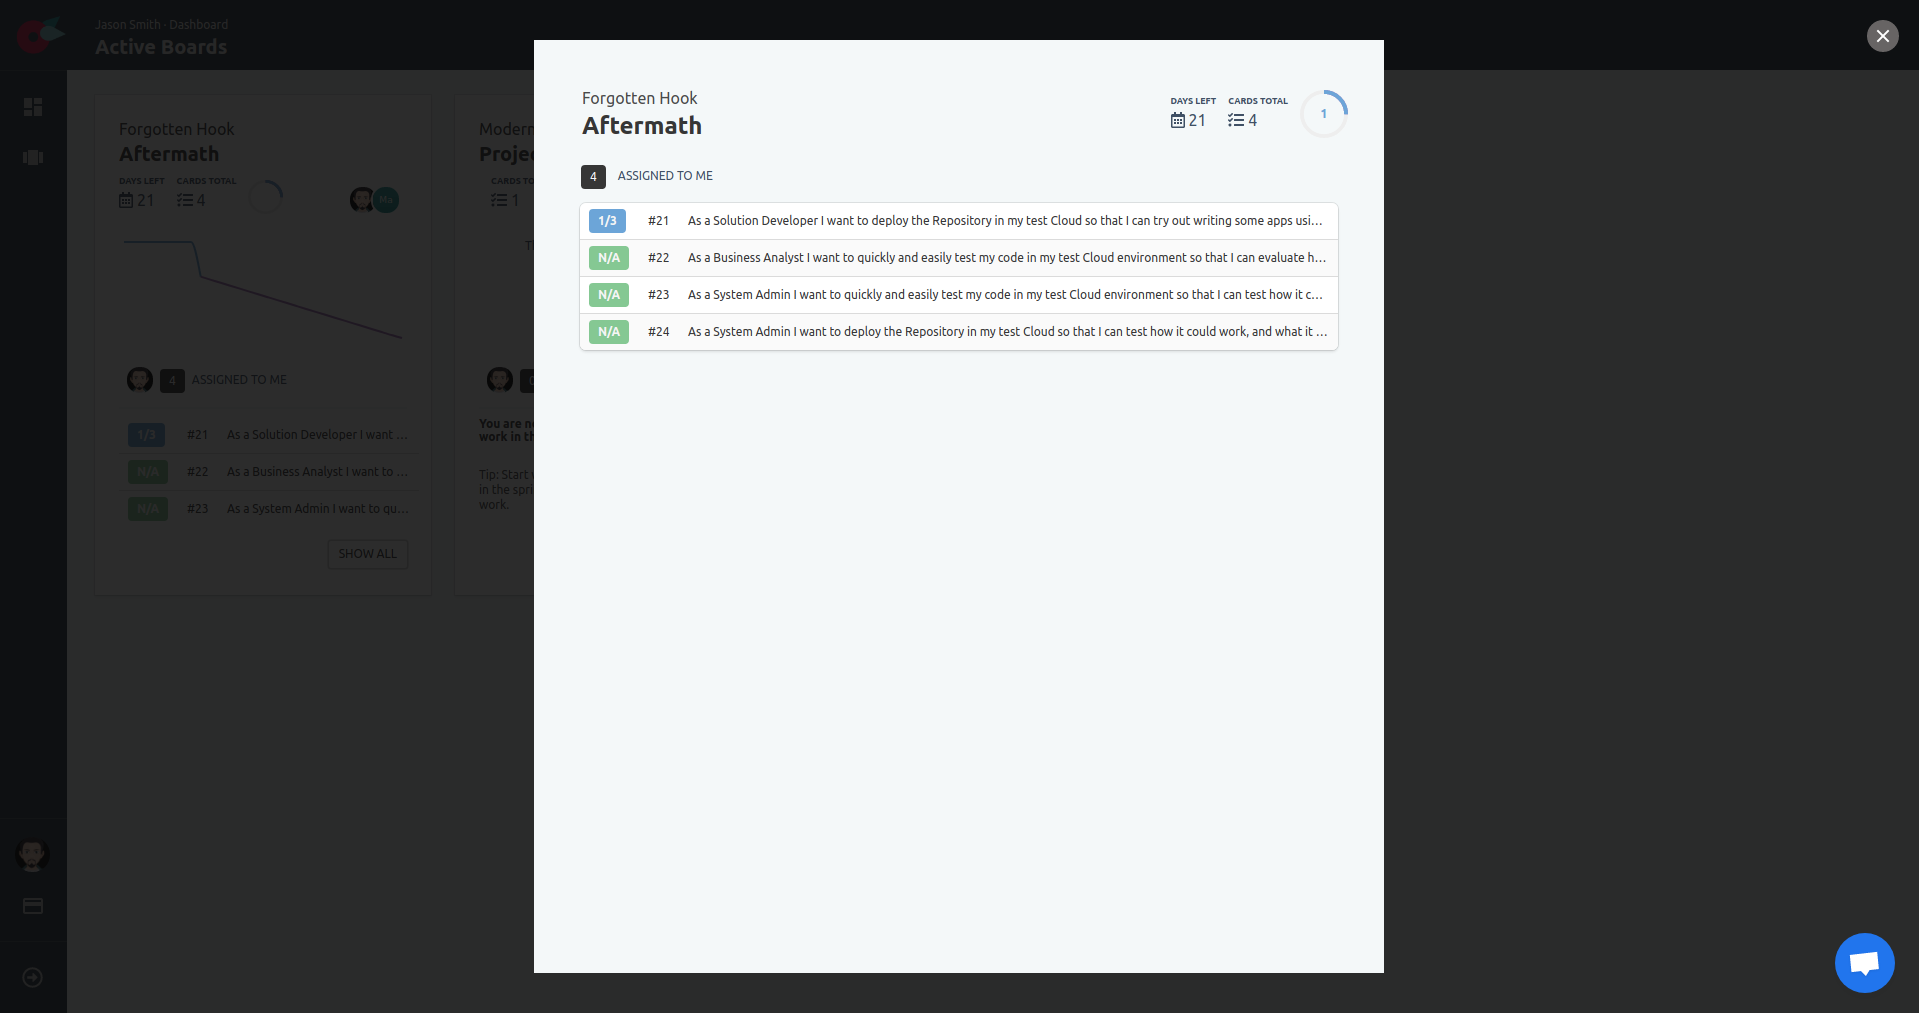
Click on the Show All button that is visible, when you have more cards assigned to you. All cards you have some work assigned to do, will be visible to you.
